Leaderboard
Popular Content
Showing content with the highest reputation on 11/30/22 in all areas
-
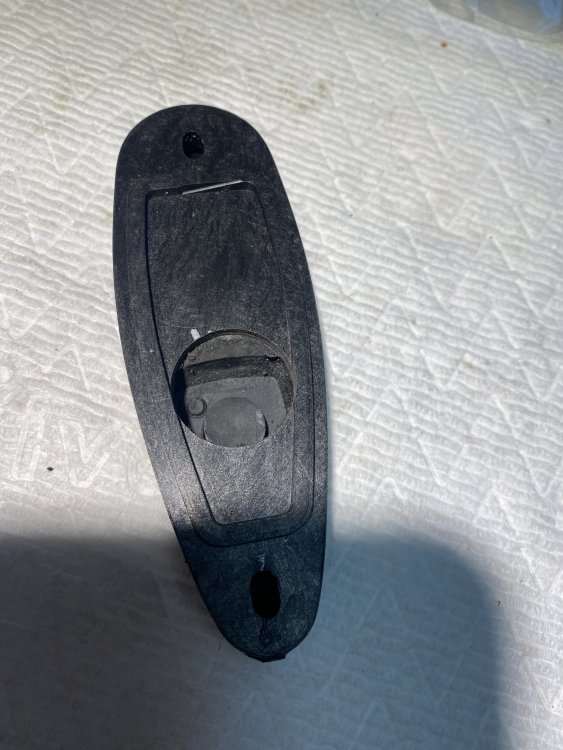
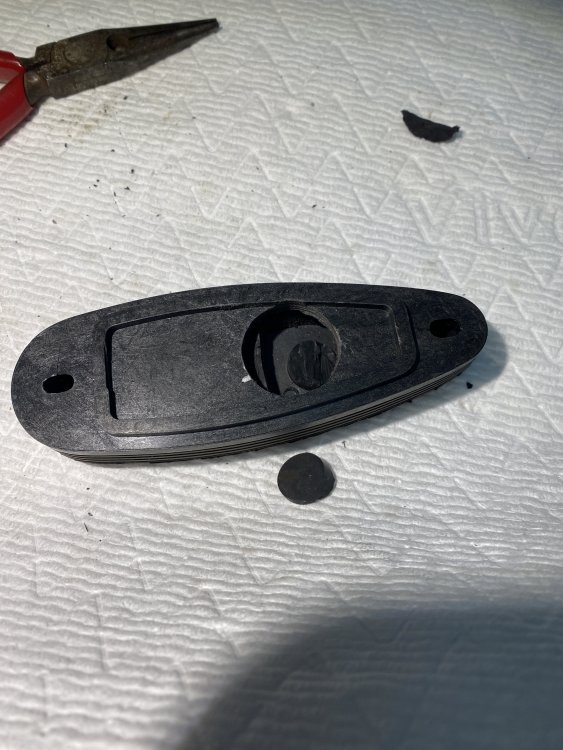
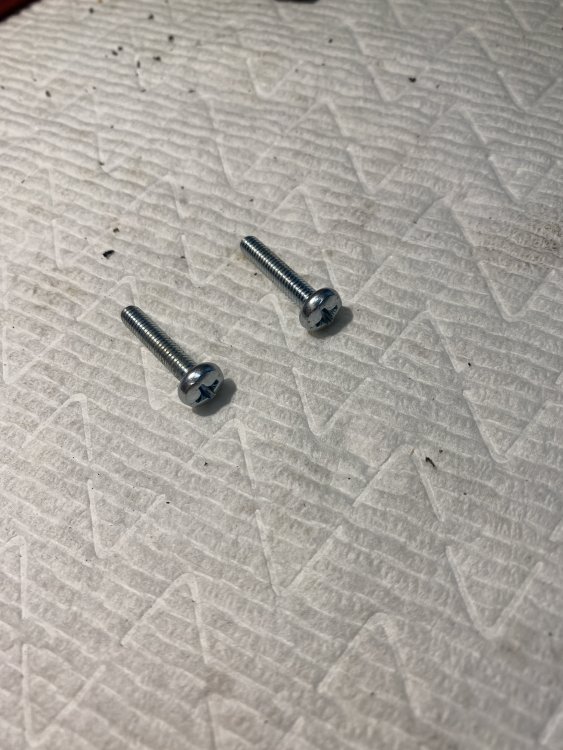
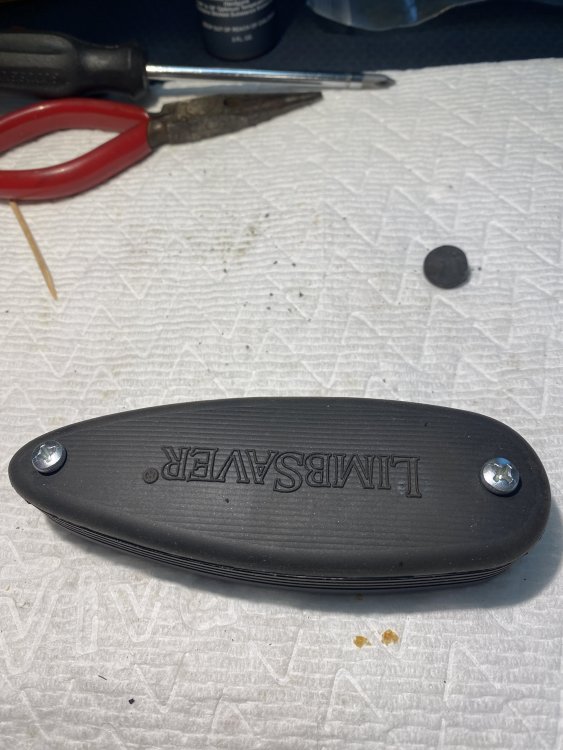
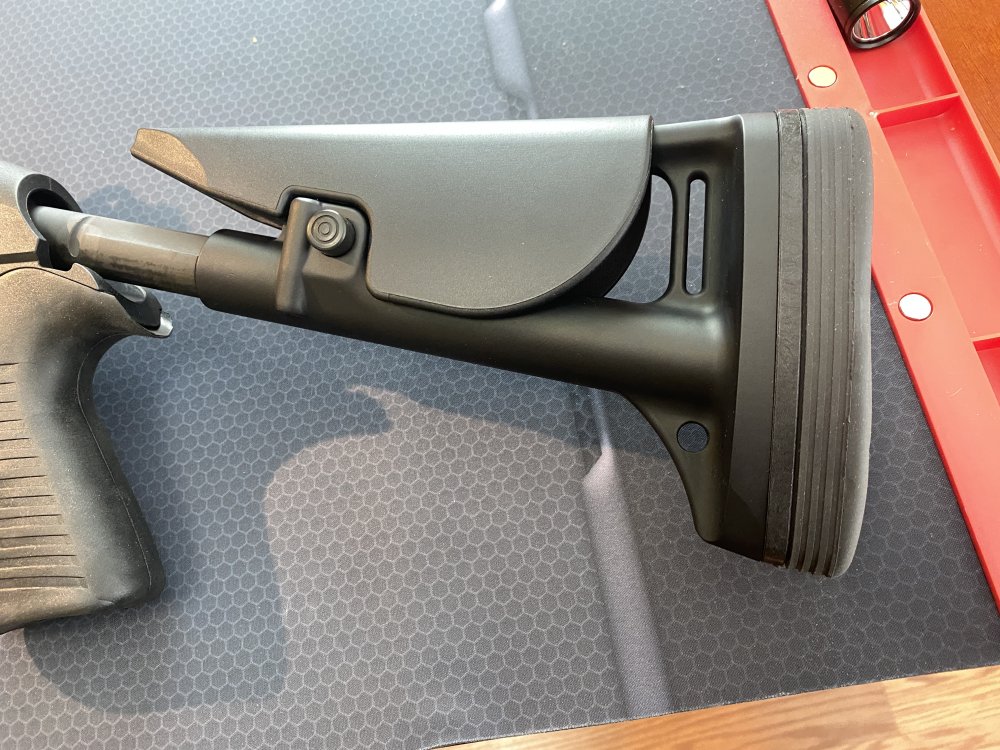
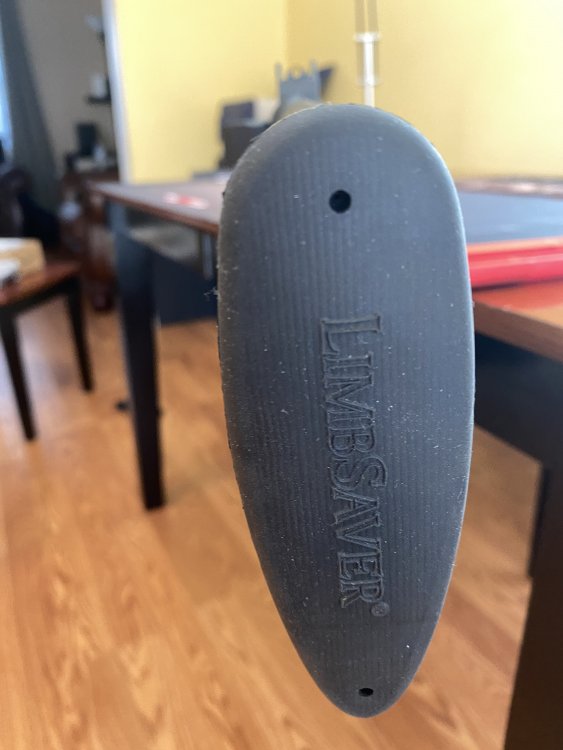
Finally an easier solution for adding a Limbsaver to the Benelli M4 is available. This is significantly easier and requires fewer parts in the past assemblies of the 10111 model that required the Noveske adapter plate that is no longer sold. For this assembly we'll be using the Limbsaver 10403. This model has a raised lip on the inside of the buttpad that helps center the pad on the stock. First step is to remove the collapsible stock from your shotgun. You will then need to remove the factory buttpad by using a philips screw driver and inserting it in to the two small holes on the factory buttpad. Use a little oil or spit on the driver to help push it in. Push the driver in firmly as you unscrew the fasteners. Pull the buttpad away from the stock as you unscrew it. The screws will remain captive inside of the buttpad. Not the large hole roughly in the center of the stock. This is where the receiver extension passes thru the stock and in to the buttpad when the stock is in the fully collapsed position. The next step is to fit your buttpad to the stock. I had to purchase screws from the hardware store to make this buttpad work for this application. I used M4 machine screws, 0.7 thread pitch, 16mm in length. You will need two of them. The ones I bought use a 2.5mm allen head driver. Press the screws in to the Limbsaver buttpad through the two holes in the rubber. Use your driver to press since it will have to push past the rubber. They will snap in to place once seated. You'll see the threads sticking out of the bottom of the buttpad. Screw the buttpad on to the stock. Note the two holes top and bottom for accessing the screws. Now we need to make a hole in the plastic base of the buttpad for the receiver extension to pass in to. Now that you have the pad attached to the stock, you'll want to get a Sharpie marker with the cap off and drop it down the hole of the collapsible stock where the receiver extension goes. I use a silver one since it makes it easier to see the marks. I shake the stock around a little to get the marker to give me a witness mark as to where I am going to drill. Now remove the buttpad from the stock and check your witness marks. You should have something like this. You now know roughly where you need to drill your 7/8" hole. Rather than trying to bore that big of a hole in one pass, you'll have better luck starting small and moving up. I start with a 1/4" Forester bit and drill it out on a drill press. You do not want to drill all the way through the buttpad. You only want to drill through the plastic back which will open up to a void inside the buttpad. I suppose you could drill this out with a electric drill, but your quality of work is likely going to suffer. First hole is drilled. Take the pad and offer it back up to the stock. Look down the hole where the receiver extension goes down with a flash light and see how close to center your hole is to the hole you're looking down. I see that I'm a little off center to the right of the screen. No problem. Move to the next size up bit 3/8" and try to correct for the alignment. Continue through the 1/2, 5/8 and finally the 7/8 bit. Here is the end results. Clean out all the plastic debris from inside the buttpad and clean up the edges. I use a deburring tool but you don't have to get that fancy. Offer the buttpad up to the stock again and check to see if you can see the sides of the buttpad through the hole. You should be looking straight in to the hole drilled. If an edge is present, it will liely contact the receiver extension and prevent it from collapsing. You can hog out the hole slightly with no ill effects on performance. Finally offer up the stock with the buttpad screwed in place to the shotgun and see if the stock fully collapses. If it hangs up, you need to remove the offending area. If it fits, finalize the installation by applying some blue Loctite 243 to the screws then snug them up. No retard strength is needed. These threaded holes will strip easily if you muscle it. Use your fingers to hole the buttpad in alignment to the stock as you tighten it. There is a small amount of wiggle room in the pad that will allow you to even out the alignment. Make sure everything still fits after you've tightened the screws. The rubber of the Limbsaver will often times have a dried out look to it. You can rub some lubricant on the rubber with a rag and it will return it to a deep black finish. Limbsaver claims you'll see a 70% reduction in perceived recoil with these pads. That figure is a little optimistic. Realistically I'd say you'll see a 40% reduction.1 point
-
I always use the bolt release button to close the bolt (I also own SBE’s 1, 2 & 3 and know the importance of letting the bolt slam home), BUT following your advice, I experimented with the bolt and carrier and discovered just how sensitive the carrier is to bolt seating. For example, if you draw the bolt back to confirm that a shell is in the chamber before loading the mag, you’re probably not going to get the bolt fully seated again. At least you gave me something to look for the next time it happens. Thanks1 point
-
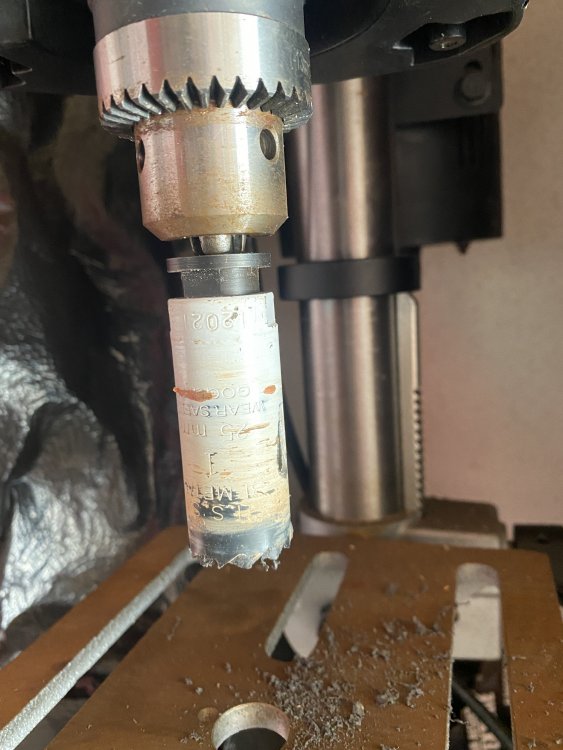
Many thanks to StrangerDanger for this thread. Did my Limbsaver install and really like the outcome. Just a coupe of details. I drilled a small hole first in the new Limbsave stock and followed up with a 1" whole saw bit. I marked the location to drill using a similar technique as SD. Used a marker taped to a wooden dowel going down through the collapsible stock tube. If I did it again I'd probably try one of the suggestions of putting something on the end of the recoil tube such as chalk, grease or marker to transfer the exact drill location. I found that when I was ready to mount the new limb saver pad that a couple of internal rubber parts in the Limbsaver were interfering with the end of the recoil tube. The pad would not sit flush. I used a razor knife to remove some of the internal rubber and now the pad does not interfere with the recoil tube when fully retracted. To attach the new Limbsaver pad Instead of using new allen head screws I chose to use phillips head screws. As SD mentions 16mm X .7 pitch are perfect.1 point
This leaderboard is set to New York/GMT-04:00


