Leaderboard


Popular Content
Showing content with the highest reputation on 09/10/24 in Posts
-
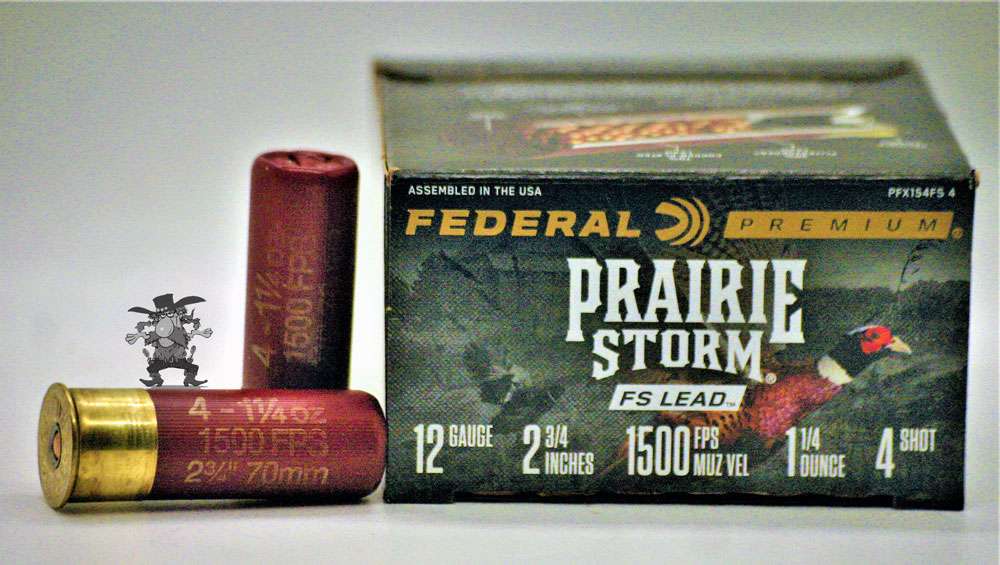
I'm guessing your trainers meant high brass and not high base, probably because they want to train you using shot shells that aren't wimpy so you get to feel the full effect of a higher powered round. You want to avoid 'low recoil' rounds for this reason when taking a shotgun training course. An easy way to judge how much recoil one can expect is to check out the feet per second (FPS) of a particular round you're considering. 1,500 FPS in the Federal Prairie Storm ammo is on the higher end and definitely not low recoil. IMO 'low recoil' shotgun rounds are anything below 1,300 FPS. The Federal Prairie Rounds you're considering would be perfectly suitable for your training course purposes as you're definitely going to get the full effect. If a manufacturer doesn't state the FPS spec then they should indicate 'dram equivalent', and here's an article with a chart for that - https://www.ammoforsale.com/ammo-club/what-is-dram-12-gauge-equivalent-chart/ Buy in bulk and $ave - https://ammoseek.com/2 points
-
Finally an easier solution for adding a Limbsaver to the Benelli M4 is available. This is significantly easier and requires fewer parts in the past assemblies of the 10111 model that required the Noveske adapter plate that is no longer sold. For this assembly we'll be using the Limbsaver 10403. This model has a raised lip on the inside of the buttpad that helps center the pad on the stock. First step is to remove the collapsible stock from your shotgun. You will then need to remove the factory buttpad by using a philips screw driver and inserting it in to the two small holes on the factory buttpad. Use a little oil or spit on the driver to help push it in. Push the driver in firmly as you unscrew the fasteners. Pull the buttpad away from the stock as you unscrew it. The screws will remain captive inside of the buttpad. Not the large hole roughly in the center of the stock. This is where the receiver extension passes thru the stock and in to the buttpad when the stock is in the fully collapsed position. The next step is to fit your buttpad to the stock. I had to purchase screws from the hardware store to make this buttpad work for this application. I used M4 machine screws, 0.7 thread pitch, 16mm in length. You will need two of them. The ones I bought use a 2.5mm allen head driver. Press the screws in to the Limbsaver buttpad through the two holes in the rubber. Use your driver to press since it will have to push past the rubber. They will snap in to place once seated. You'll see the threads sticking out of the bottom of the buttpad. Screw the buttpad on to the stock. Note the two holes top and bottom for accessing the screws. Now we need to make a hole in the plastic base of the buttpad for the receiver extension to pass in to. Now that you have the pad attached to the stock, you'll want to get a Sharpie marker with the cap off and drop it down the hole of the collapsible stock where the receiver extension goes. I use a silver one since it makes it easier to see the marks. I shake the stock around a little to get the marker to give me a witness mark as to where I am going to drill. Now remove the buttpad from the stock and check your witness marks. You should have something like this. You now know roughly where you need to drill your 7/8" hole. Rather than trying to bore that big of a hole in one pass, you'll have better luck starting small and moving up. I start with a 1/4" Forester bit and drill it out on a drill press. You do not want to drill all the way through the buttpad. You only want to drill through the plastic back which will open up to a void inside the buttpad. I suppose you could drill this out with a electric drill, but your quality of work is likely going to suffer. First hole is drilled. Take the pad and offer it back up to the stock. Look down the hole where the receiver extension goes down with a flash light and see how close to center your hole is to the hole you're looking down. I see that I'm a little off center to the right of the screen. No problem. Move to the next size up bit 3/8" and try to correct for the alignment. Continue through the 1/2, 5/8 and finally the 7/8 bit. Here is the end results. Clean out all the plastic debris from inside the buttpad and clean up the edges. I use a deburring tool but you don't have to get that fancy. Offer the buttpad up to the stock again and check to see if you can see the sides of the buttpad through the hole. You should be looking straight in to the hole drilled. If an edge is present, it will liely contact the receiver extension and prevent it from collapsing. You can hog out the hole slightly with no ill effects on performance. Finally offer up the stock with the buttpad screwed in place to the shotgun and see if the stock fully collapses. If it hangs up, you need to remove the offending area. If it fits, finalize the installation by applying some blue Loctite 243 to the screws then snug them up. No retard strength is needed. These threaded holes will strip easily if you muscle it. Use your fingers to hole the buttpad in alignment to the stock as you tighten it. There is a small amount of wiggle room in the pad that will allow you to even out the alignment. Make sure everything still fits after you've tightened the screws. The rubber of the Limbsaver will often times have a dried out look to it. You can rub some lubricant on the rubber with a rag and it will return it to a deep black finish. Limbsaver claims you'll see a 70% reduction in perceived recoil with these pads. That figure is a little optimistic. Realistically I'd say you'll see a 40% reduction.1 point
-
so the Briley is universally recommended on here, obviously the Geissele hammer but thats not available how about A&S or Taran Tactical spring sets for trigger, I hear mostly great results, occasionally a reliability concern which is a no go from me, but it seems like typically the installer does something wrong1 point
-
On the low end of the spectrum there's the Foster pattern lead slug and the Brenneke pattern lead slug, many prefer the Brenneke slug. Suggest you research Foster and Benneke slugs. (Brenneke still regarded as a genius a century later) There are other alternatives for instances where a slug may be called for, this youtuber posts about all sorts of 12 ga. slugs https://www.youtube.com/@taofledermaus/videos So you have options. Personally I'm not a big fan of the 1 oz. lead slugs in either the Foster or Brenneke pattern. For one thing I don't like having to clean a leaded up barrel from shooting lead slugs, and the other is I can get better and more versatile results from a variety of DDupleks steel slugs. DDupleks rounds are much more expensive than lead slugs. The DDupleks Monolit rounds are apparently unavailable in the USA at this time. I stocked up on DDupleks slugs years ago when DDupleks slugs were much cheaper. https://www.ddupleks.com/products DDupleks introduced a frangible slug they call the Kaviar since I loaded up on DDupleks slugs years ago. Kinda like a Glazer safety slug, it has much lower muzzle velocity and energy, making it safer overall when innocent bystanders are in the immediate environment. And just like a Glaser slug there are limited instances where you'd use it, just another tool in your toolbox. YMMV1 point
-
Also, do you guys think this ammo will run well in a Benelli M4?
 1 point
 -
Sounds like they did a "backbore" job like Vang Comp does on Remingtons and Mossbergs, but wouldn't ever do on Benelli M4s because of the barrel lining or barrel thickness I believe?1 point
-
I'm not sure about the limbsaver pad, sorry.1 point
-
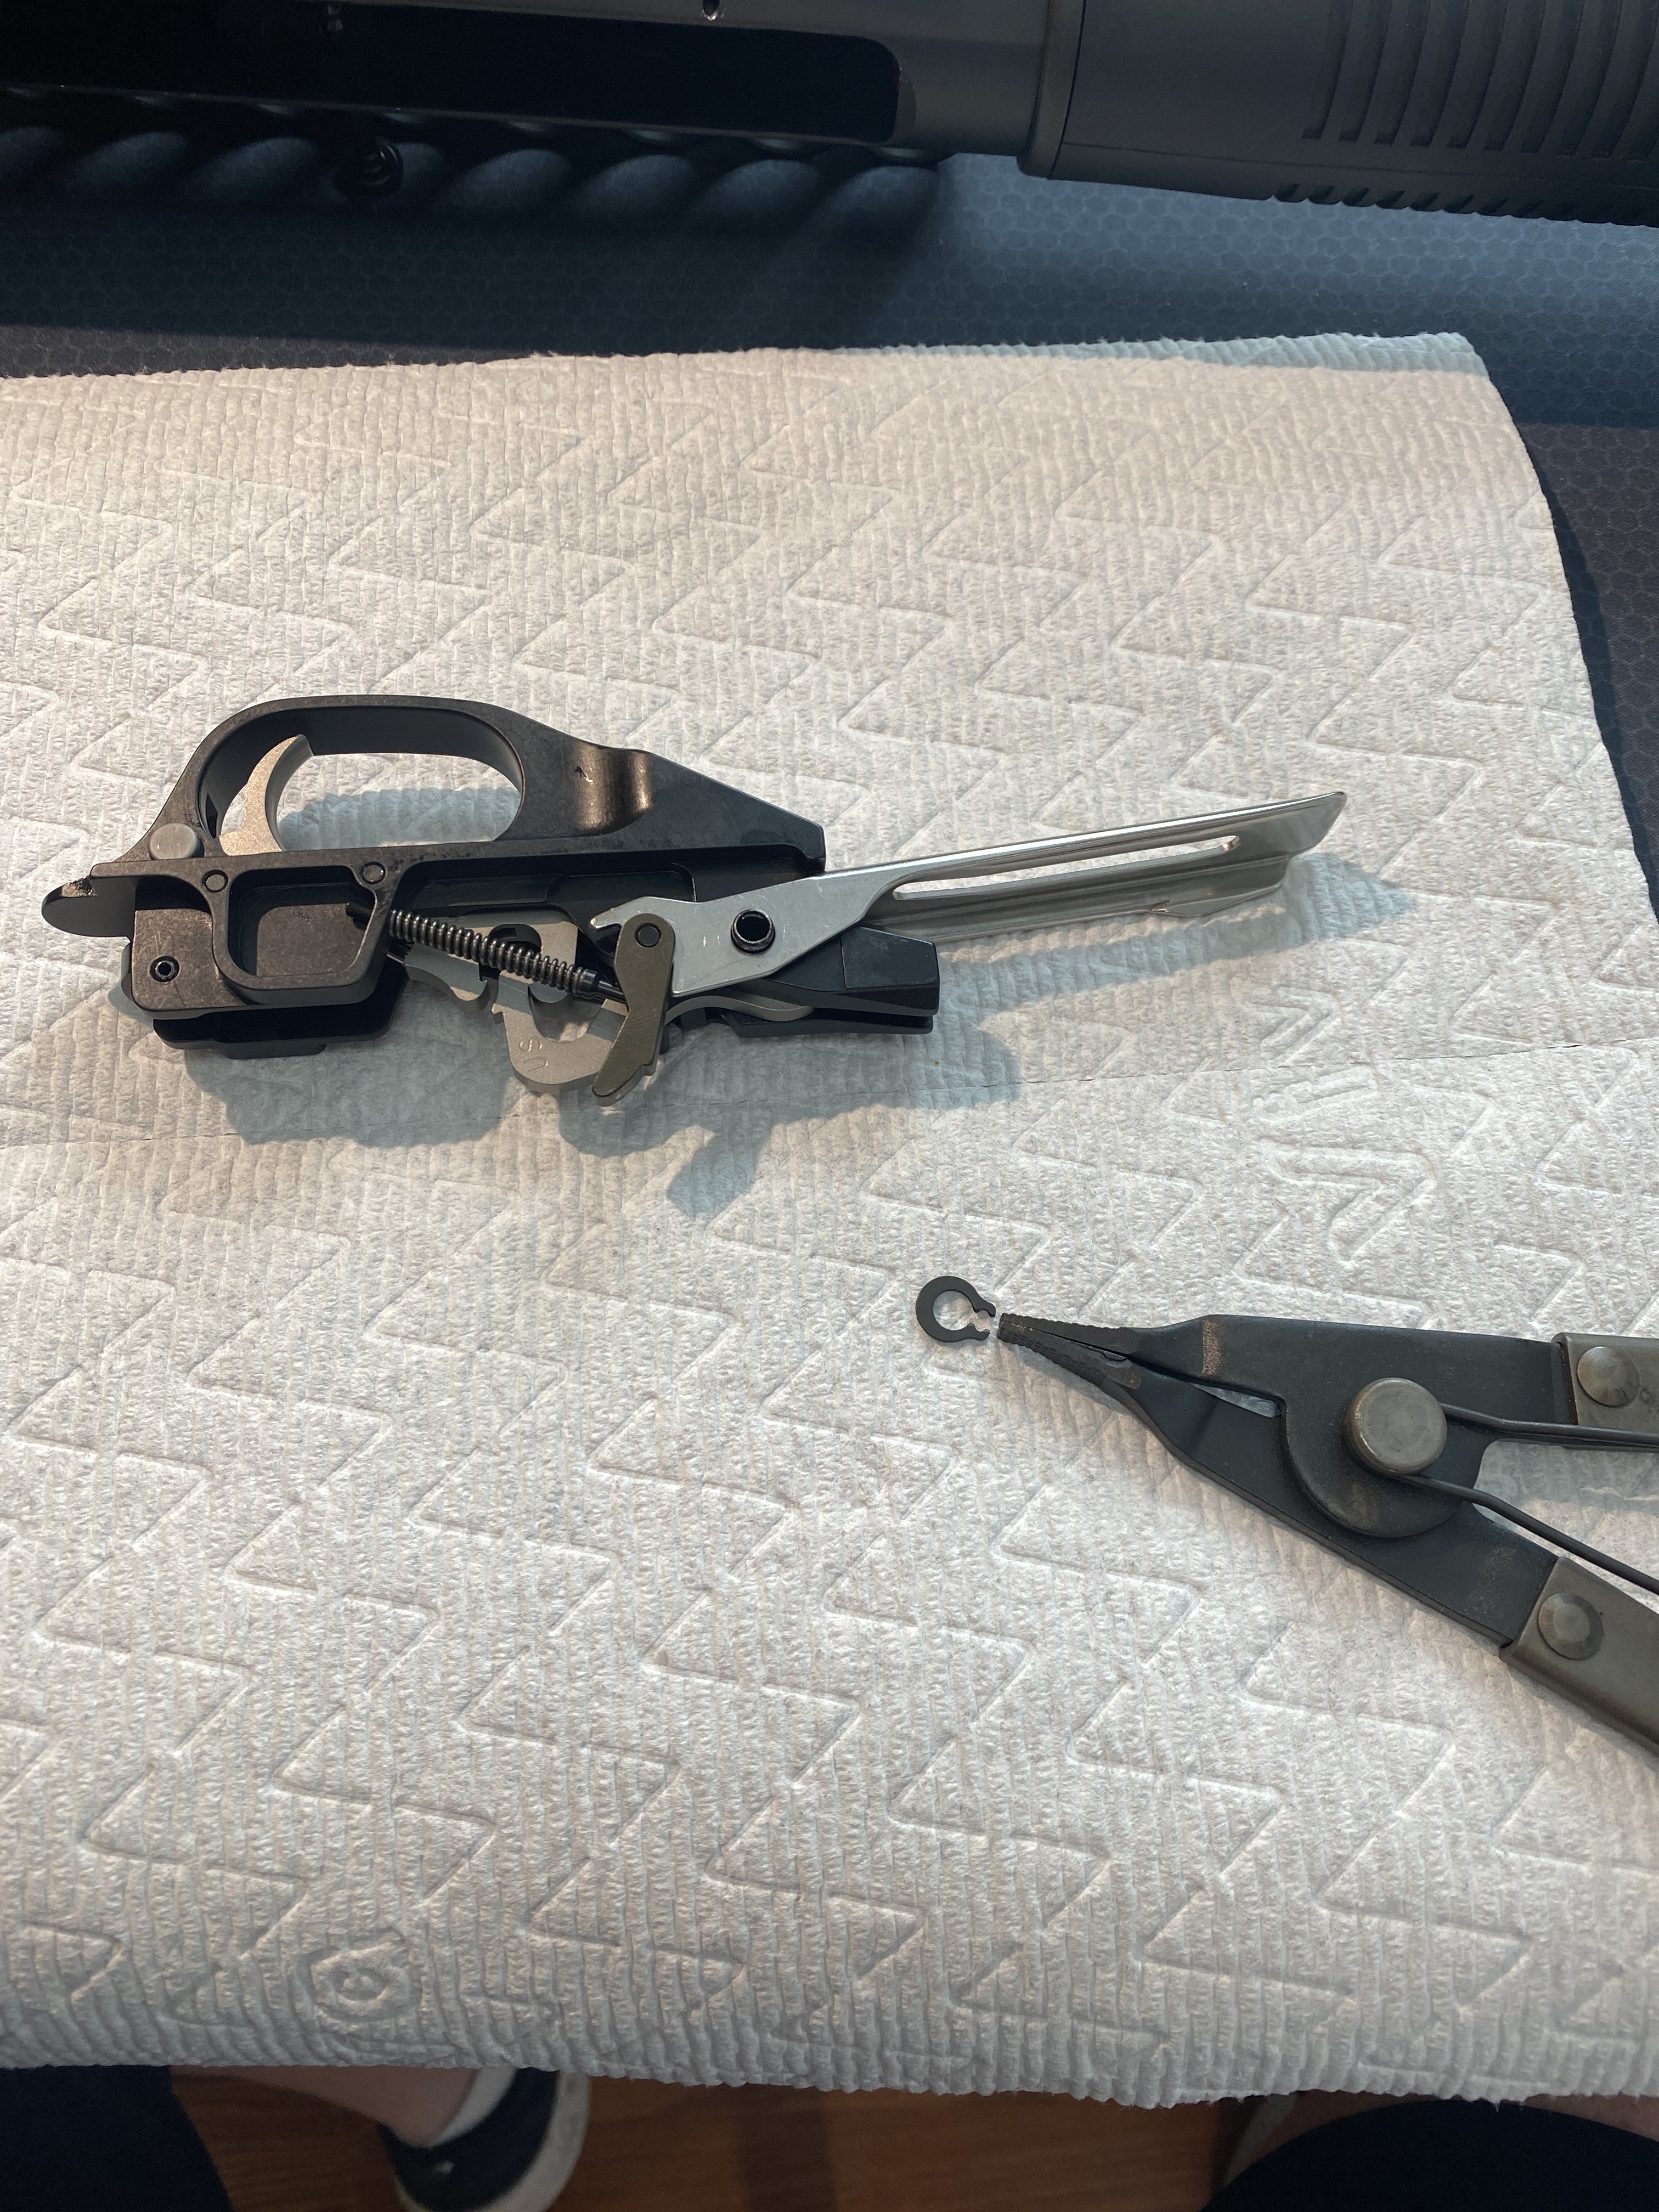
I have heard good reviews about the Briley triggers, you have to send them your whole housing so they can fit it for you. I thought about it, but chose instead to go with an OEM aluminum trigger guard, some Wolff trigger group springs for reliability, I didn't change any pull weights. And I lucked up on a Geissele hammer and threw that in. Thats it, I don't plan on doing anything else to it other than shooting it alot to smooth the action out. But if I had to recommend any kit, I'd go with Briley based on the feedback I've heard from people who actually use them.1 point
-
Geissele hammers are unicorns now. The prices people are asking for used ones or that they add to a gun for having one is insane.1 point
-
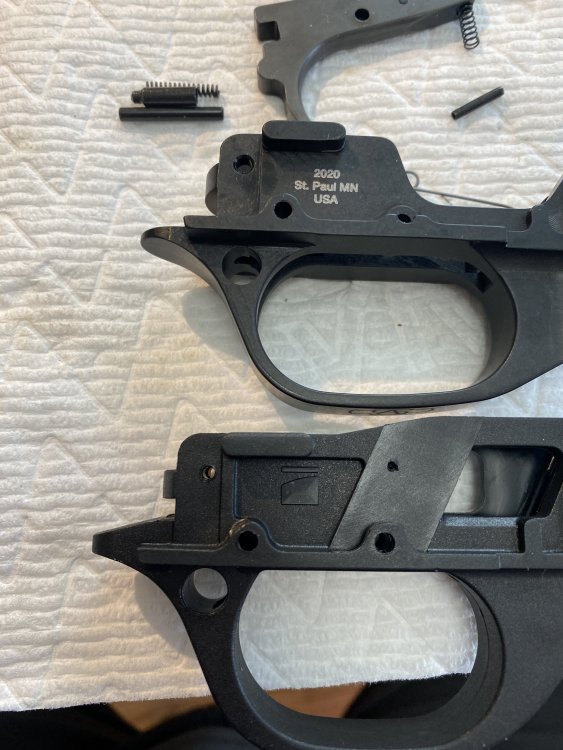
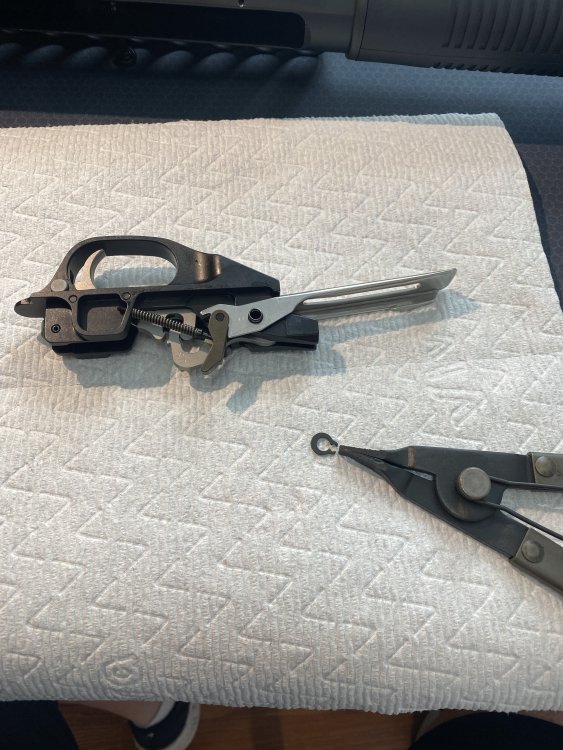
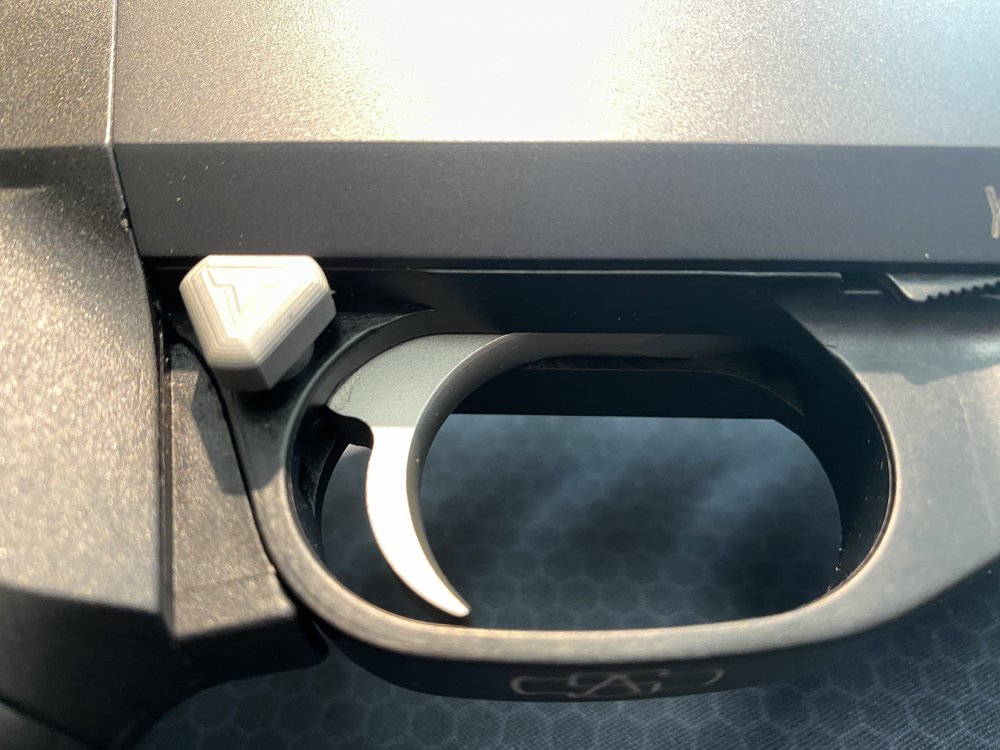
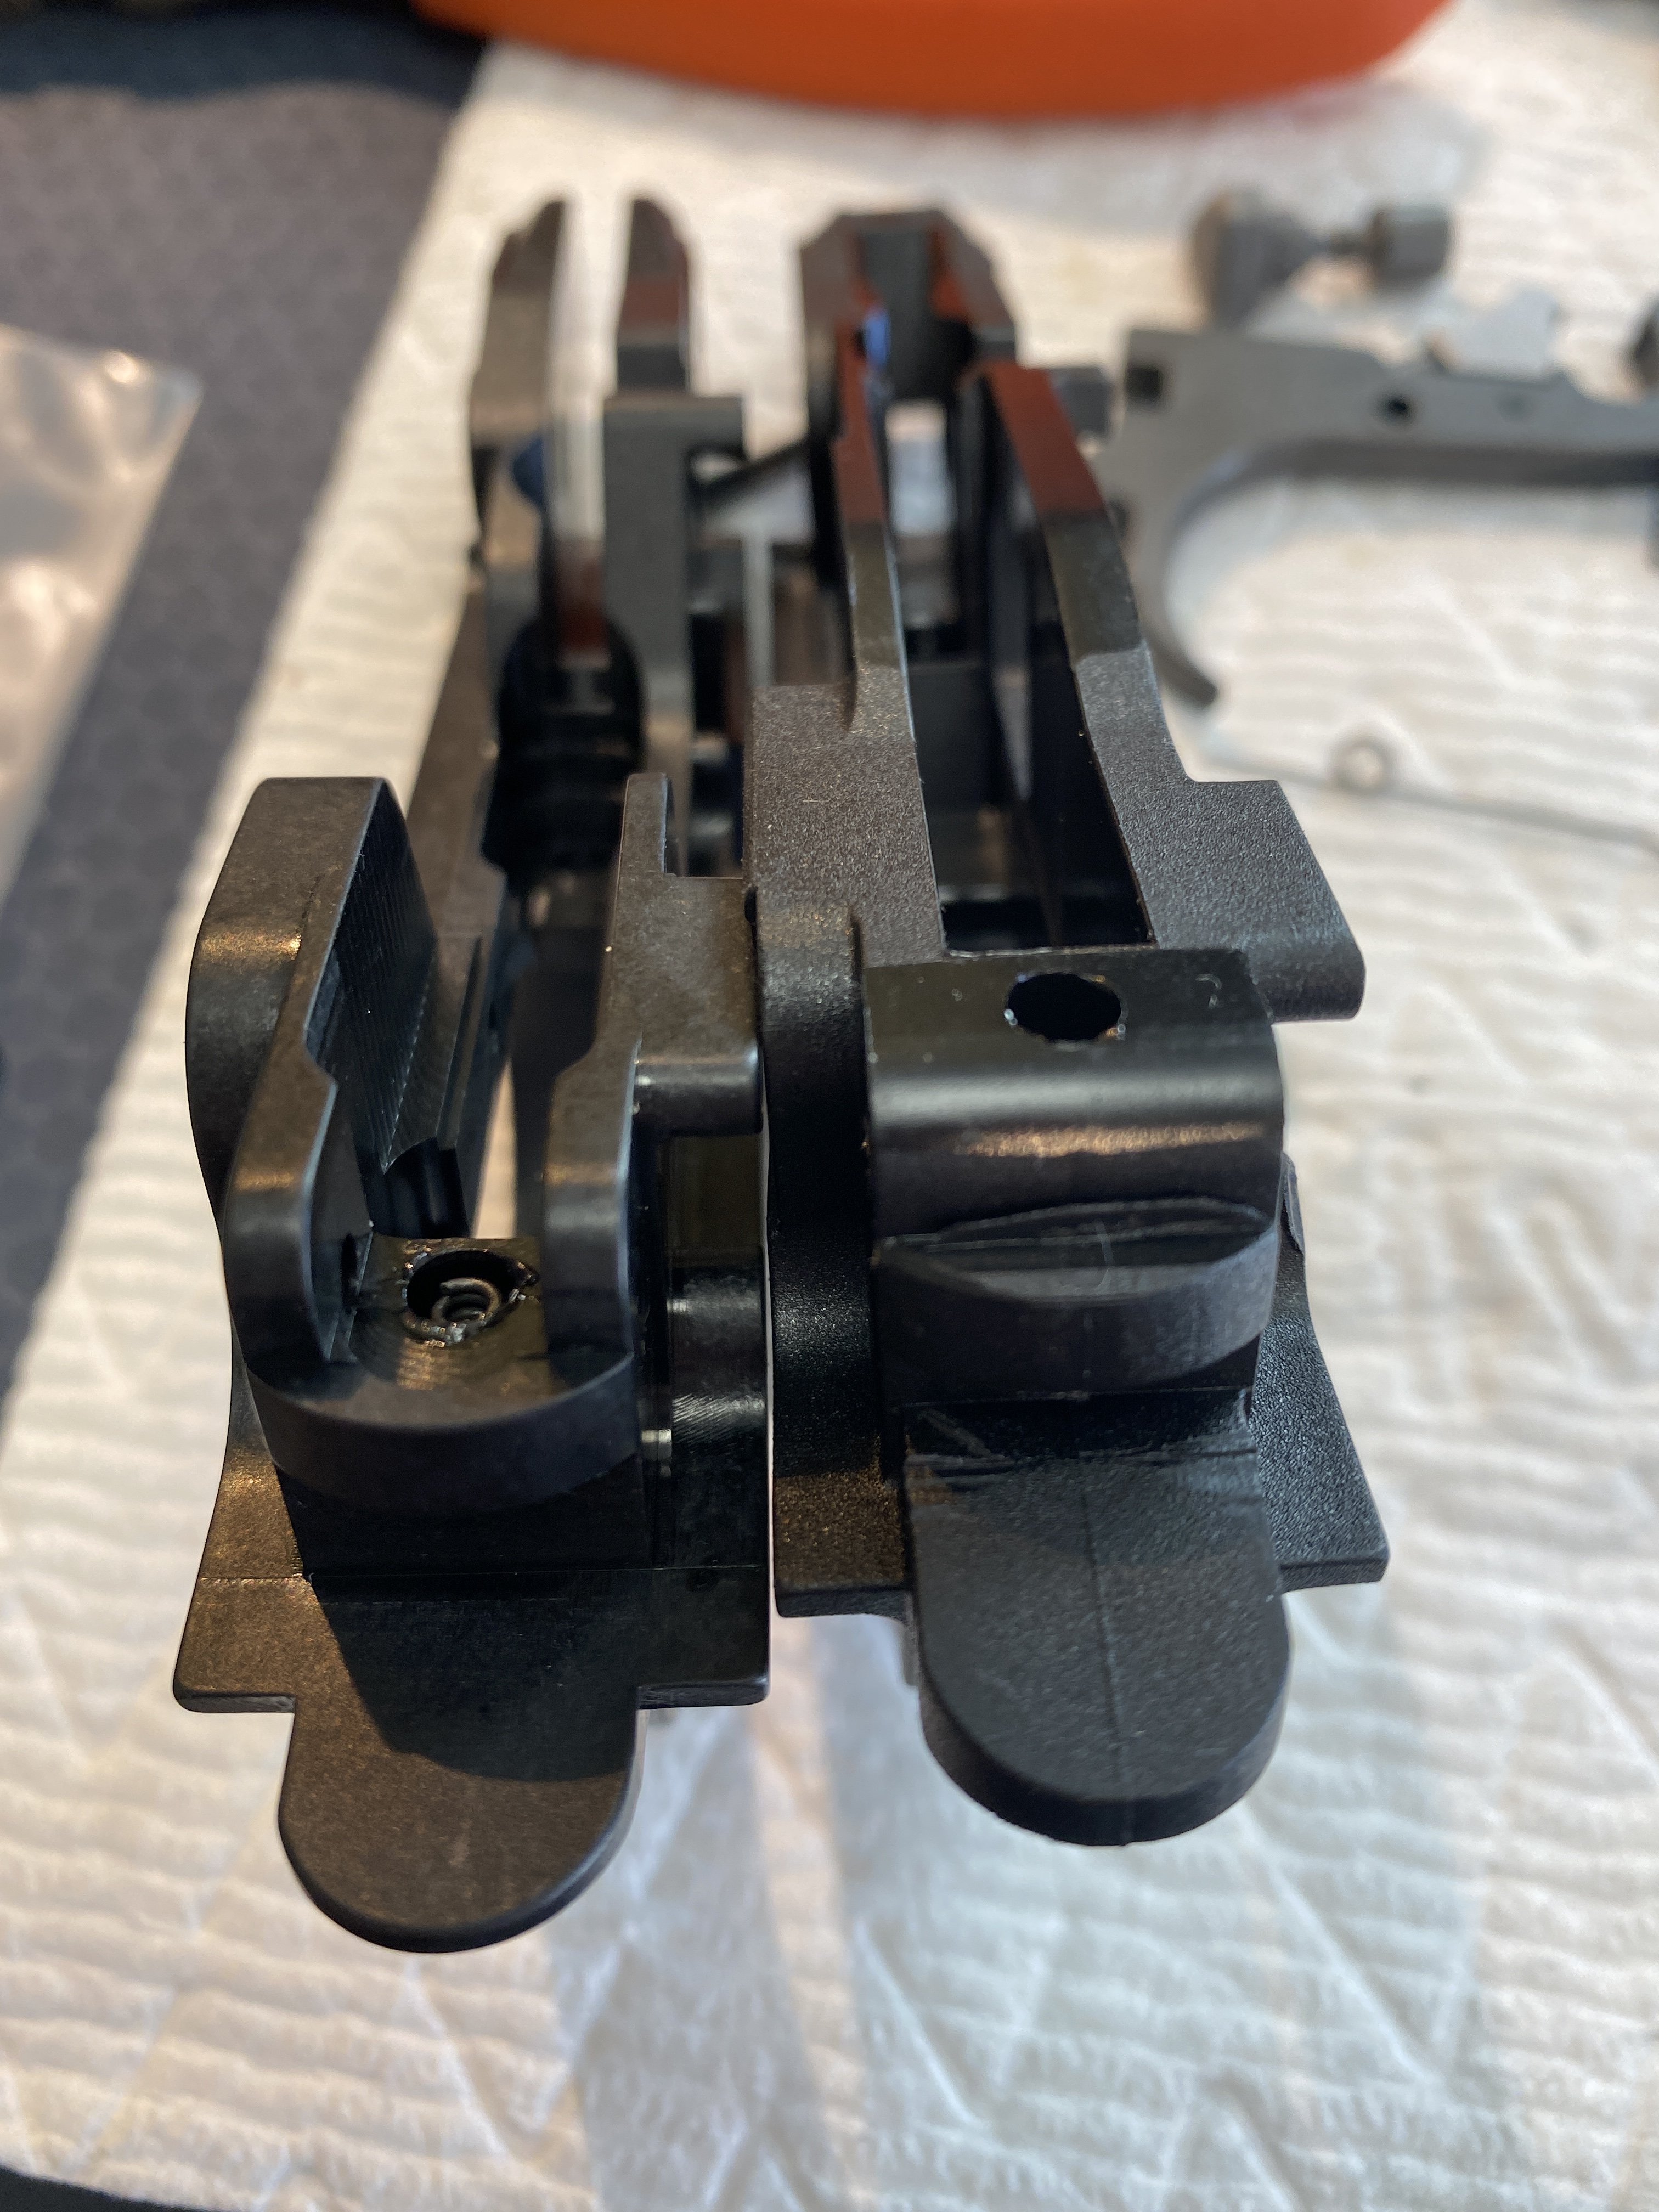
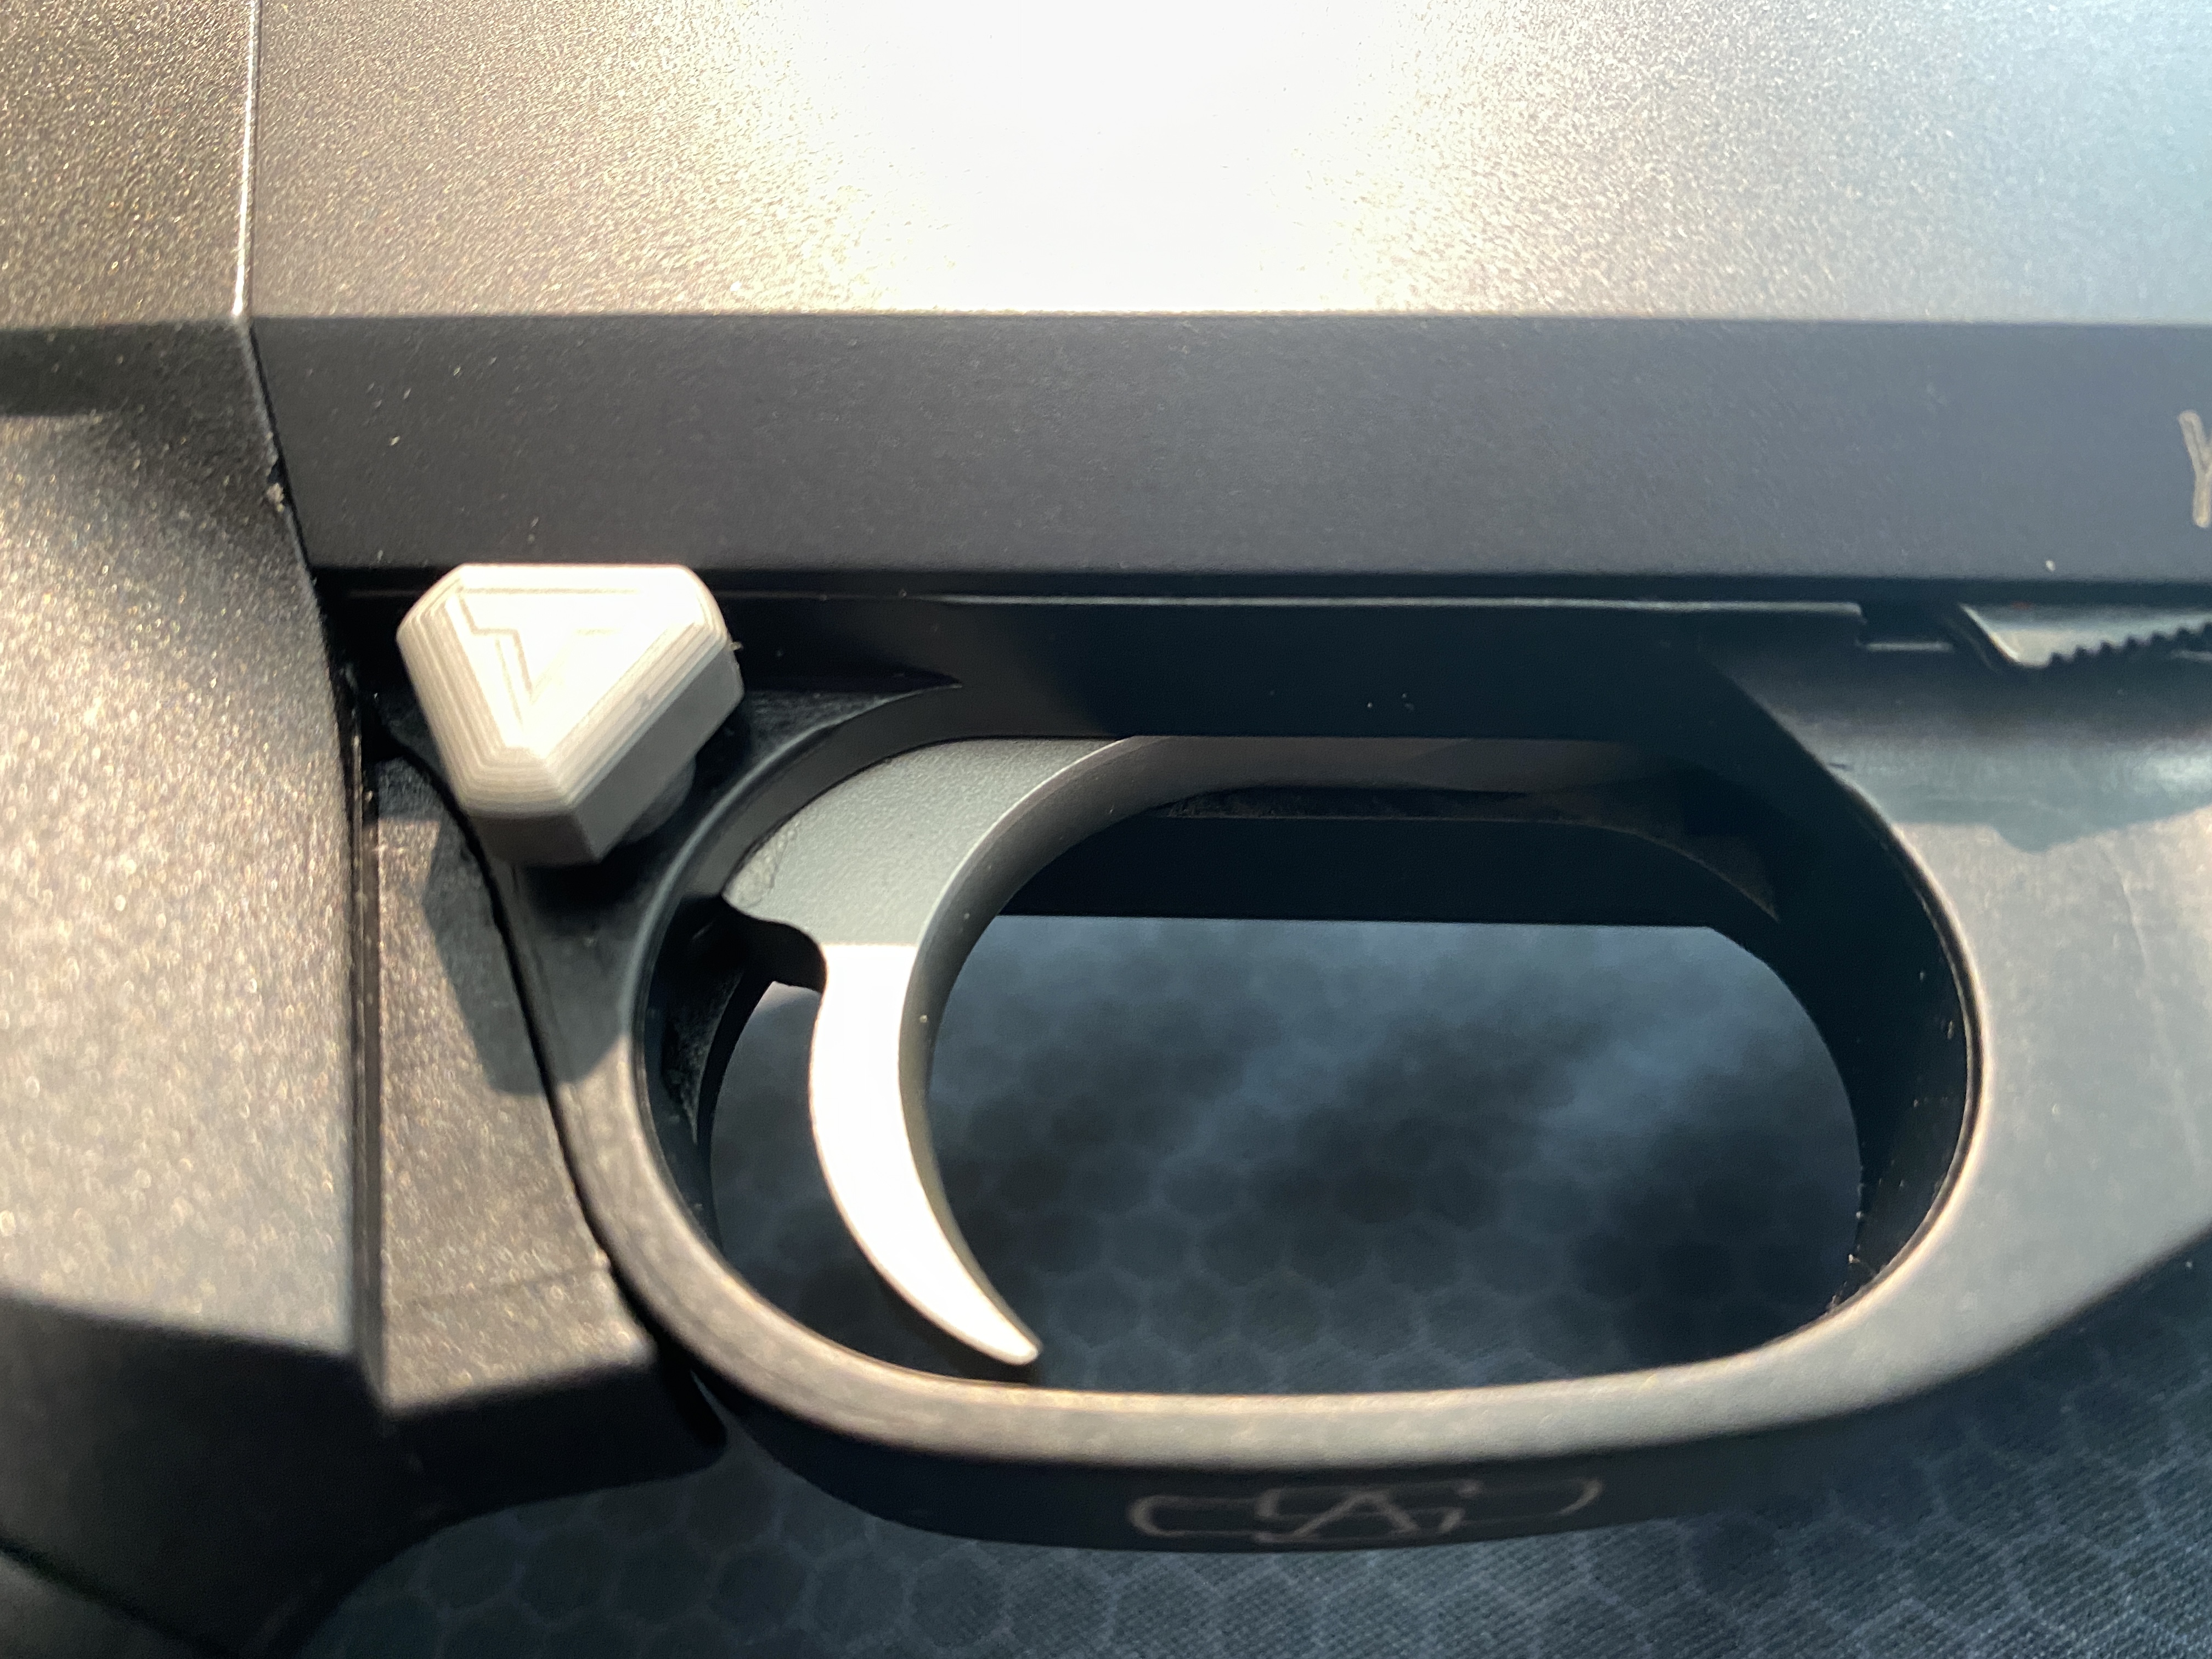
Turned out great! No issues what so ever. Very happy with the FFT trigger group and the A&S tigger guard. The FFT parts are machined well and you can feel the difference in the steel from the original Benelli parts. The FFT parts are NP3 coated which makes a difference. The A&S trigger guard is nicely machined and a quality part. Easier to install the safety on the A&S guard too.

 1 point
 -
Just wondering how many people are using aftermarket springs in their M4 trigger housings. FFT, TTI and even A&S has a safety spring, (hammer spring, trigger spring, carrier spring disconnector spring etc) Curious what results have been had. Good, bad or indifferent.1 point
-
I've had good luck with the FFT spring kit. They aren't meant to be lighter or extra power or anything like that. They're produced by Wolff to be a higher quality than OEM springs which tend to take a set. I did not have good luck with the TTI spring kit. I had light primer strikes and ended up removing the springs.1 point


This leaderboard is set to New York/GMT-04:00