Leaderboard

Popular Content
Showing content with the highest reputation on 02/14/25 in all areas
-
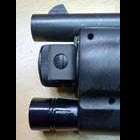
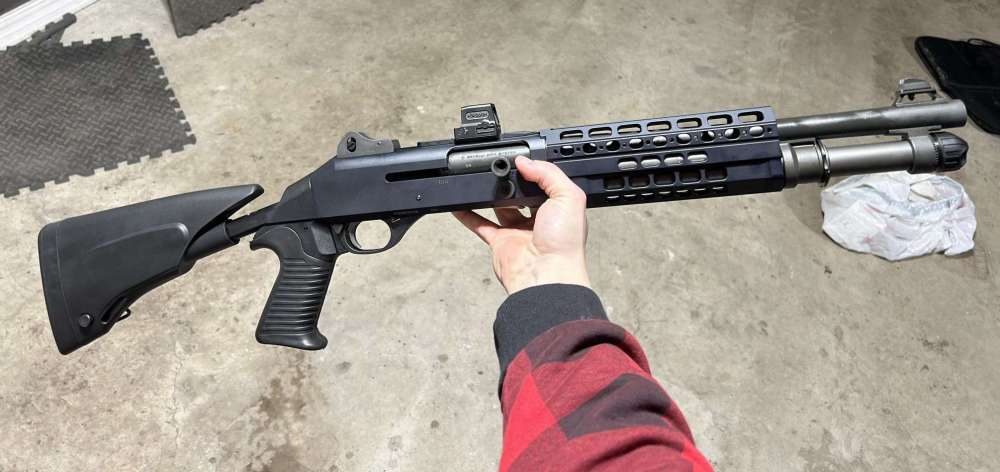
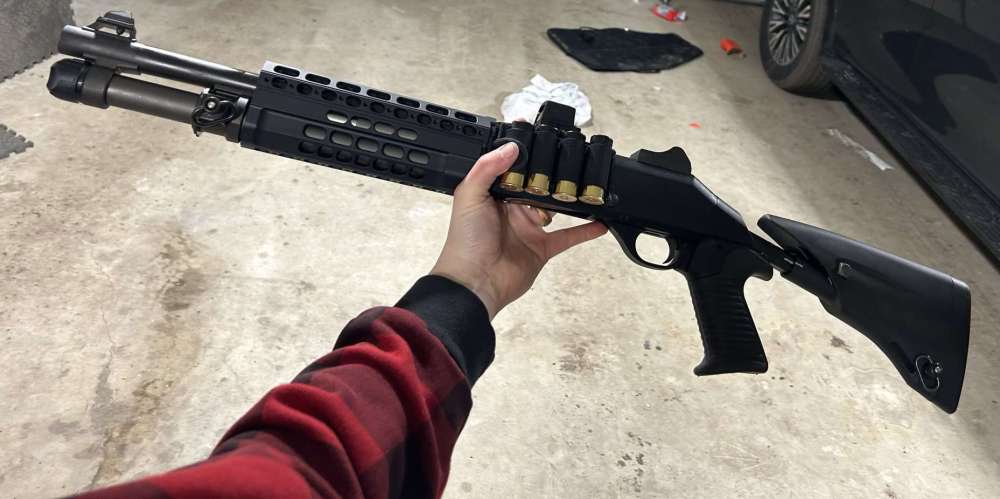
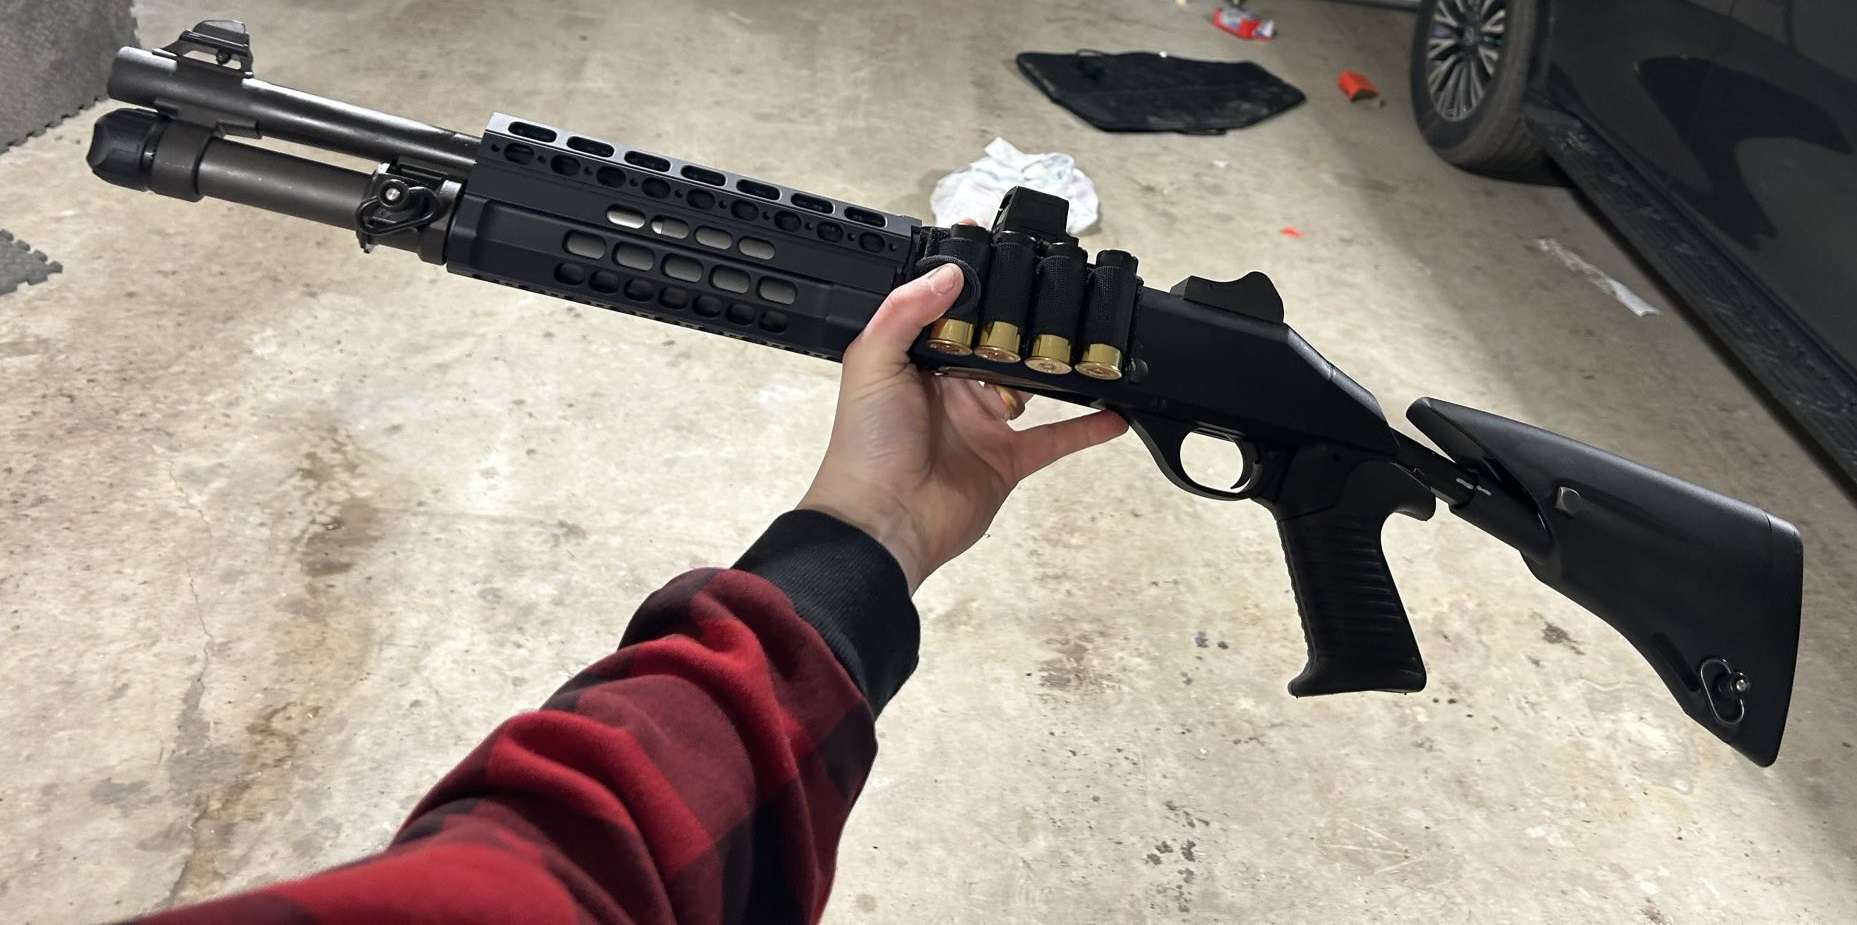
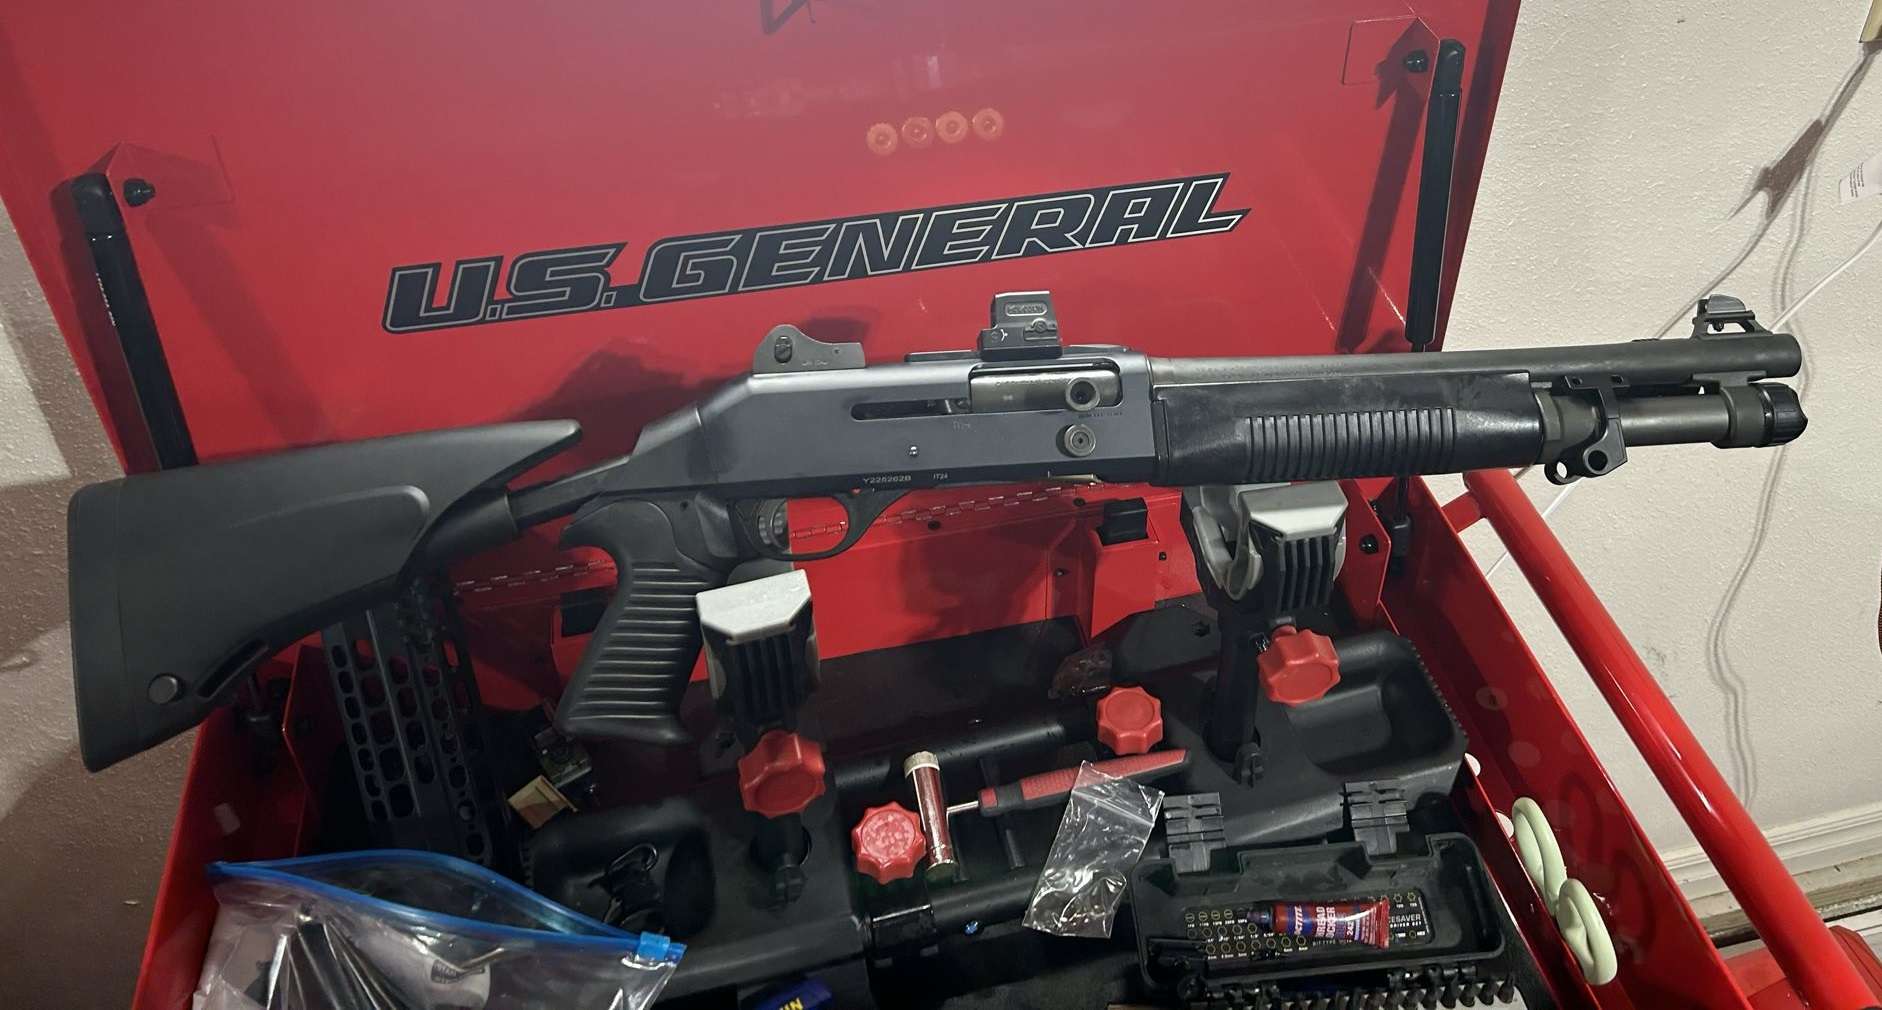
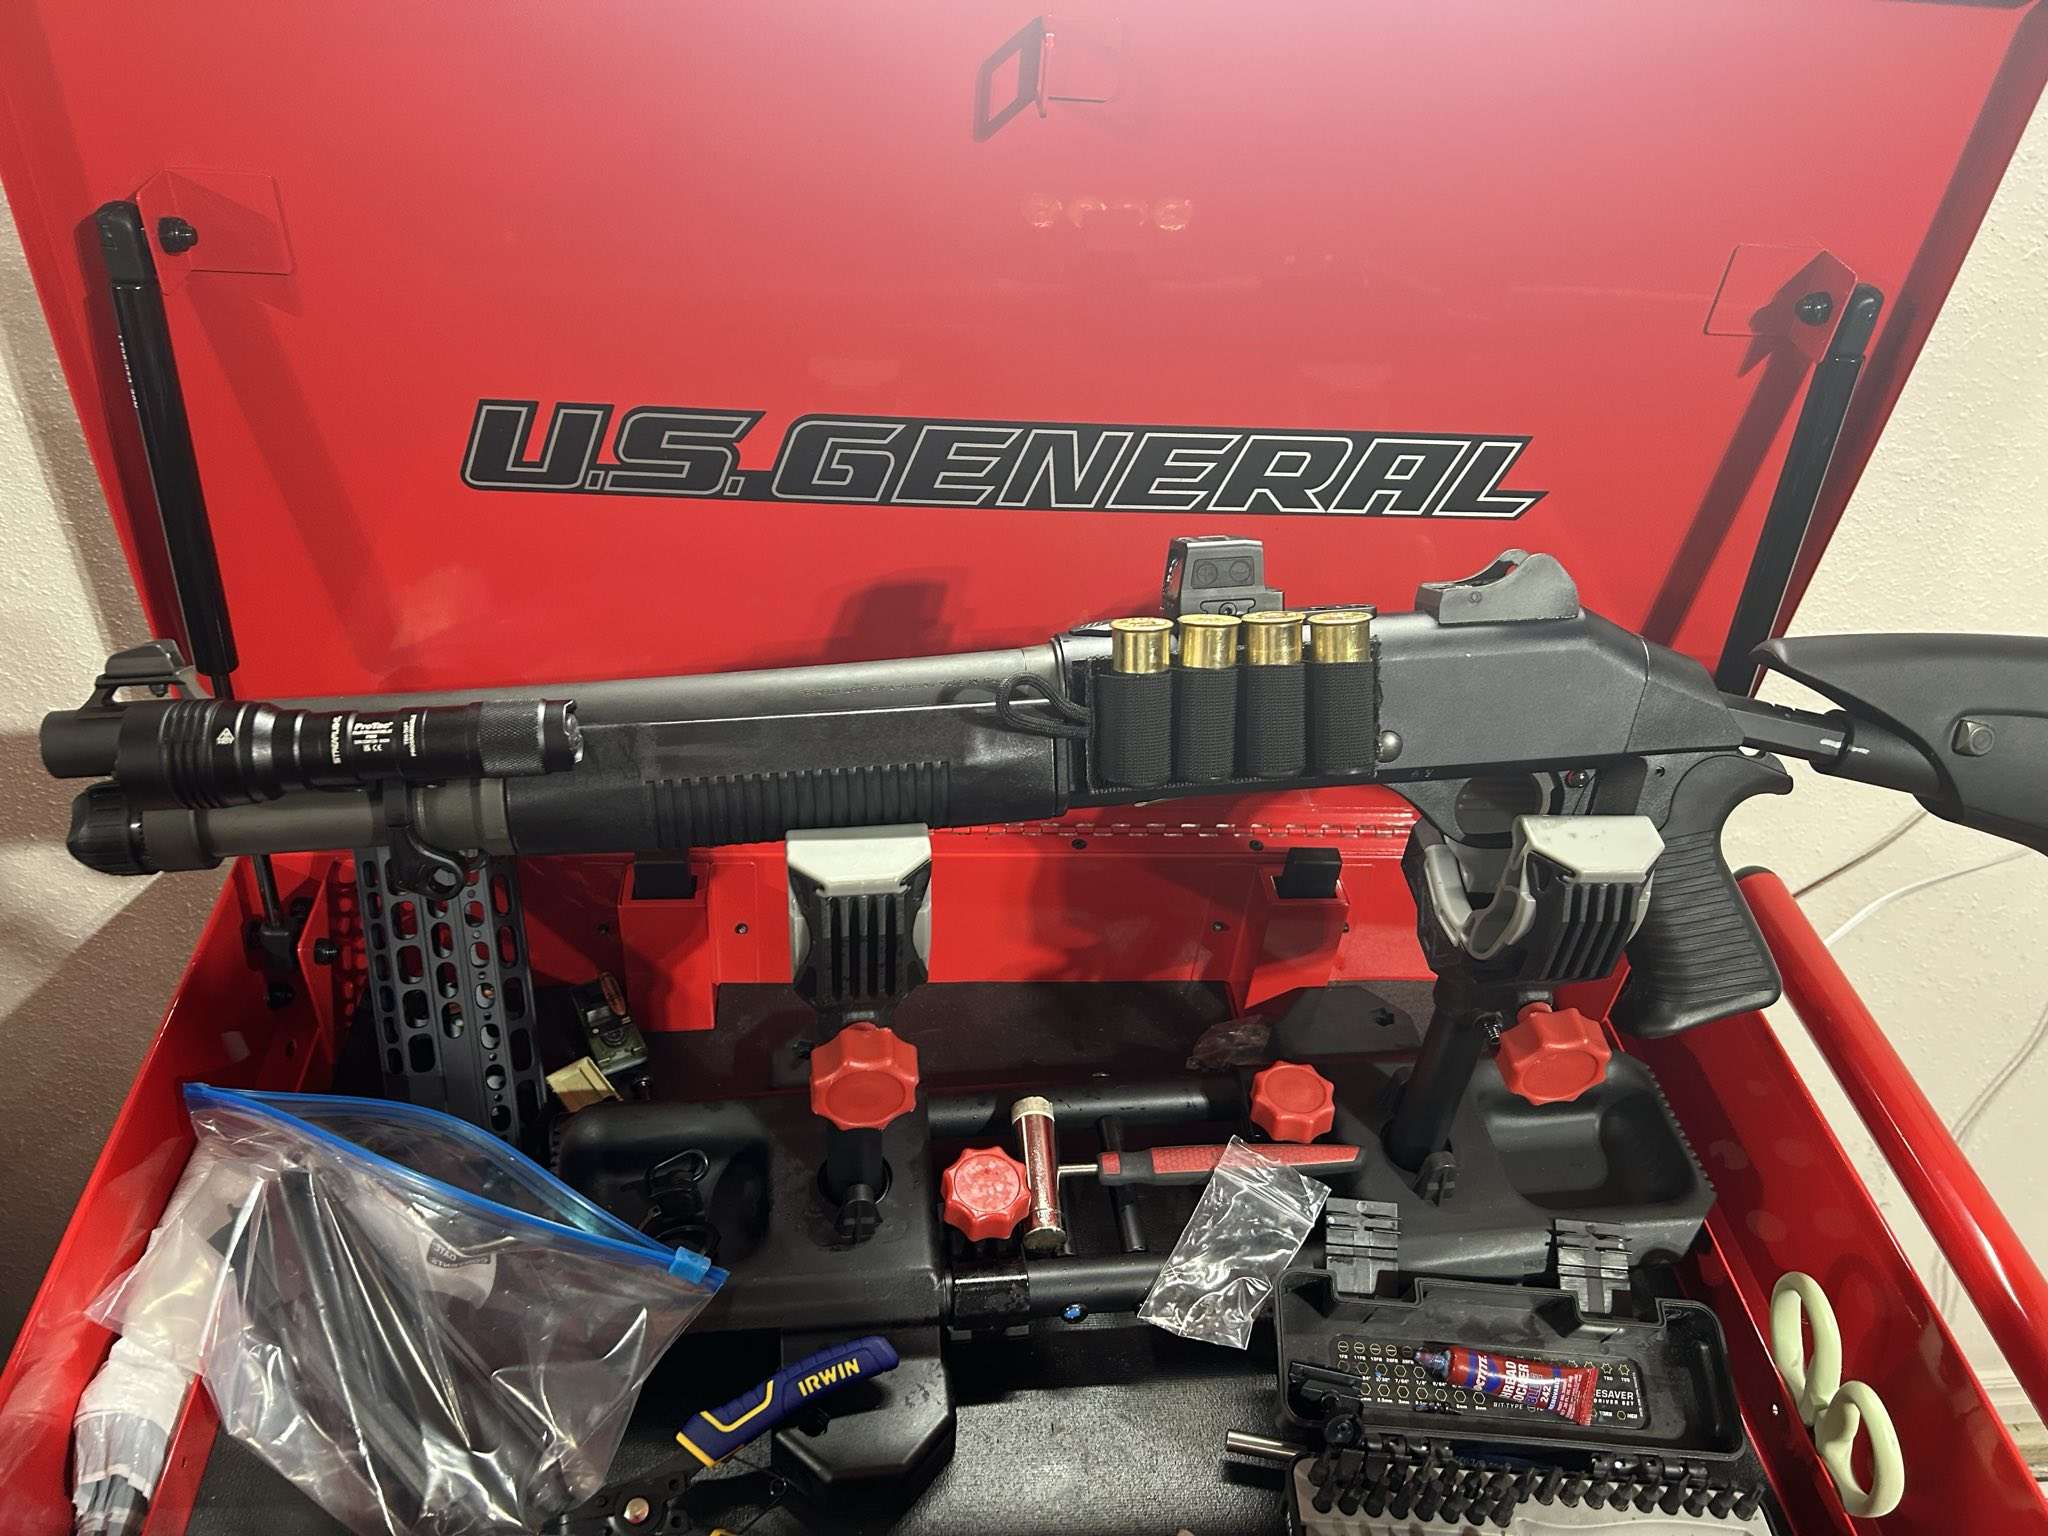
I got a gen 2 entry but didn't really like the OEM railed hand guard. It's super solid and drop in, but its not actually Mlock and you have to screw pic rails to it, and having three layers of mounting is...sub optimal. I've read rumor's that the gen 2 hand-guards are to drain water away from the piston and gas ports for some military contract, but I am not raiding a oil rig from a semi submersible any time soon so I'd rather have the dirt and physical protection of the original's, and I can larp with it better. Here is the before and after. I used the Freedom Fighter Tactical hand guards as I couldn't find both Benelli OEM's, just the left side for some reason. But comparing them side by side the FFT's are of a higher quality plastic and fit better. You also need these three parts: Benelli M4 & Super Black Eagle 3 Spring Washer Benelli M4 & Super Black Eagle 3 Washer Benelli M4 & Super Black Eagle 3 Retaining Ring Also, the MSP/IWC light mount will NOT clear the gen two hand railed handguards, the light body will by about 2mm at the end threads but there is no way of any tail cap of any type to fit. Also drop in, and now I can larp Ready or Not in my barn with the cows.

 1 point
 -
I know there are more modern alternatives, however, I find that the Surefire forend makes for a clean and effective solution. And then there's the lifetime warranty - Surefire will repair the electro-mechanicals of all their lights (including the forends) at no charge. Even if you're not the original owner. They have brought back two M1 forends from the dead for me. Ed1 point
-
Forward Recently, I’ve had a few requests to do a disassembly/reassembly guide for the trigger pack of the Benelli M4. Today I had some spare time to kill, so I decided to try to tackle it. This manual can be used as a guide for pretty much any Benelli shotgun out there. Not everyone needs to do a full disassembly. They may be doing 922® upgrades or simply changing out their safety button. Perhaps you want to have your carrier welded up? You can jump around through the photographs and see what is needed to get the assembly apart to do your job. In this tutorial, many of the images will have lines on them indicating what you cannot see inside of the parts. I used the color blue to indicate the position of the tools such as punches. I used green to indicate the position of the roll pin or other type of assembly pins. White and black indicate the general assembly. Note: The trigger pack I am using is a spare complete trigger pack with a Geisselle hammer installed. The Tools Before proceeding into this tutorial, I would advise that you have some proper gunsmith grade tools. You do not need hundreds of dollars’ worth of tools, but you do need the basics to prevent marring your work. Proper tools will also keep the swearing to a minimum. This job we’re about to perform will cause some swearing. You will be required to manipulate many small spring loaded pieces that must be aligned perfectly. It might be pretty miserable to perform if you have big sausage fingers. Take this under advisement before you’re forced to make the walk of shame to the local gunsmith with a shoe box full of parts. Naturally, if you get stuck somewhere, get a hold of me and I’ll help you in any way that I can. If you’re still stuck or have broken something, you can send the assembly to me to repair. All I will charge is the cost of shipping it back and the cost of any needed parts. The same applies if you want something repaired or if you want 922® compliance parts installed and do not feel you can complete the task. I’ve done many installs for locals and other members on this forum in the past. If I have the parts on hand or you are sending them with the item, I usually have the work back in the mail to you the next morning. 1/16 Punch 3/32 Punch Snap Ring Pliers Dental Pick Alignment Tools Assembly Block Brass Hammer Rawhide Mallet1 point

This leaderboard is set to New York/GMT-04:00