Leaderboard


Popular Content
Showing content with the highest reputation on 12/07/21 in all areas
-
Shot the 25 I had with no problems. Guess I’ll have to get more and see how they work out1 point
-
I've ordered a Collapsing stock from benelliparts.net before. Delivered under 60 days. Your milage may vary1 point
-
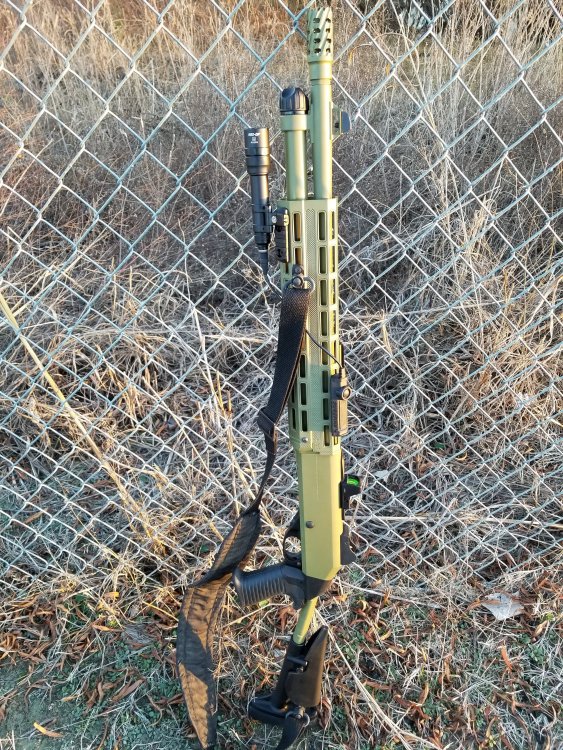
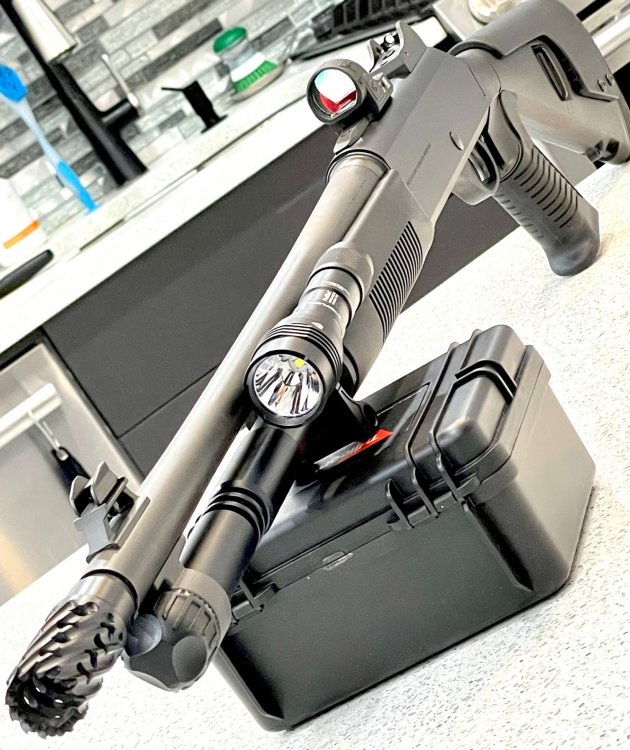
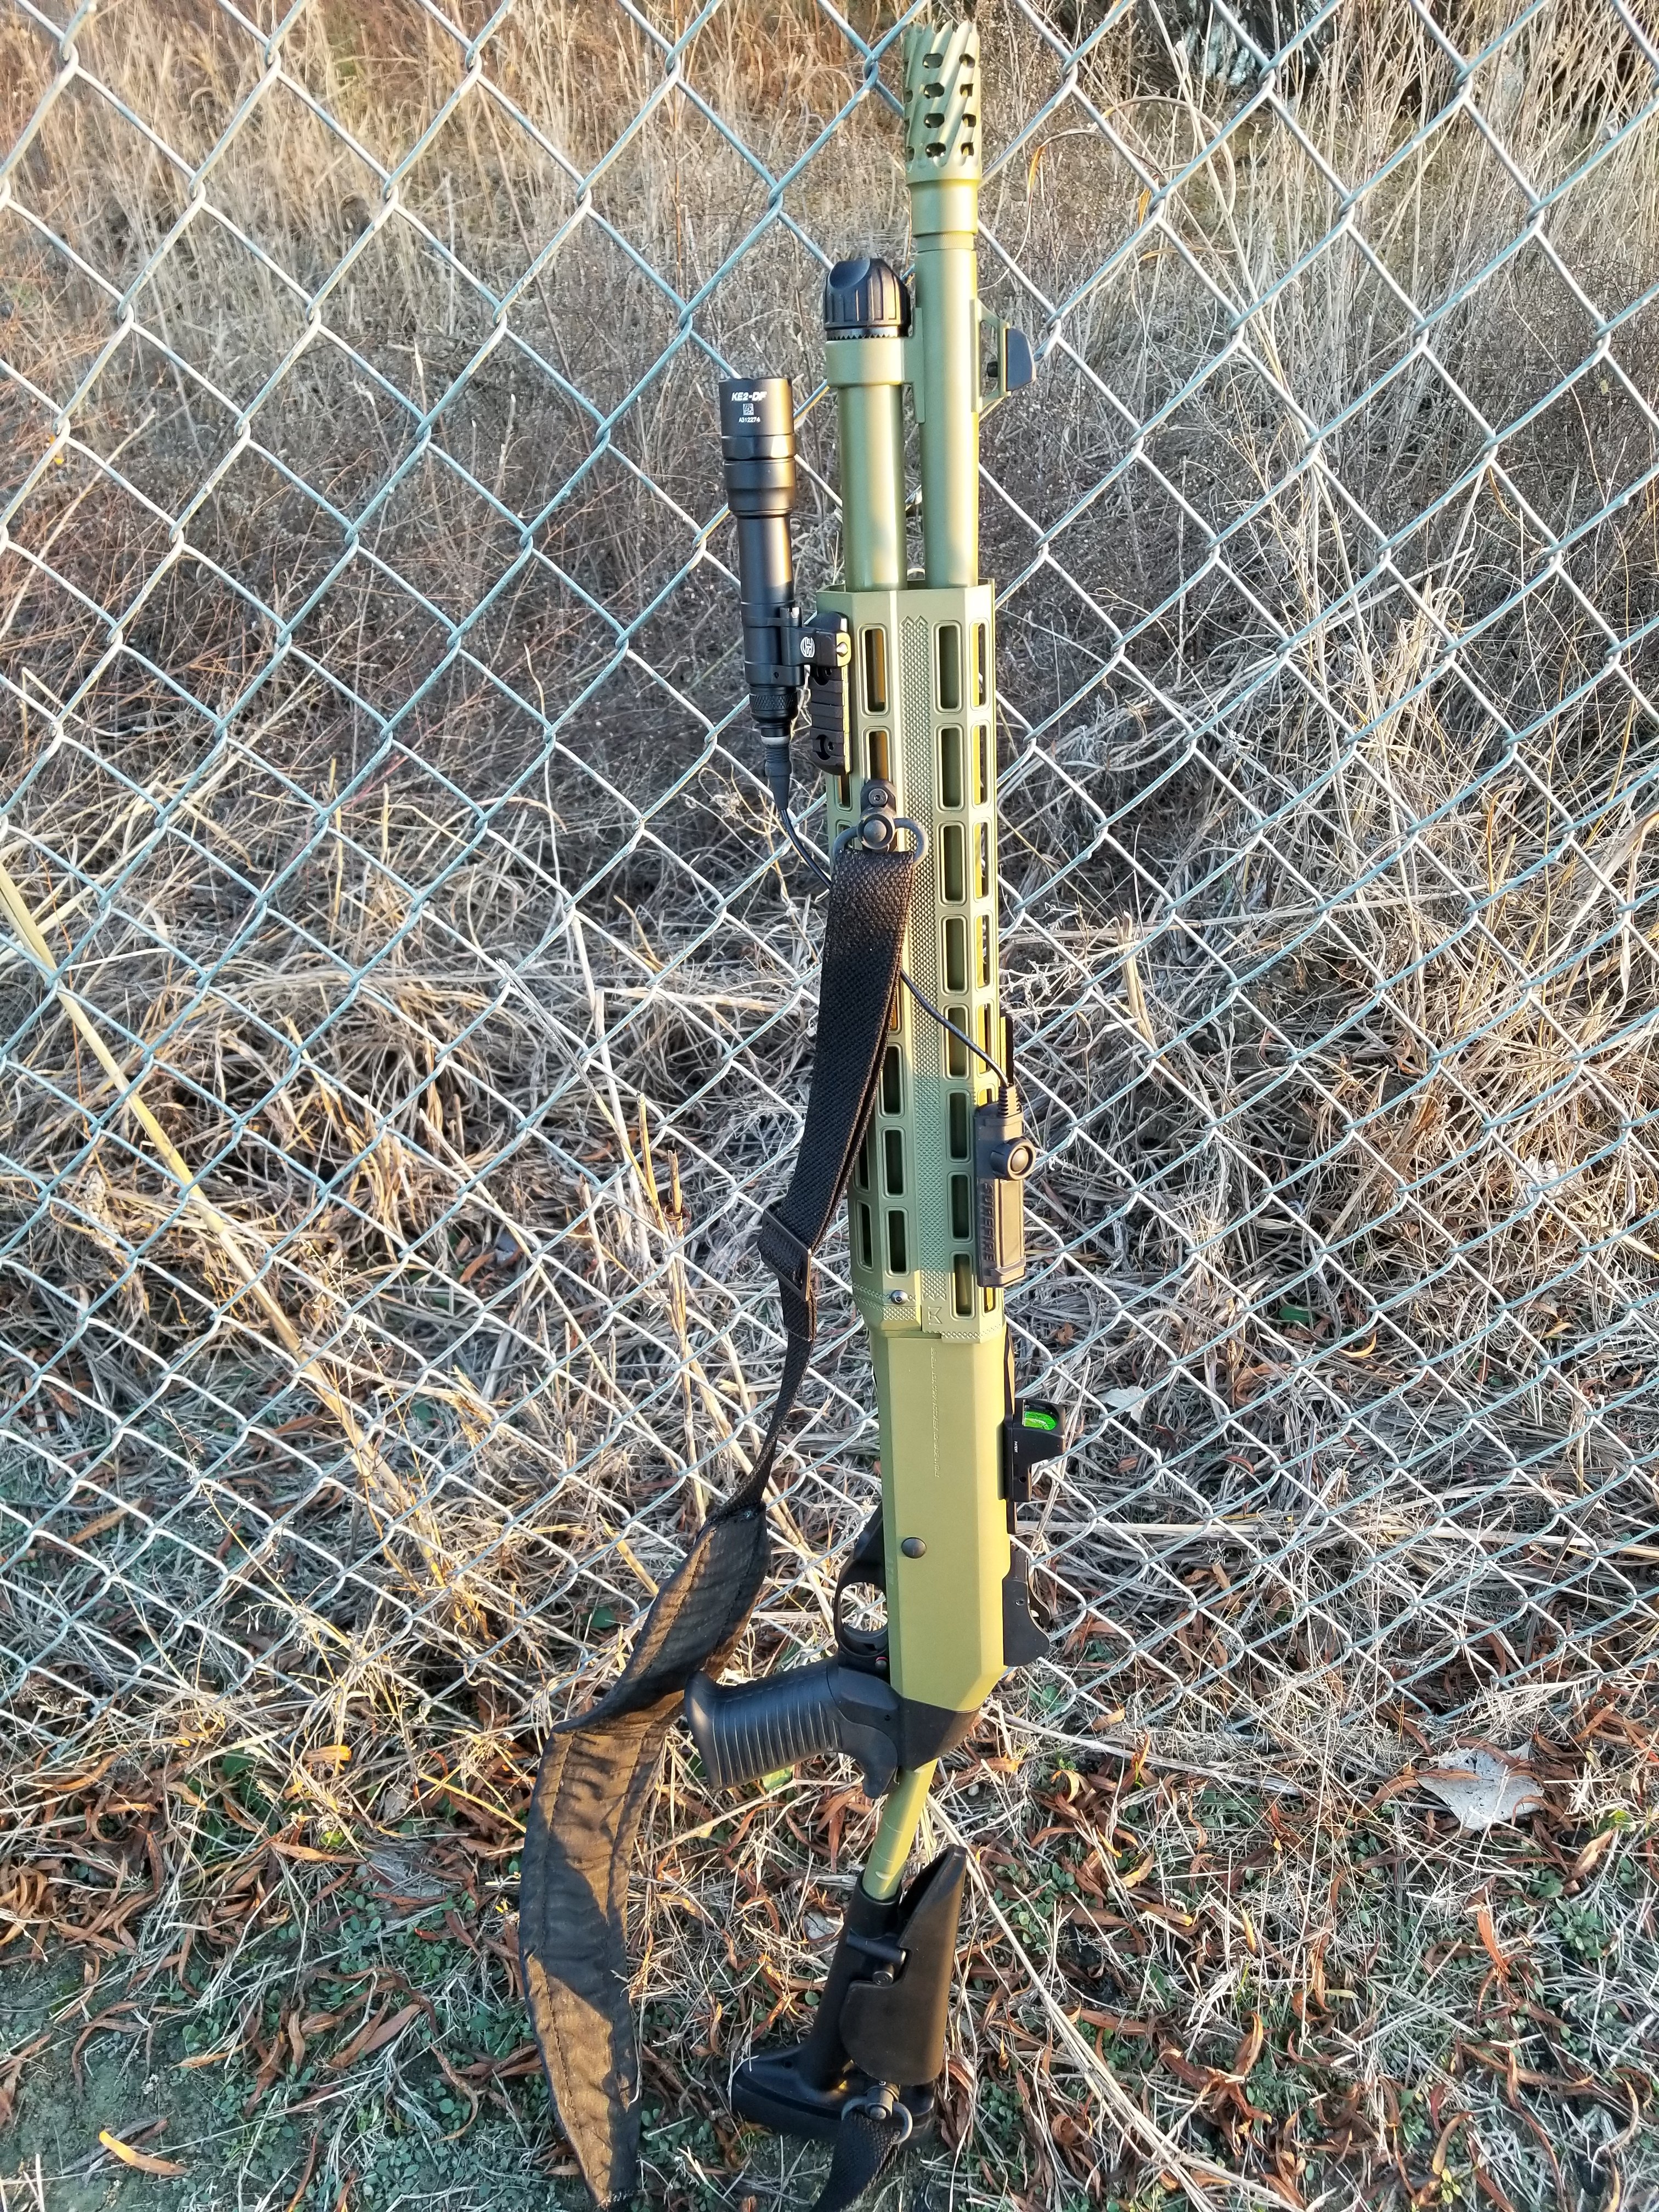
Here's my M4 Cerakoted. Briley handguard, Briley safety, A&S trigger guard, M60 sling, Surefire light, Match saver, custom charging handle (from BK02) Trijicon red dot and Scalarworks mount (from Alpha33). Thanks y'all! Apologies for the pics, I have NO beautiful scenery.
 1 point
 -
This is likely the one you need if you want the M1/M3 version: https://www.midwestgunworks.com/page/mgwi/prod/60516 If you want the comfortech, then here is the SuperNova one: https://www.midwestgunworks.com/page/mgwi/prod/61176 Verify your M3 has the telescoping recoil tube before you purchase. Mine did (hence the ability to swap the SuperNova telescoping stock.) I almost bought one of these for my SuperNova, yet could not come to grips with spending almost $200 for a stock when I could by a complete SuperNova with the comfortech for $500. I ended up putting the money towards a M2 with a field stock and love it. The M3 is an unique gun, yet the pump mechanism adds some weight. Something to consider based on how you intend to use it.1 point
-
Great result with Carlson (choke tube) Beretta Benelli Mobil Tactical Muzzle Brake Item #84030 Cylinder, Diameter: .725 The Cylinder constriction may be used with ALL shot shells including Lead, Steel, Hevi-Shot, and even slugs! More than 300 shells fired, 2-3/4 from 1200FPS-1600FPS not one failed.
 1 point
 -
There is a lot of misinformation concerning how to remove these recoil tubes from your weapon. Benelli will tell you that you will destroy the shotgun if you attempt to remove the extension. This is only true if you do not heat the threads sufficiently to break the thread locker. Once you've developed the testicular fortitude to complete this project, you must do the following: Disassemble the weapon. You must remove the internals from the recoil tube assembly. Use a pair of snap ring pliers to remove the snap ring at the bottom of the recoil tube. Unscrew the spring retainer. You should put a punch through one of the drainage holes to keep the spring from ejecting when you remove the plug. Contain the spring as the punch is removed. Tip the receiver back to allow the plunger to slide out of the recoil tube. After that, you should spray the recoil tube out with solvent to remove oil and debris that might catch fire during the next process. To remove the tube, you must heat the recoil tube extension's locknut with a heatgun for 30 minutes or more. A propane torch would also work, and be faster. However, a heatgun will be slower and safer. Benelli coats the threads with a green thread locker compound. Make sure you put the receiver in a vice. I found the best place to clamp to was below the rear sight. You do not want to crush the receiver with the vice. Apply just enough tension to hold the receiver in place. Make sure you apply some padding between your receiver and the vice. The nut is common thread. The nut is a 1 1/16" or metric equivalent wrench. You do not want to apply a lot of torque to the receiver. You want the heat to break the locktite's hold. I never used more than one arm to apply torque with. Once it is heated sufficiently, the nut will begin to turn slowly. Continue heating until the nut is completely removed and slides off the end of the recoil tube. Now time for the hard part. Continue to apply heat to the recoil tube threaded area. Use an open ended 3/4" box wrench on the flat spots of the recoil tube to apply torque. These are also common thread. This may take another 30 minutes with a heatgun to break the locktite compounds hold. Note the depth that the recoil tube is screwed into the receiver. Also be aware that this item must be timed to index the stock in an appropriate direction. Once the recoil tube unscrews, clean up the threads with acetone or another solvent. A wirebrush will help. To reassemble, screw the new recoil tube in so that the threads are flush with the inside of the receiver. Thread the locknut over the recoil tube assembly and screw it flush with the receiver. Add the collapsible stock to the tail to act as an index to help time the recoil tube assembly. Once you've indexed it to where you want it, tighten the locknut. What I recommend is installing the collapsible stock at this time, and collapsing it fully. Use the cheek weld piece of the collapsible stock as an index point. Point the cheek weld so it points to the middle of the rear iron sight housing. Once you have it where you want, tighten the locknut. I highly recommend reapplying locktite to the recoil tube and the locknut. Even if you simply use the blue type. The recoil tube extension is pretty easy to screw in. You can do it by hand. Reinstall the internals of the recoil tube. Drop the plunger in, followed by the spring. Press the spring in and retain it with a punch or screwdriver. Screw in the spring plug. Reinstall the snap ring. Install your stock. Hopefully this tutorial is clear. The times needed to run the heatgun are accurate. Prop the weapon up so you can leave the heat on it and just sit by and watch.1 point


This leaderboard is set to New York/GMT-04:00