Leaderboard

Popular Content
Showing content with the highest reputation on 08/30/22 in all areas
-
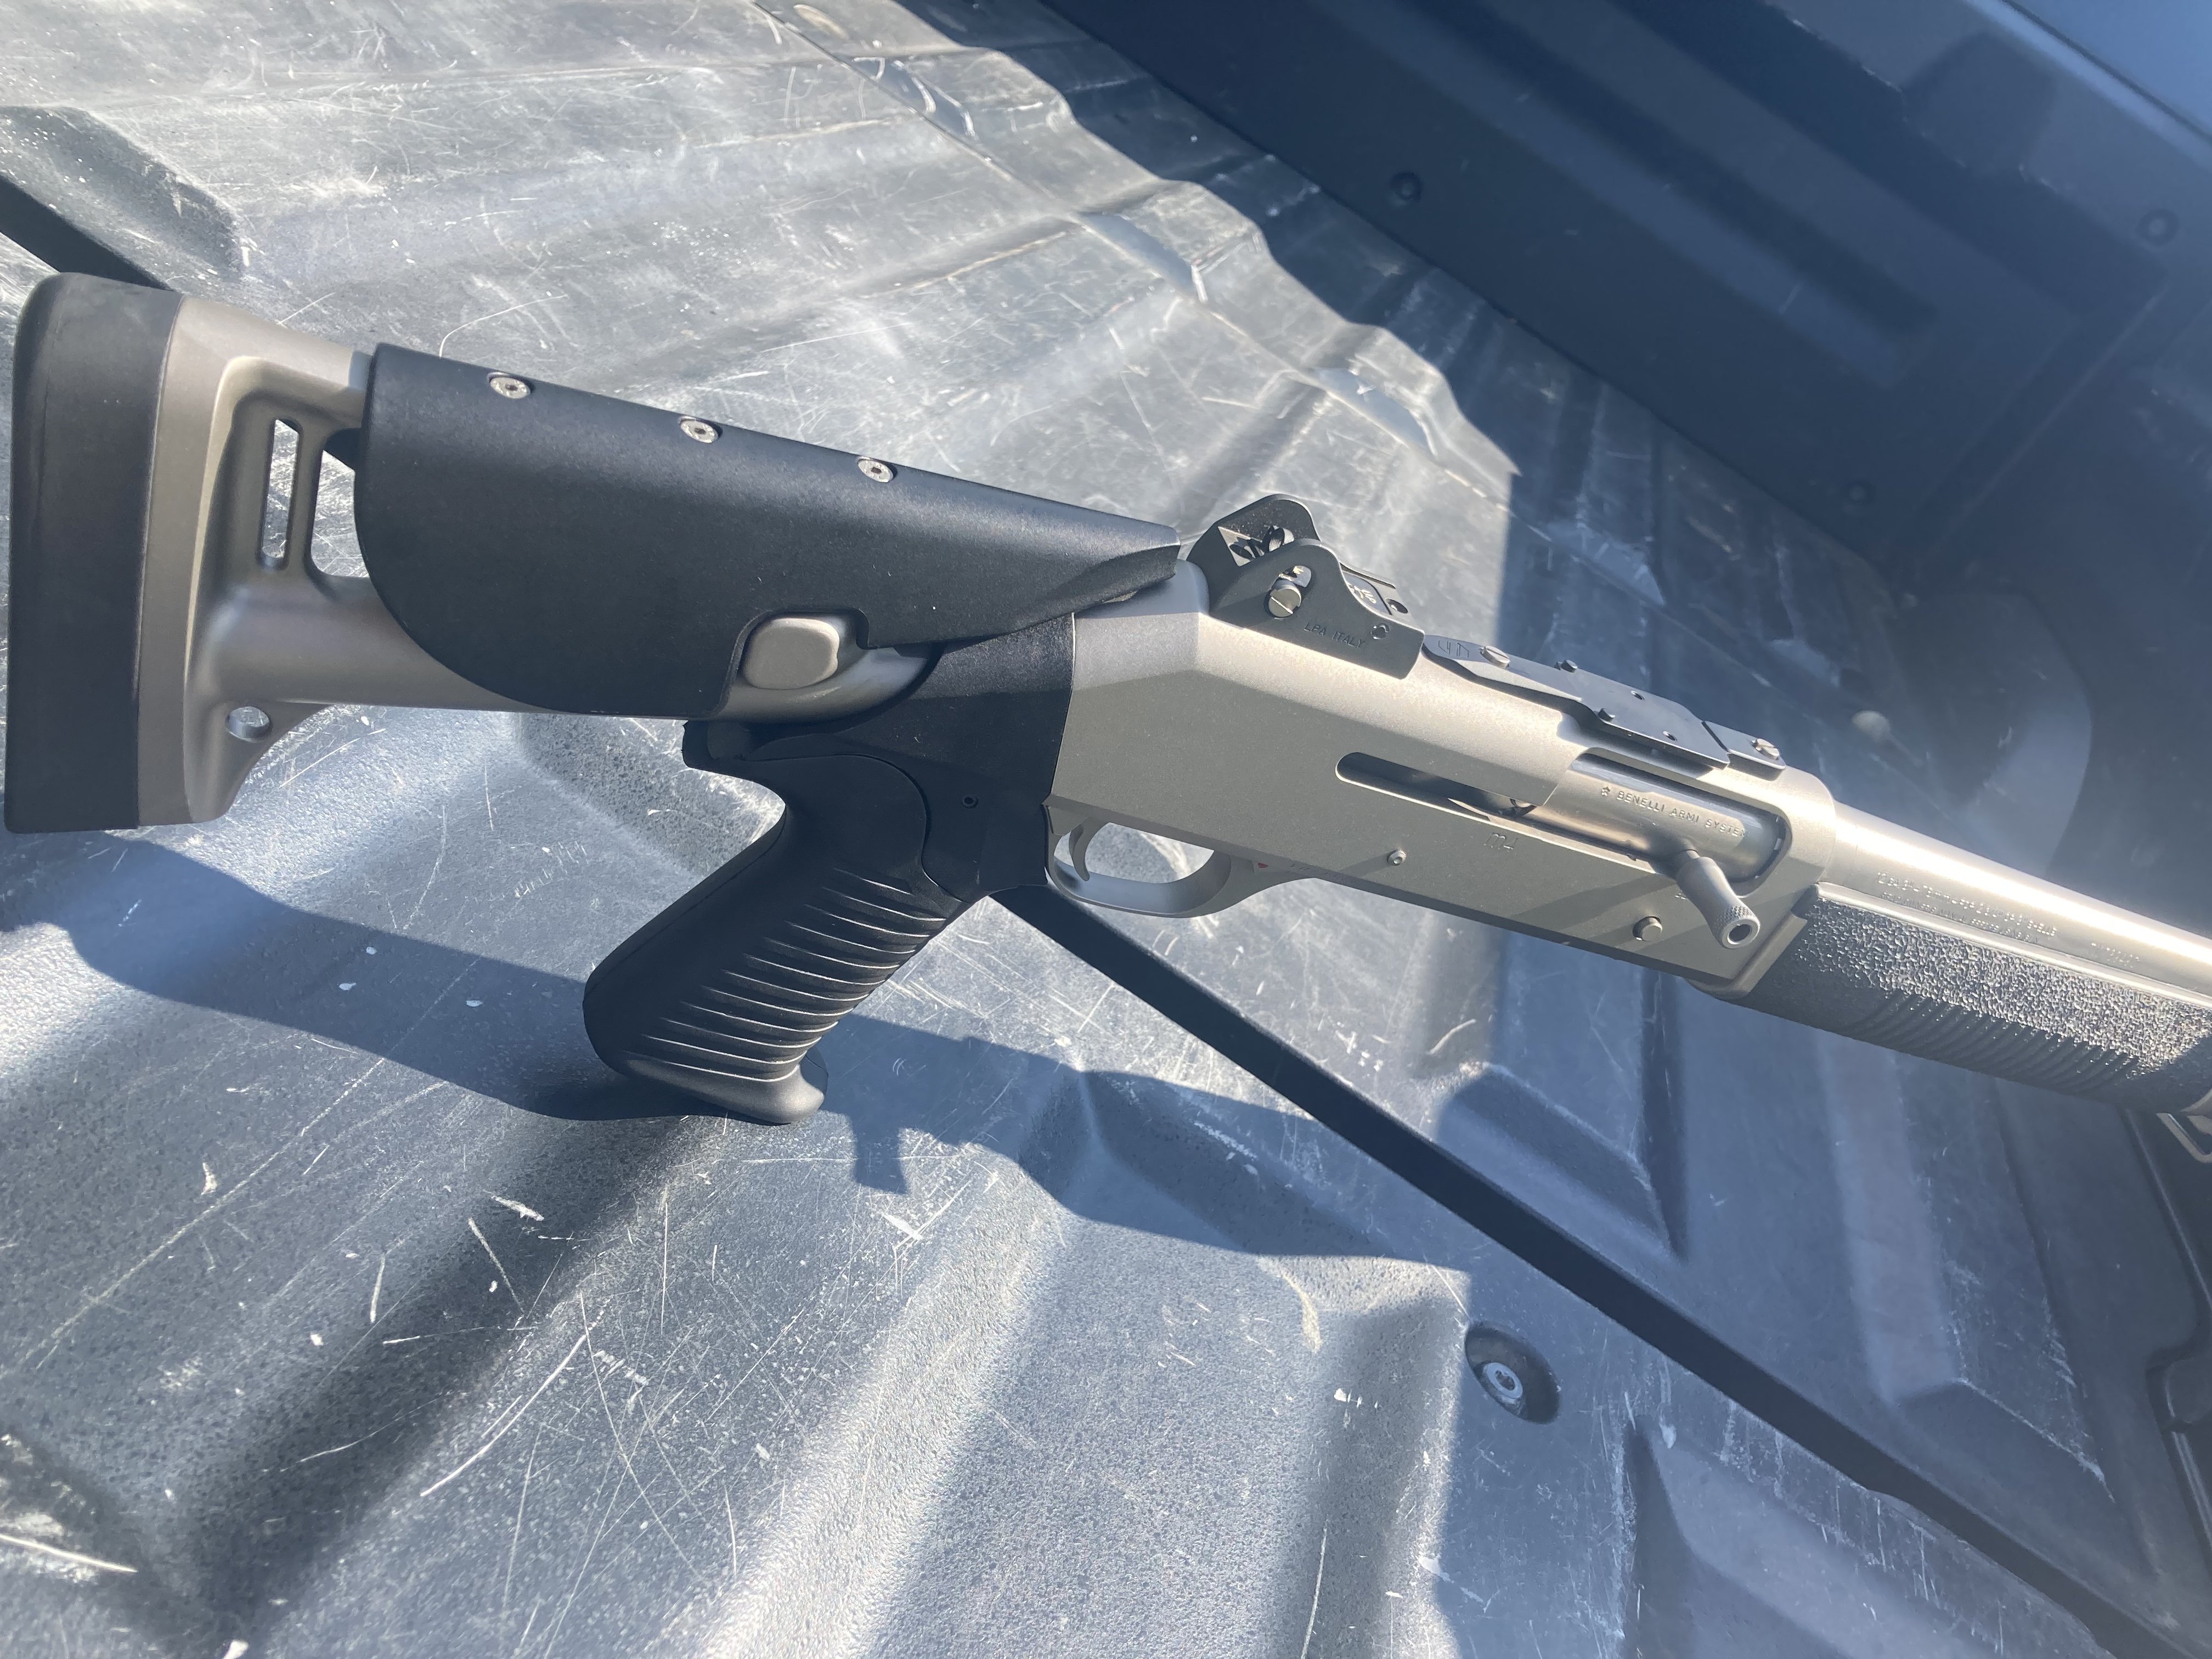
Finally an easier solution for adding a Limbsaver to the Benelli M4 is available. This is significantly easier and requires fewer parts in the past assemblies of the 10111 model that required the Noveske adapter plate that is no longer sold. For this assembly we'll be using the Limbsaver 10403. This model has a raised lip on the inside of the buttpad that helps center the pad on the stock. First step is to remove the collapsible stock from your shotgun. You will then need to remove the factory buttpad by using a philips screw driver and inserting it in to the two small holes on the factory buttpad. Use a little oil or spit on the driver to help push it in. Push the driver in firmly as you unscrew the fasteners. Pull the buttpad away from the stock as you unscrew it. The screws will remain captive inside of the buttpad. Not the large hole roughly in the center of the stock. This is where the receiver extension passes thru the stock and in to the buttpad when the stock is in the fully collapsed position. The next step is to fit your buttpad to the stock. I had to purchase screws from the hardware store to make this buttpad work for this application. I used M4 machine screws, 0.7 thread pitch, 16mm in length. You will need two of them. The ones I bought use a 2.5mm allen head driver. Press the screws in to the Limbsaver buttpad through the two holes in the rubber. Use your driver to press since it will have to push past the rubber. They will snap in to place once seated. You'll see the threads sticking out of the bottom of the buttpad. Screw the buttpad on to the stock. Note the two holes top and bottom for accessing the screws. Now we need to make a hole in the plastic base of the buttpad for the receiver extension to pass in to. Now that you have the pad attached to the stock, you'll want to get a Sharpie marker with the cap off and drop it down the hole of the collapsible stock where the receiver extension goes. I use a silver one since it makes it easier to see the marks. I shake the stock around a little to get the marker to give me a witness mark as to where I am going to drill. Now remove the buttpad from the stock and check your witness marks. You should have something like this. You now know roughly where you need to drill your 7/8" hole. Rather than trying to bore that big of a hole in one pass, you'll have better luck starting small and moving up. I start with a 1/4" Forester bit and drill it out on a drill press. You do not want to drill all the way through the buttpad. You only want to drill through the plastic back which will open up to a void inside the buttpad. I suppose you could drill this out with a electric drill, but your quality of work is likely going to suffer. First hole is drilled. Take the pad and offer it back up to the stock. Look down the hole where the receiver extension goes down with a flash light and see how close to center your hole is to the hole you're looking down. I see that I'm a little off center to the right of the screen. No problem. Move to the next size up bit 3/8" and try to correct for the alignment. Continue through the 1/2, 5/8 and finally the 7/8 bit. Here is the end results. Clean out all the plastic debris from inside the buttpad and clean up the edges. I use a deburring tool but you don't have to get that fancy. Offer the buttpad up to the stock again and check to see if you can see the sides of the buttpad through the hole. You should be looking straight in to the hole drilled. If an edge is present, it will liely contact the receiver extension and prevent it from collapsing. You can hog out the hole slightly with no ill effects on performance. Finally offer up the stock with the buttpad screwed in place to the shotgun and see if the stock fully collapses. If it hangs up, you need to remove the offending area. If it fits, finalize the installation by applying some blue Loctite 243 to the screws then snug them up. No retard strength is needed. These threaded holes will strip easily if you muscle it. Use your fingers to hole the buttpad in alignment to the stock as you tighten it. There is a small amount of wiggle room in the pad that will allow you to even out the alignment. Make sure everything still fits after you've tightened the screws. The rubber of the Limbsaver will often times have a dried out look to it. You can rub some lubricant on the rubber with a rag and it will return it to a deep black finish. Limbsaver claims you'll see a 70% reduction in perceived recoil with these pads. That figure is a little optimistic. Realistically I'd say you'll see a 40% reduction.1 point
-
anyone have any recommendations, just picked up my 11711 np3 M4 and it has the stock follower I am pretty sure, the previous m4 I just sold had the FFT or TTI and it stuck out more , I am sure strangerdanger's port work had something to do with that but just curious if there are any outright recommendations?
 1 point
 -
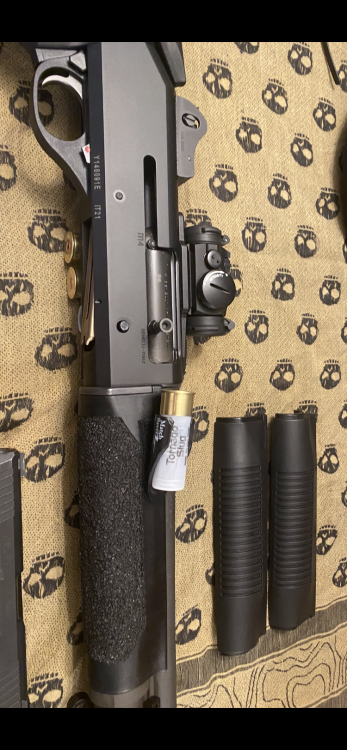
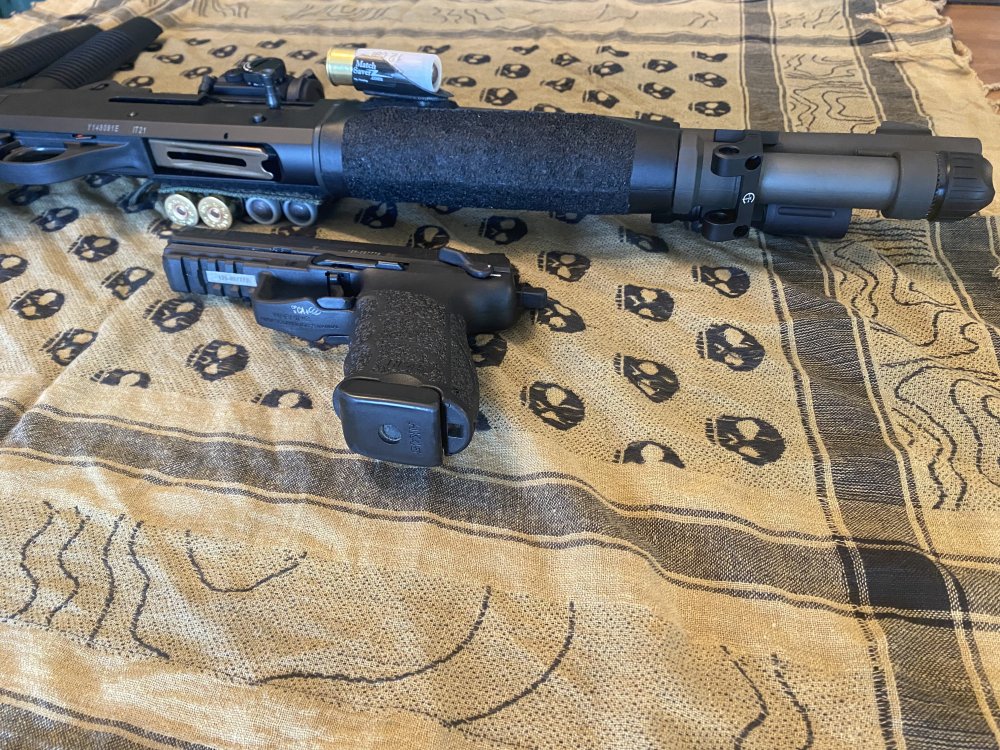
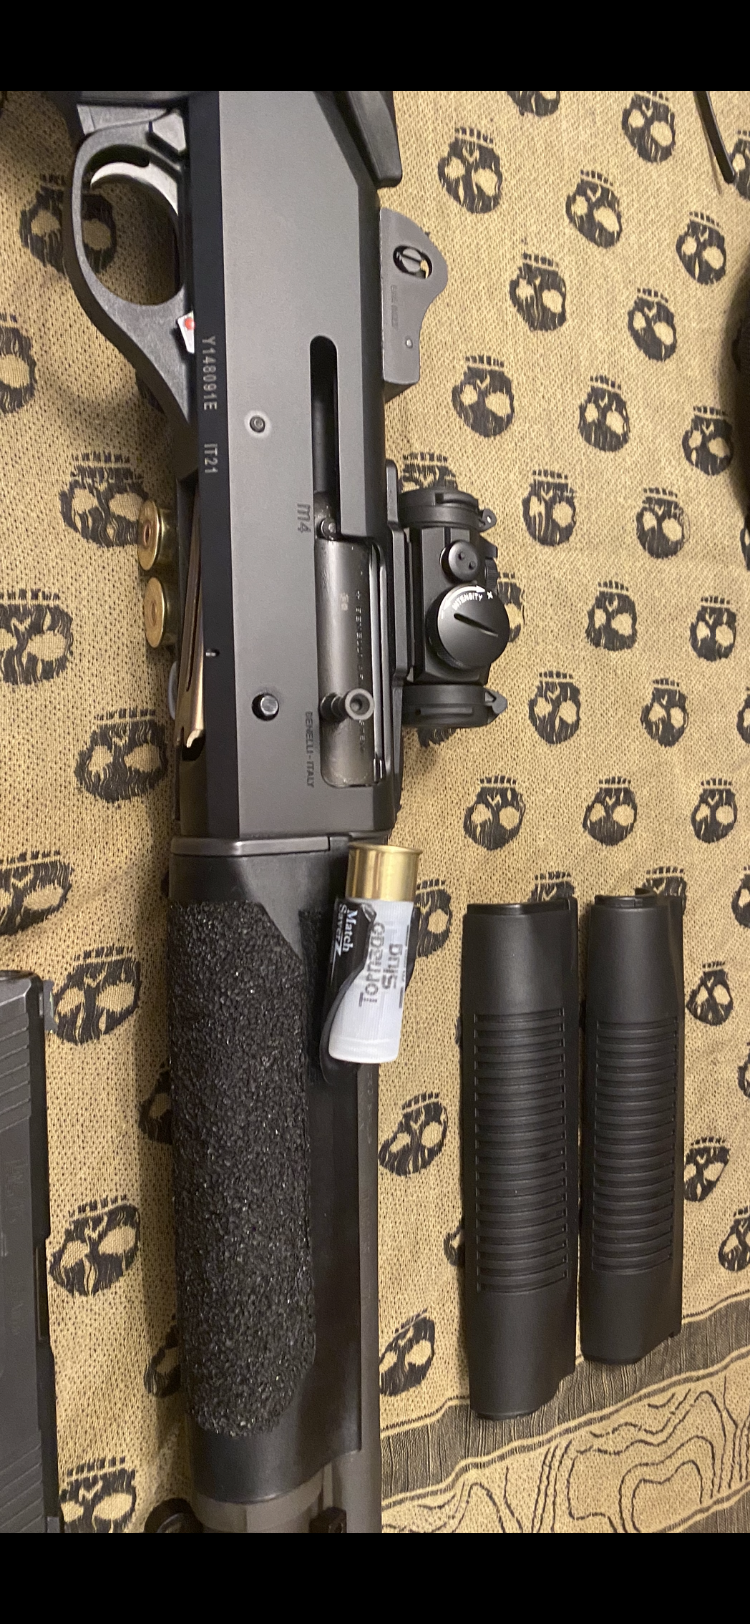
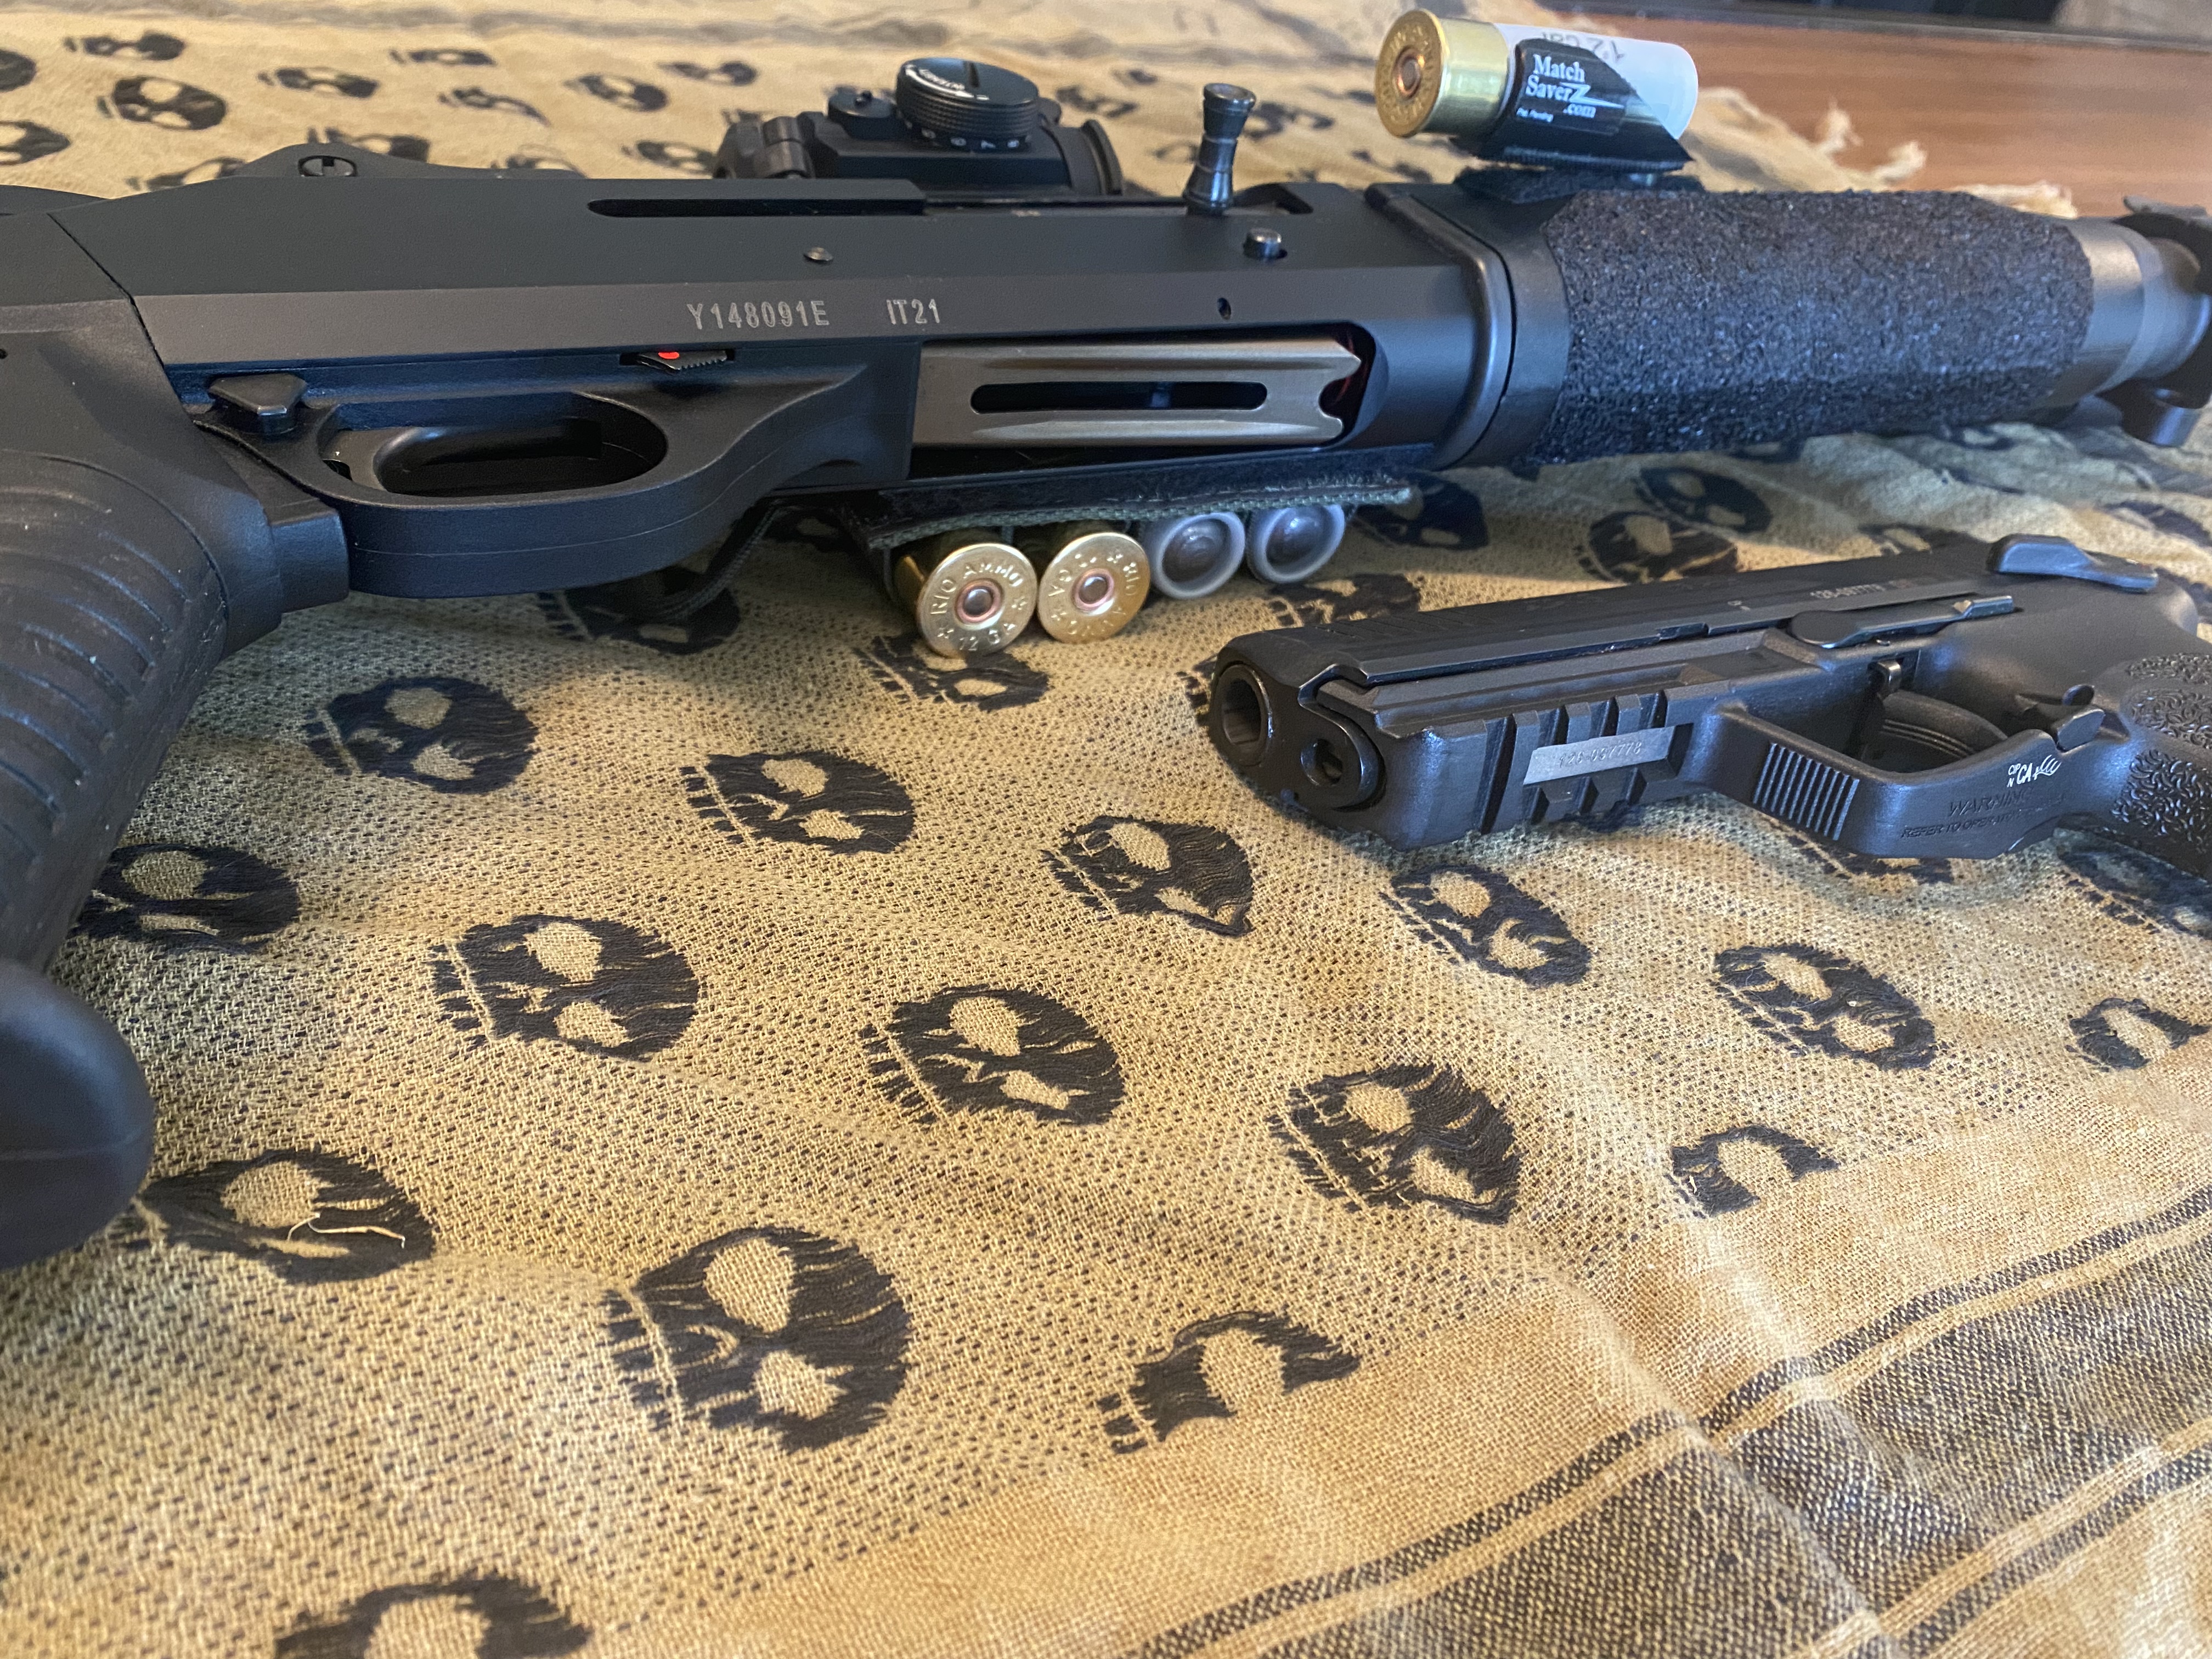
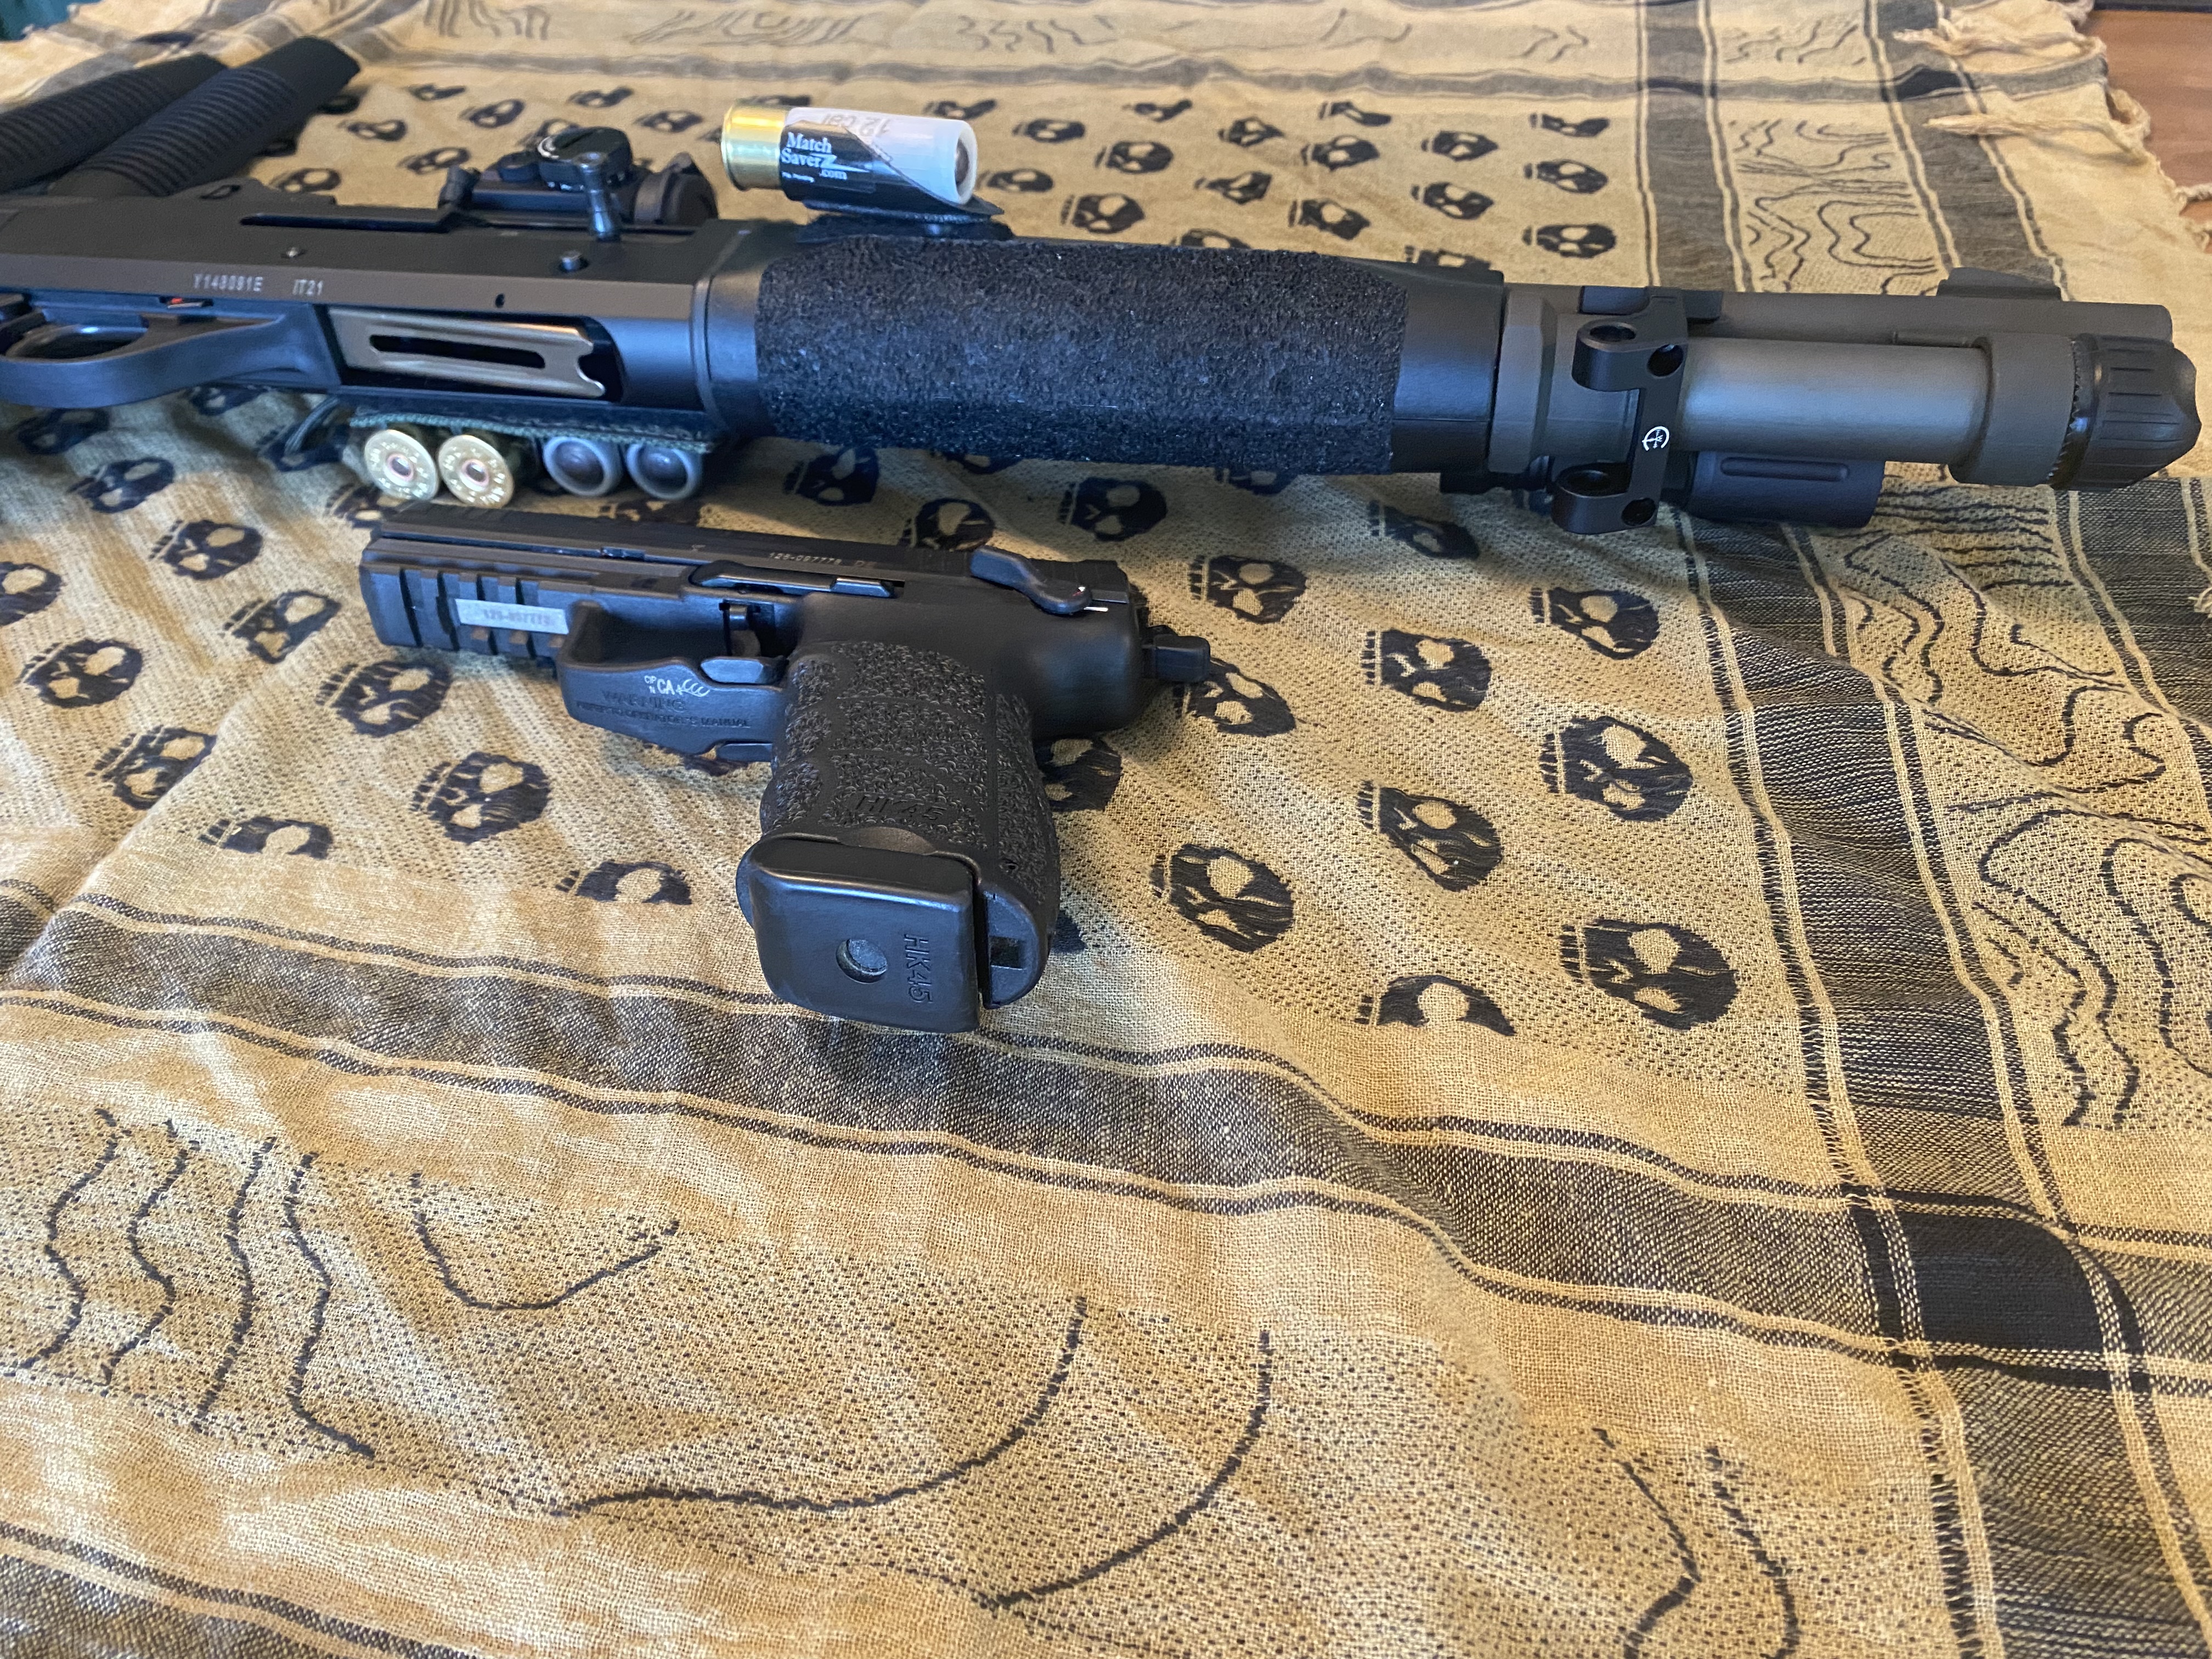
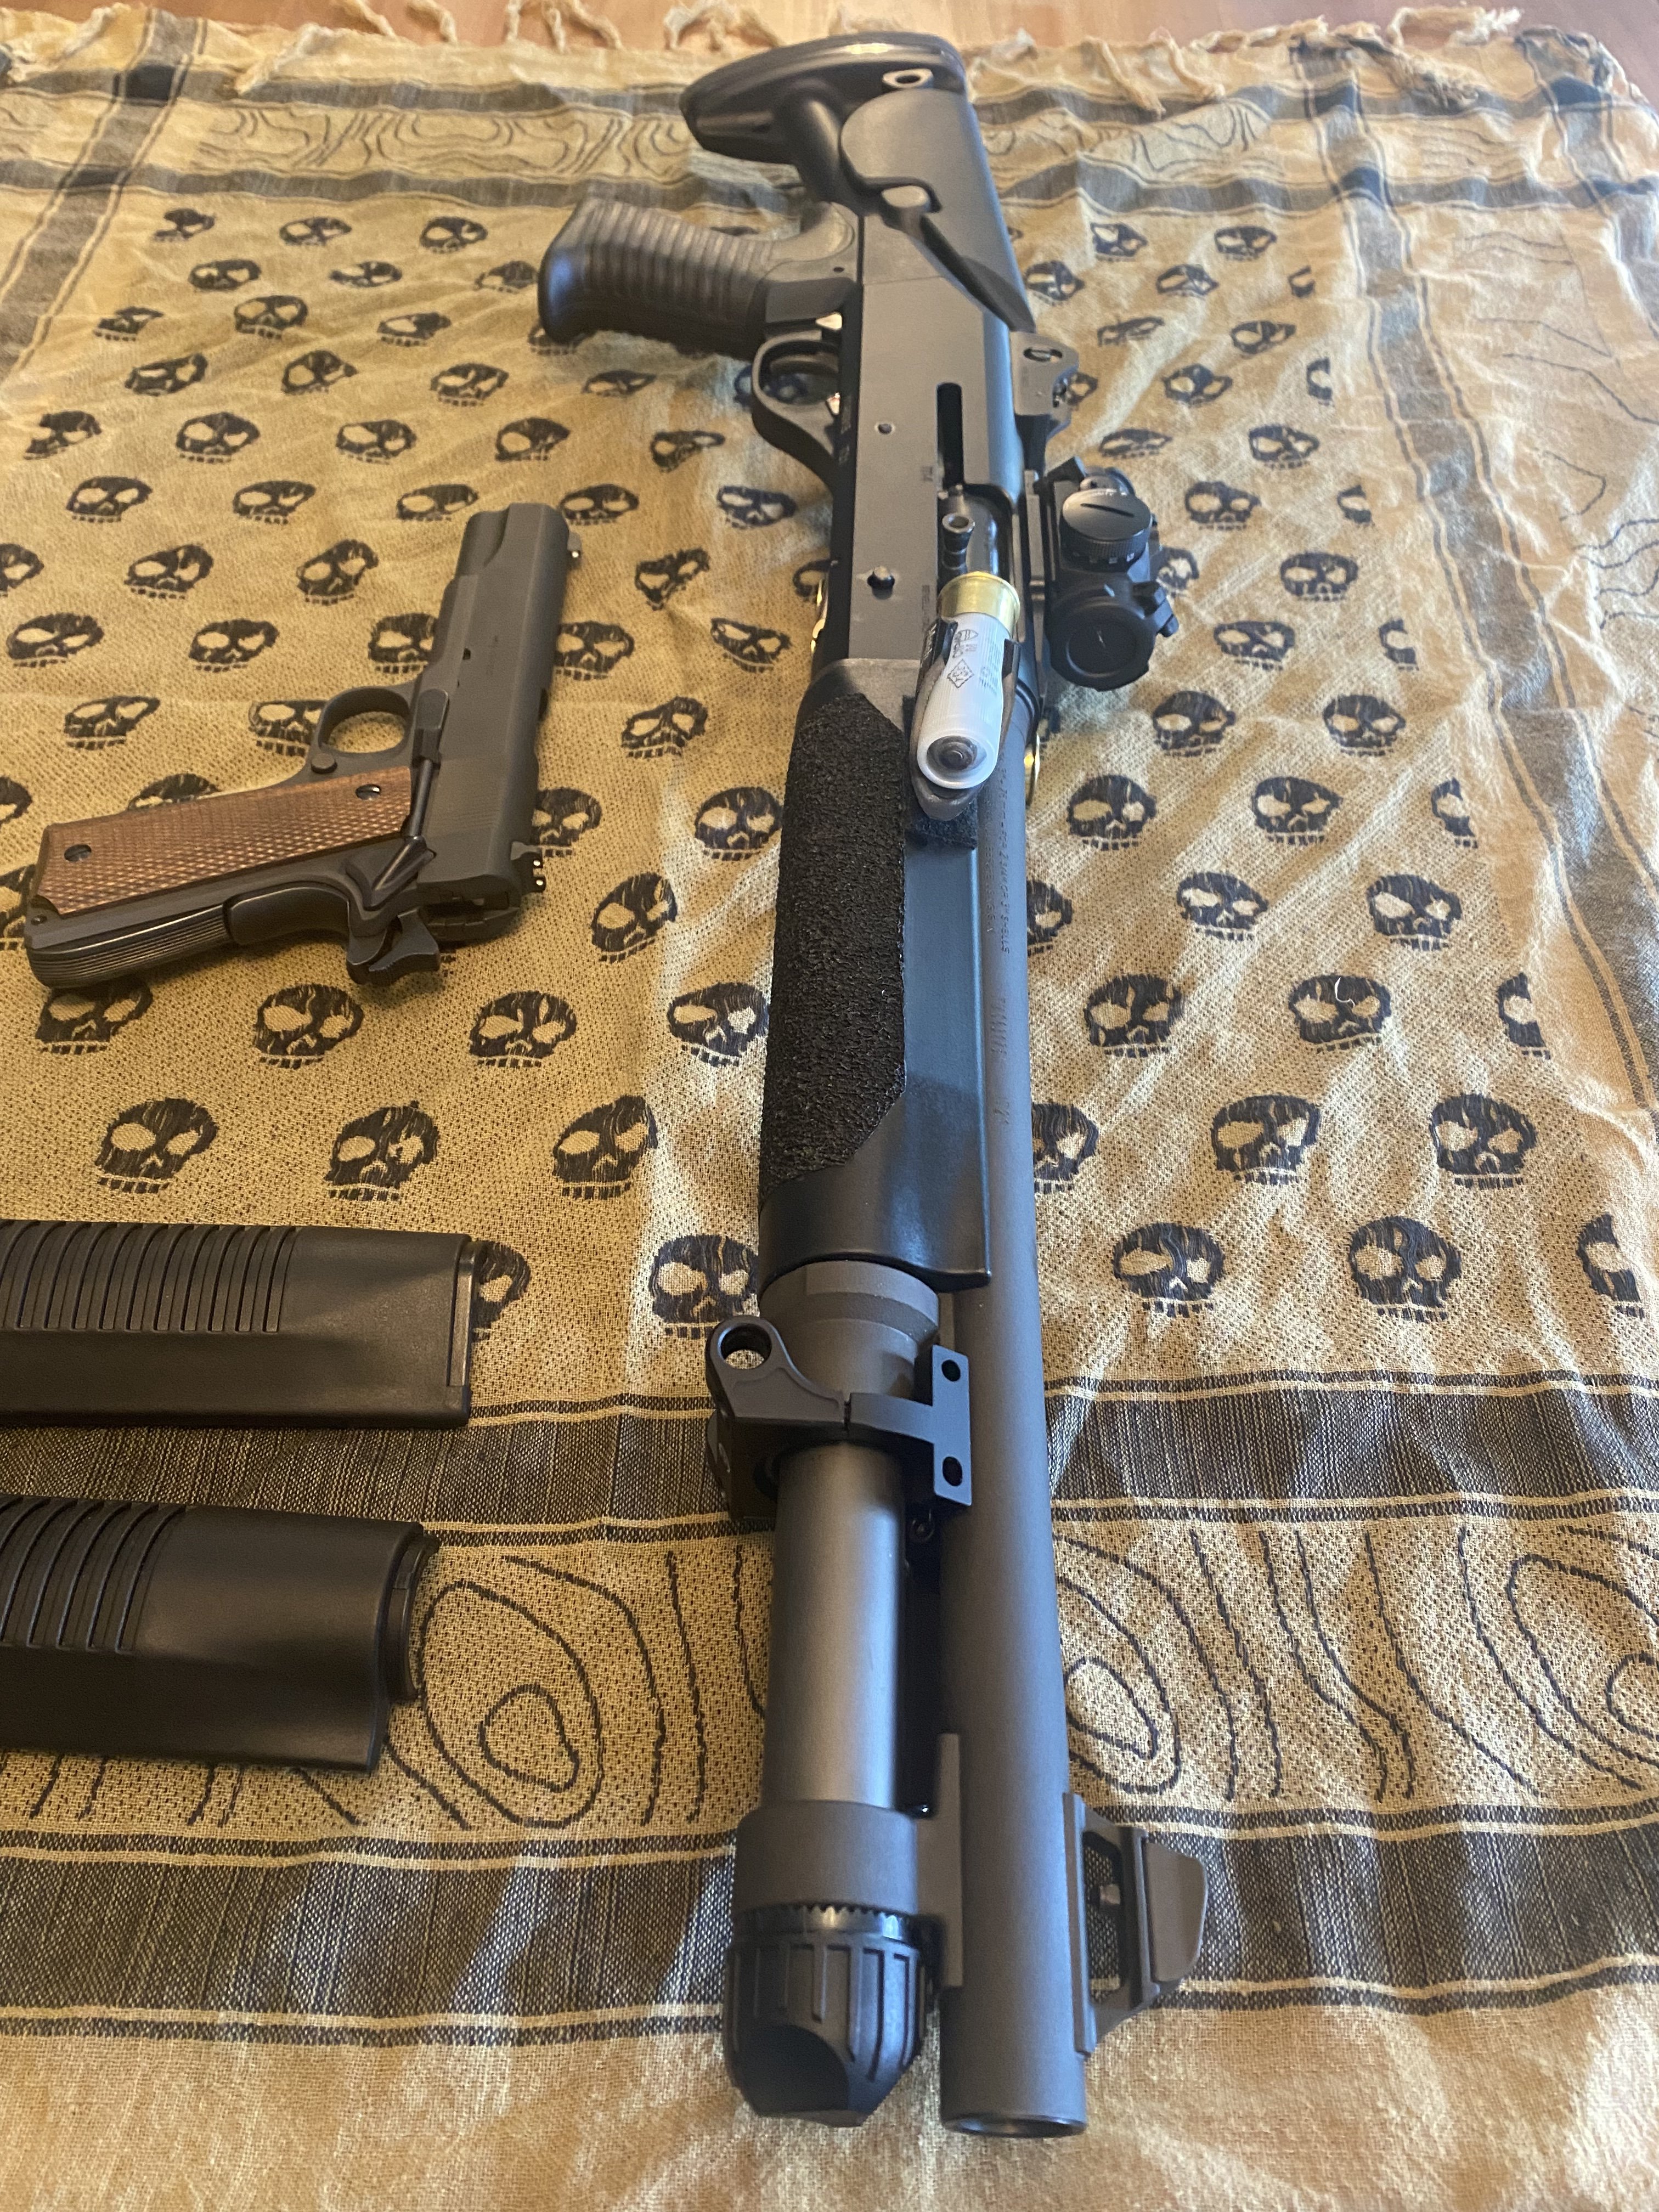
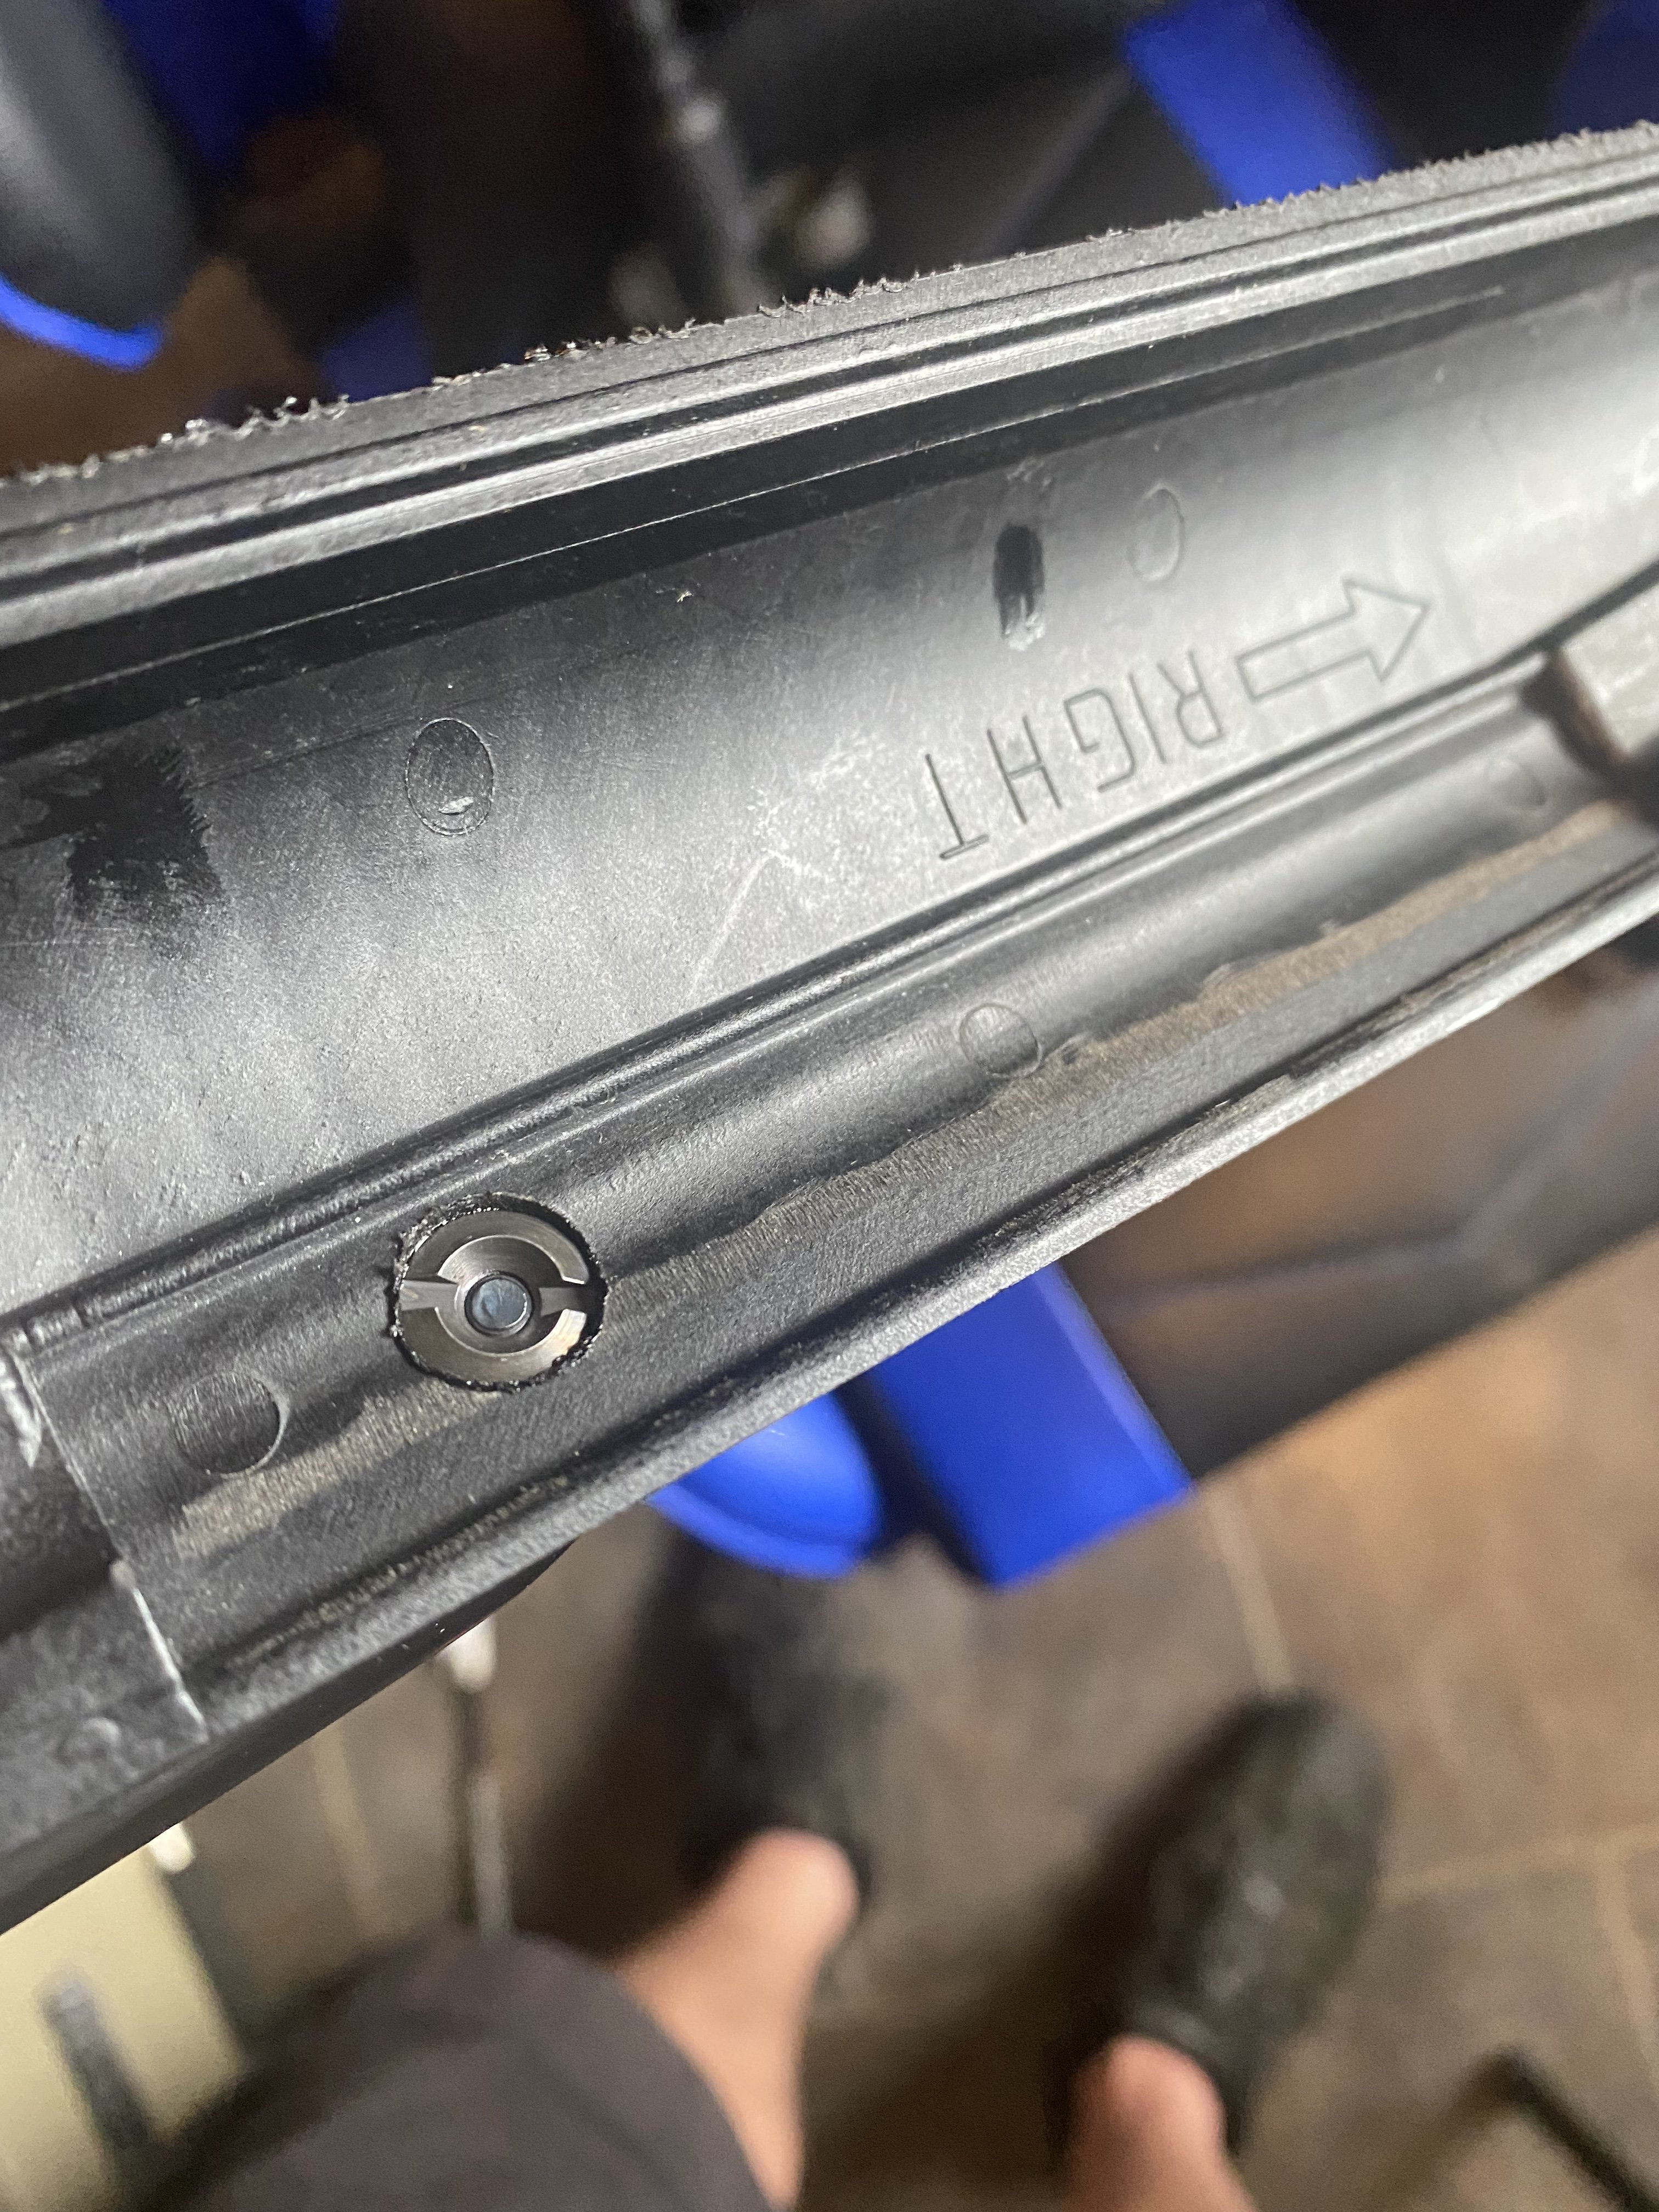
Purchased a second set of handguards to stipple with a bit more of a mature/M1-ish layout, while preserving the originals. Apparently the “NEW” handguards purchased were of an older iteration, because they would not fit, as the mold did not have the notch for the barrel indexing collar. I fit the handguard and no one would be the wiser. Added a match saver, having to counter sink the nut to avoid piston contact. It worked well, but in hindsight, I wish I would have stuck to Velcro, given acceptance of Velcro as an accepted means for side saddles. Anyone know when Benelli transitioned to the use of the barrel indexing collar? These are a little more sheen compared to a more matte finish on current GEN….


 1 point
 -
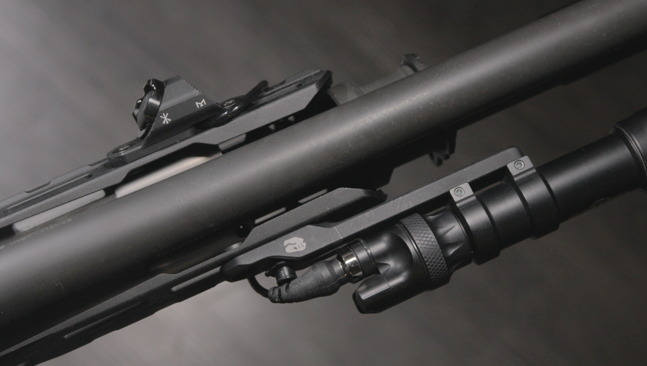
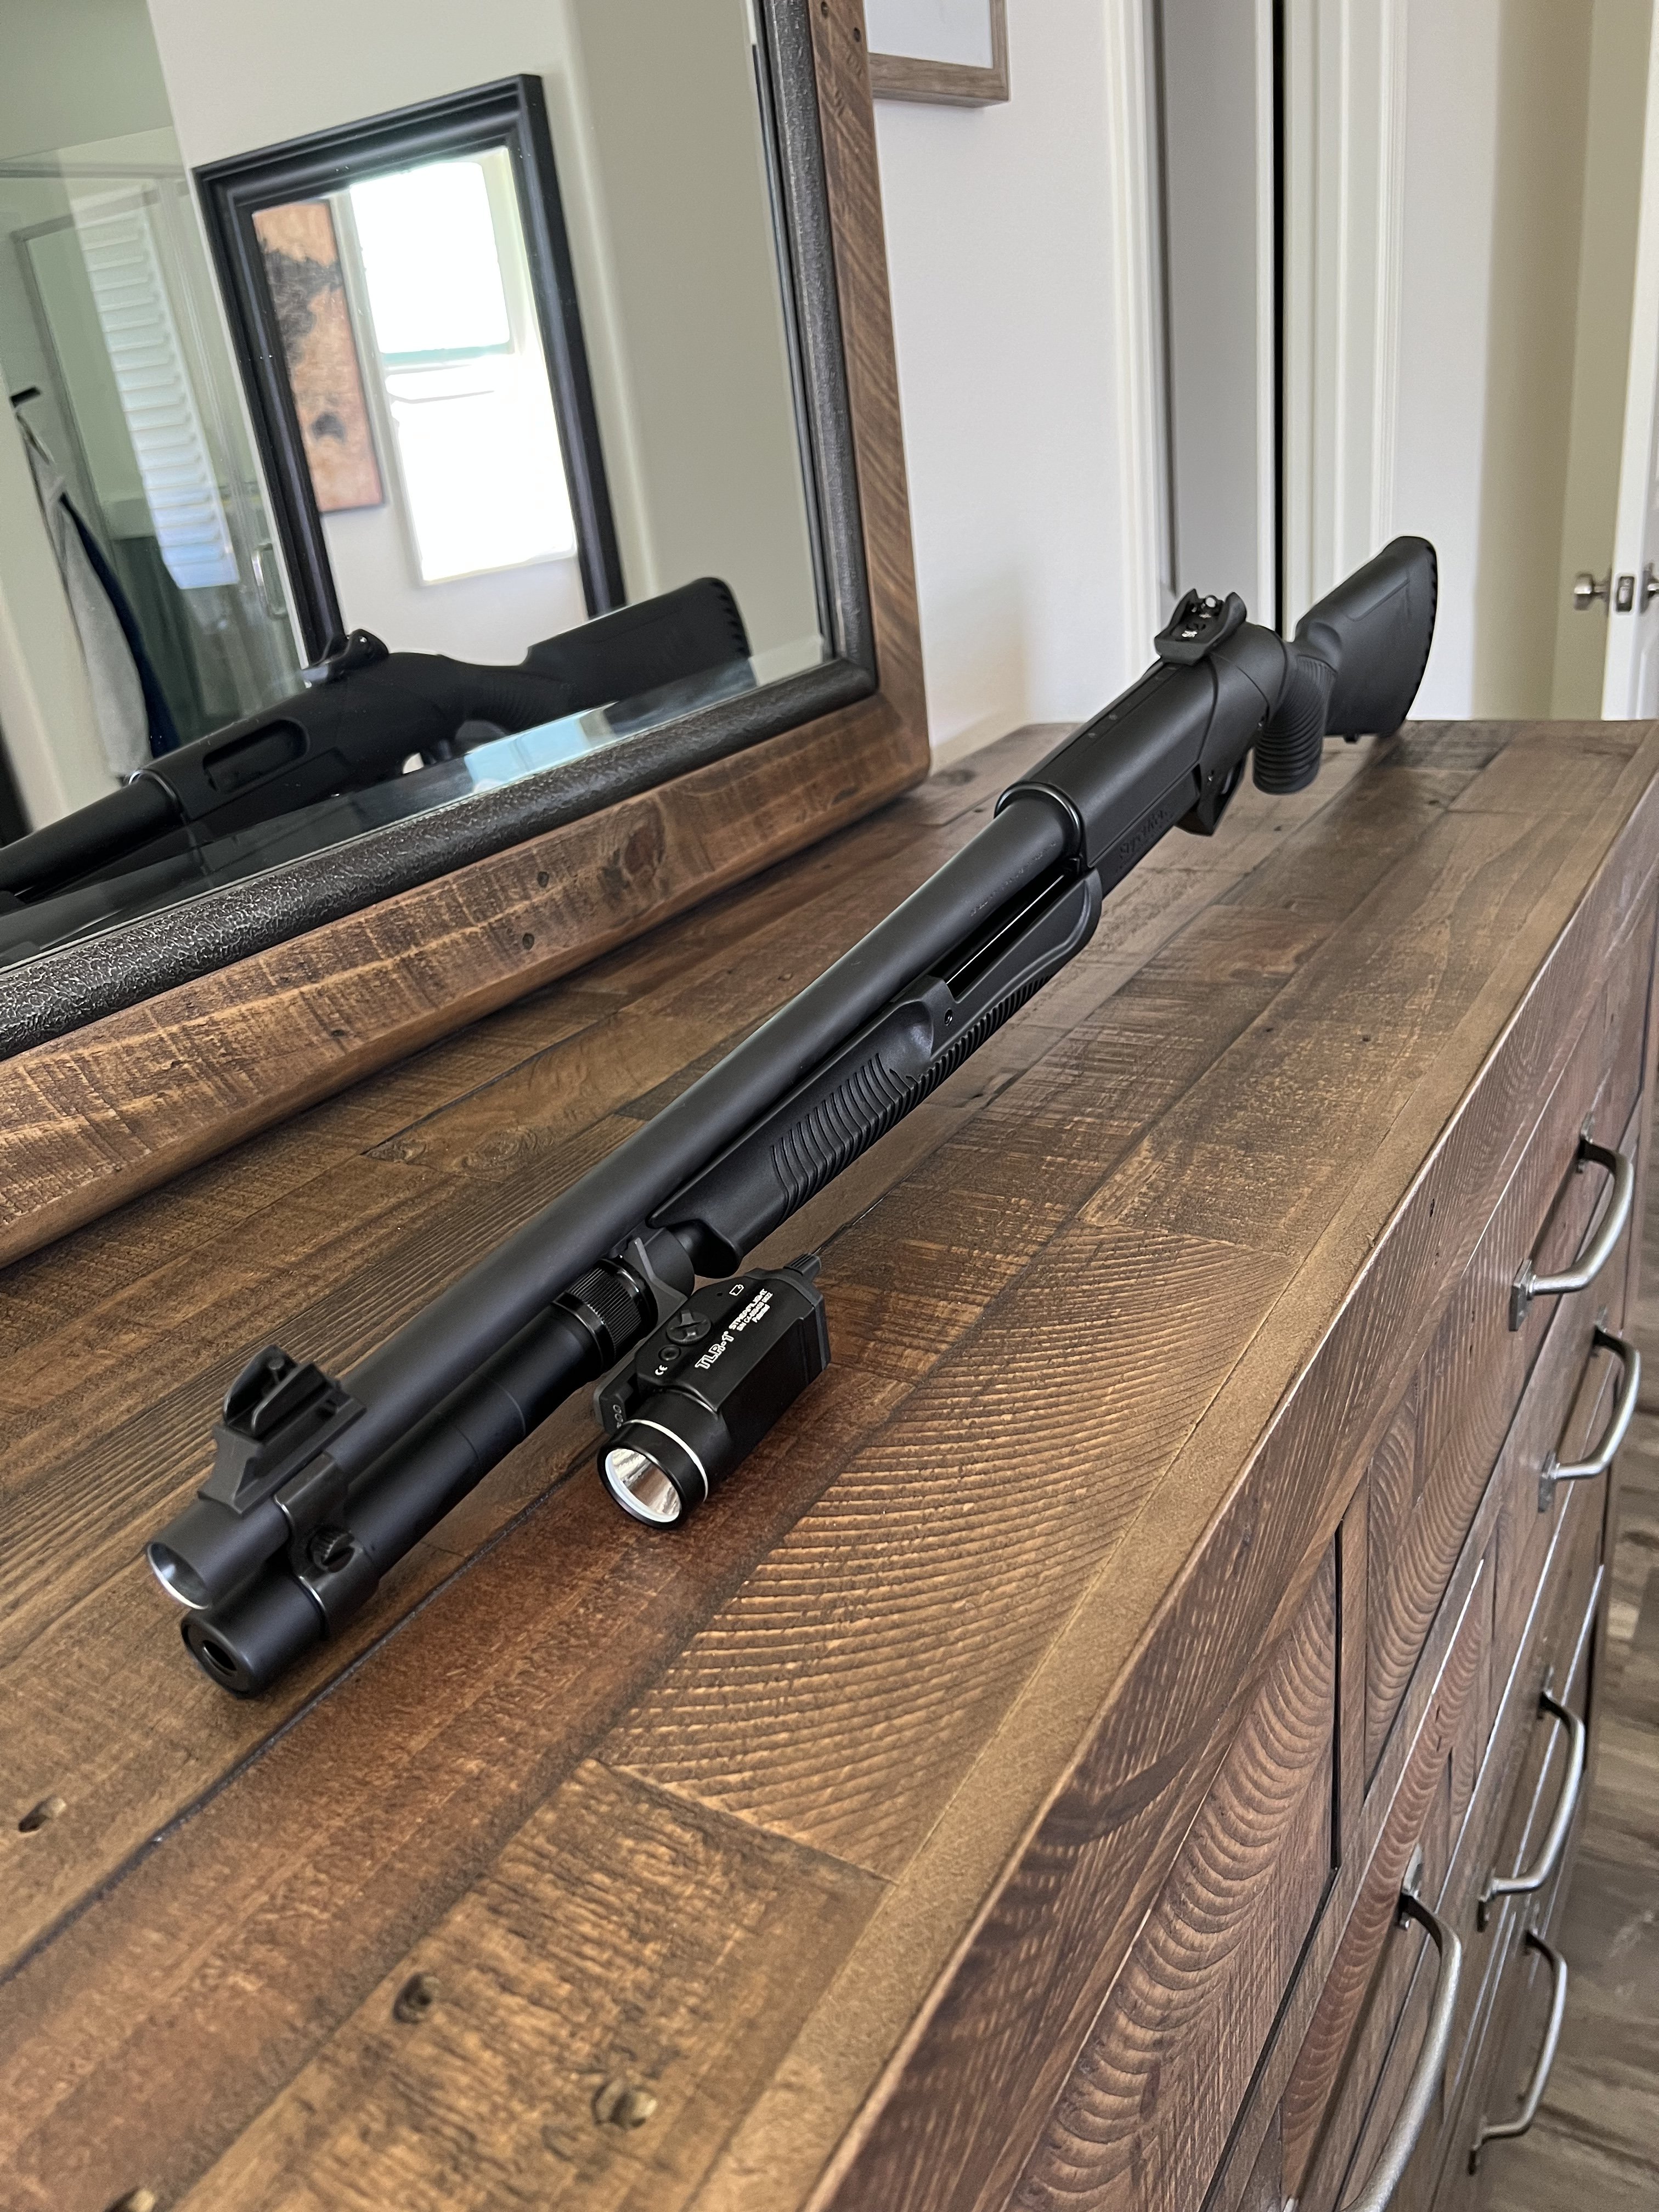
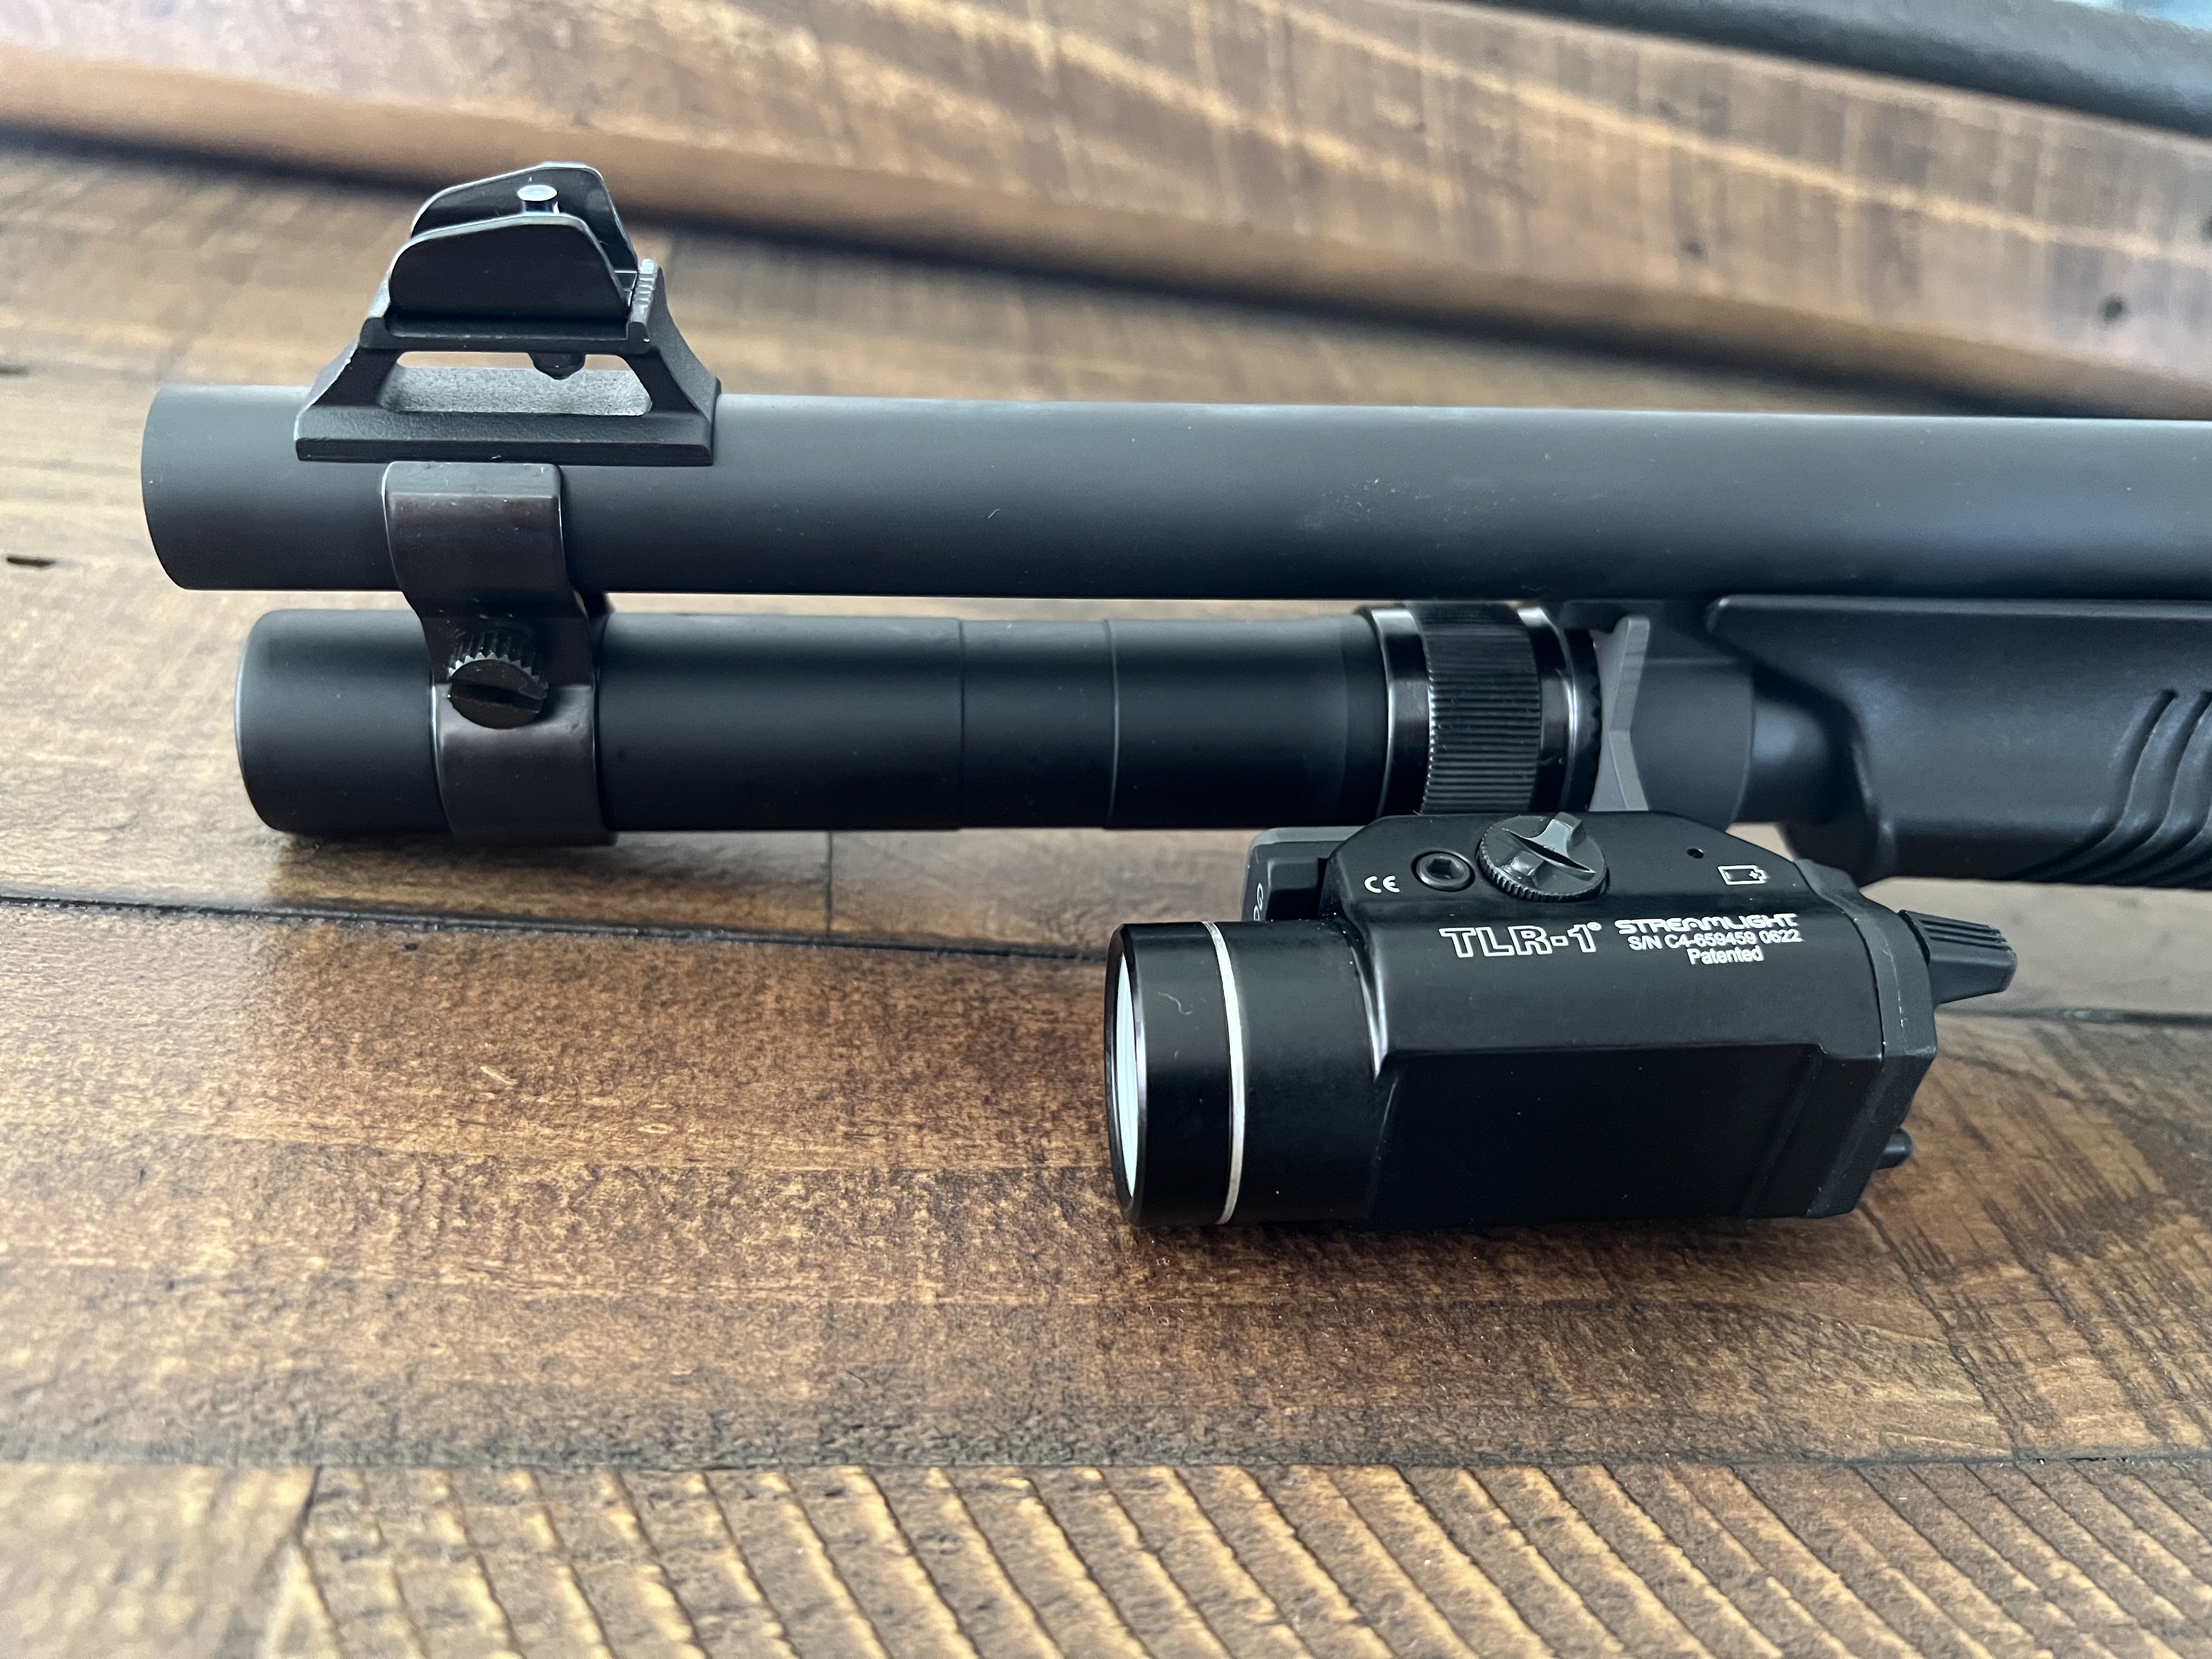
There were some good stuff back in the day for Benelli M4, but now it's even better. Check out this setup and see what you think. Unity Tactical Hotbutton (MLOK) on Strike Industry MLOK handguard. Works for both left and right handed applications. https://www.badassoptic.com/best-tactical-light-for-benelli-m4-shotgun/
 1 point
 -
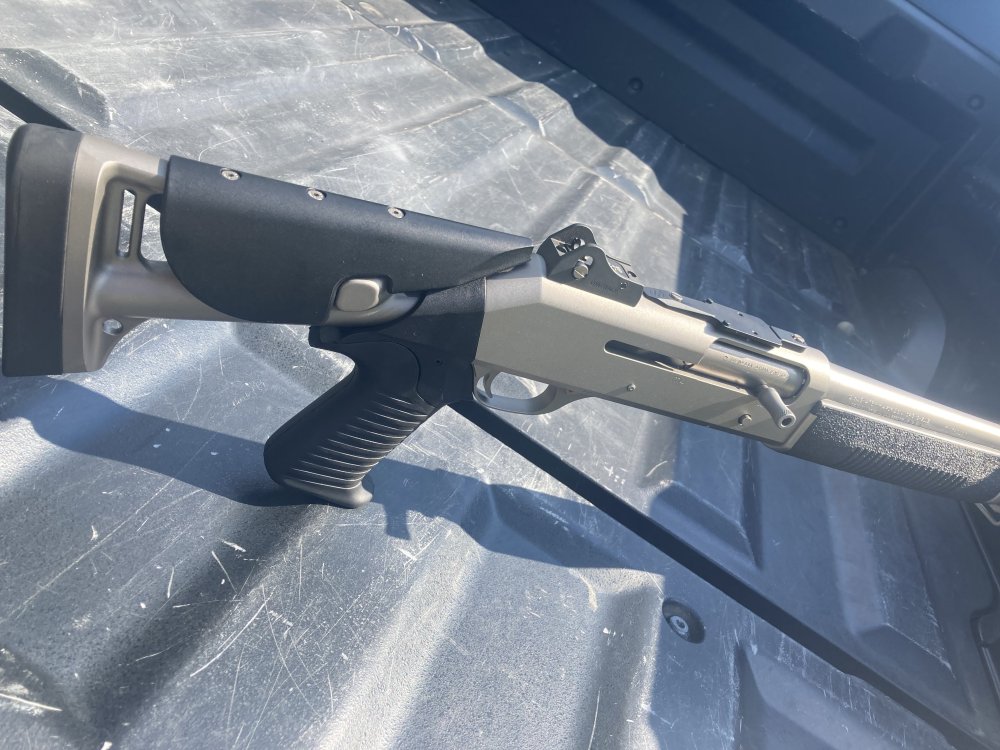
My first shotgun, I decided to leave it at that for now. Love the gun, feels perfect.

 1 point
 -
it has the stock & GG&G follower, I remember my last one had the TTI, it was flat faced and stuck out further, seemed easier to load, any recommendations!?
 1 point
 -
I am in for one...the current 3 options on my tube none seem to be "perfect". Thanks for your help with payment on the other items yesterday...probably a short between the keyboard and the chair.1 point
-
I agree. The rail systems are generally retarded dog shit. You can pull the barrel assembly out without tools and access the bolt carrier. You only need tools of you want to service the Argo system. I don’t like that, but I’ll live with it until someone makes something better. On the other hand, the light placement and activation system is the best I’ve ever used. Flipping the button around so you pull towards you was the game changer, particularly on heavy recoiling platforms. The internal looming of the wire protects the wire from actual use where it’s snagging on gear or getting laid on the rocks. The HotButton is better than any switch I’ve ever used and I plan to adapt the style to my rifles as funds allow. I’ll have the IR head by mid March and I plan on going on an adventure with the Benelli in mid April out into the Mojave desert.1 point
-
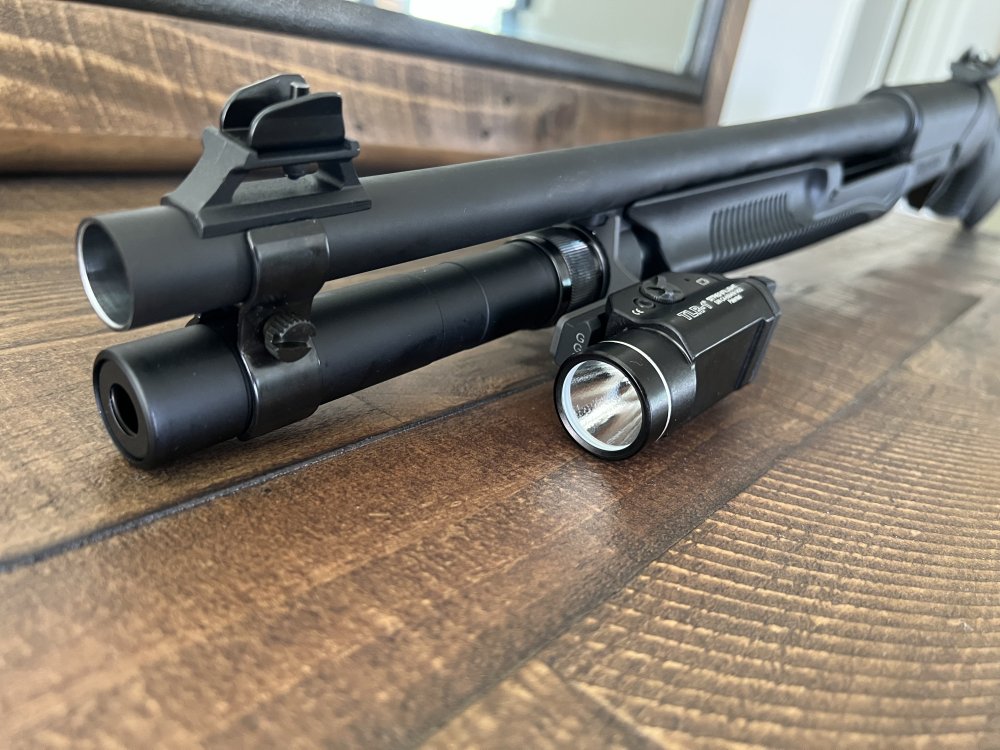
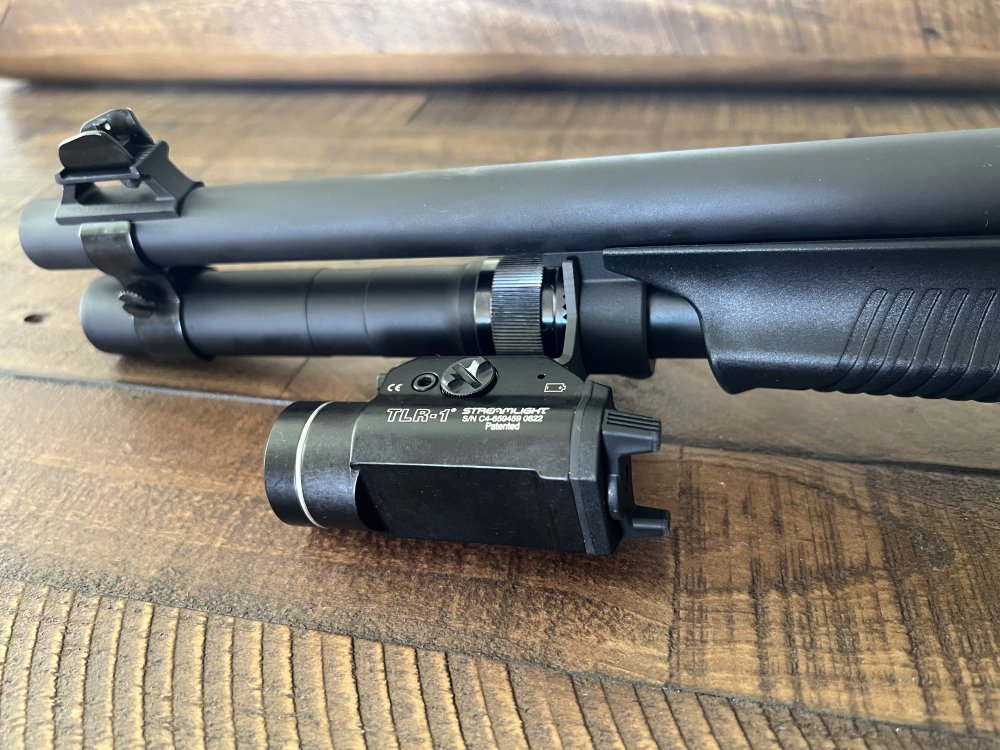
I am still considering to undertake a foregrip/hand guard. I have not had the time, nor am I sure I want to commit the finances to such a product. One of the best thing about the M4 is the takedown without tools IMO. There is currently no after market handguard that accomplishes this feat while also giving some mounting options.1 point
-
Try flipping that HotButton around so the activation button faces forward. It's now my favorite light activation setup. It's a lot more comfortable to pull your thumb rearward than to reach for a button with 12 gauge recoil. You have full momentary control of the light output, and even under recoil, the worst that will happen is you'll click it to constant on. Looming the HotButton's wire thru the inside of the rail keeps the snag hazards and damage to a minimum. The only exposed wire is what comes off the back of the light and immediately goes into the rail. I haven't found a rail for the Benelli M4 that I like. The attachment systems have been extremely poorly designed. I tolerate the Mesa Tactical Truckee since it gives me the mounting position and longer handguard that I want. I need to get a hold of a Briley 13" rail to see if it is any better. I may notch the rail so that even less of the wire is exposed.1 point


This leaderboard is set to New York/GMT-04:00