Leaderboard


Popular Content
Showing content with the highest reputation on 01/23/21 in all areas
-
Look up A&S Engineering trigger frames. They’re beautifully machined aluminum. The ejector is pretty easy. When the bolt travels rearward with the shell hooked on the extractor claw, the rim of the case makes contact with the ejector which directs it out the ejection port. Being spring loaded reduces wear and tear on the shotgun since it isn’t hitting an unmovable part. The ARGO system sounds more complex than it is. You saw the two ports from the barrel. Each port feeds the gas chamber of the ARGO system for each piston. The piston sits free floating in the system. With the bolt to the rear, you can hear them slide fore and aft as you tilt the shotgun. Inside the regulating portion of the ARGO system is a blast cup which is held in place by thick diameter springs. When the pressure exceeds the required amount of force set by the spring, the excess gas is able to vent out the front of the plug under the hand guards. The blast cup and pistons aren’t super tight fitting, so there is a lot of play to permit function once they get dirty. You’ll note the pistons have crud cutters and Chanel’s thru the middle section or each piston. These allow the gas to move freely forward against the piston to drive the bolt carrier rearward. It gives the crud a place to go too. Avoid oiling the pistons since they will burn it away quickly and turn the oil to carbon. It’s a pain to clean and does little to help function. The pistons are stainless so it isn’t likely that they’re going to rust on you. The system will function without pistons pretty reliably. I broke one piston and the shotgun kept running until the broken end of the piston jammed the action. Pulling back the bolt carrier and tilting the shotgun threw out the broken piece and it still functioned.2 points
-
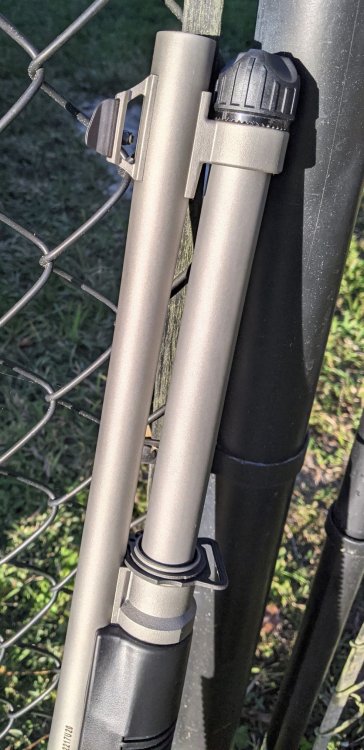
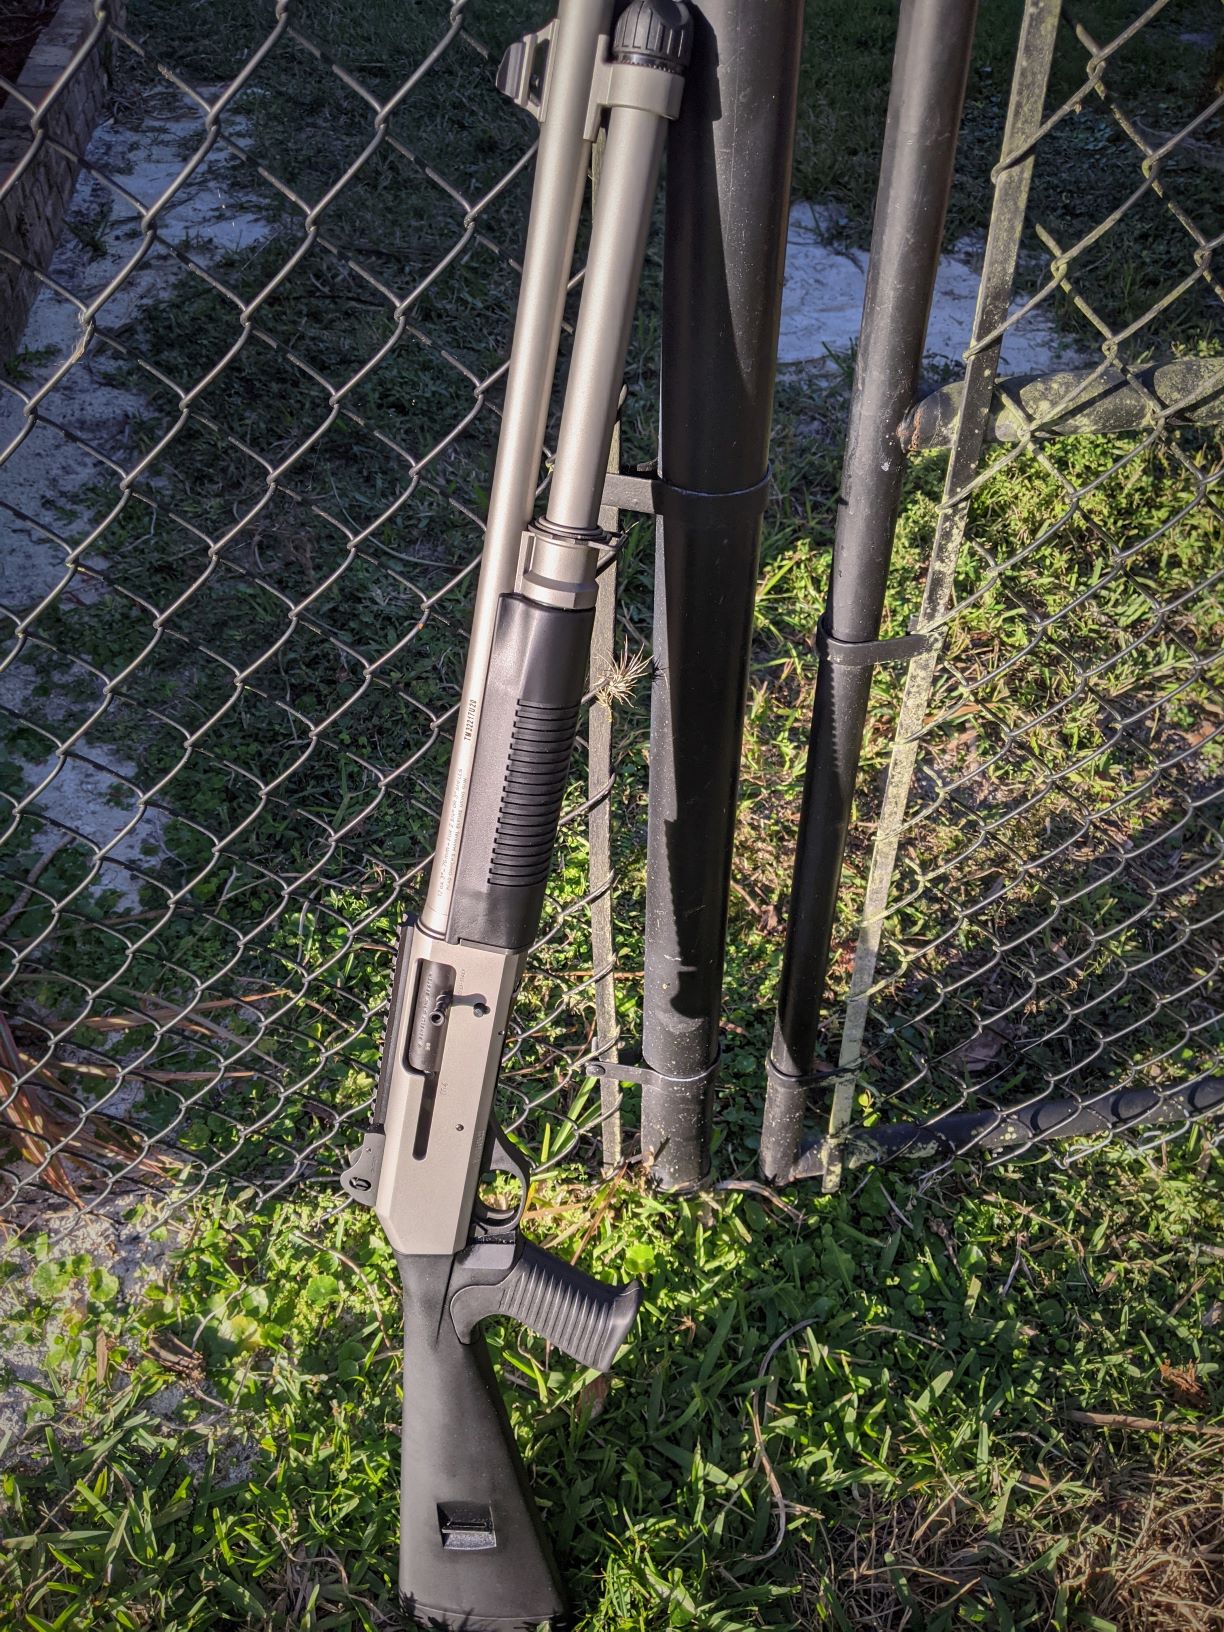
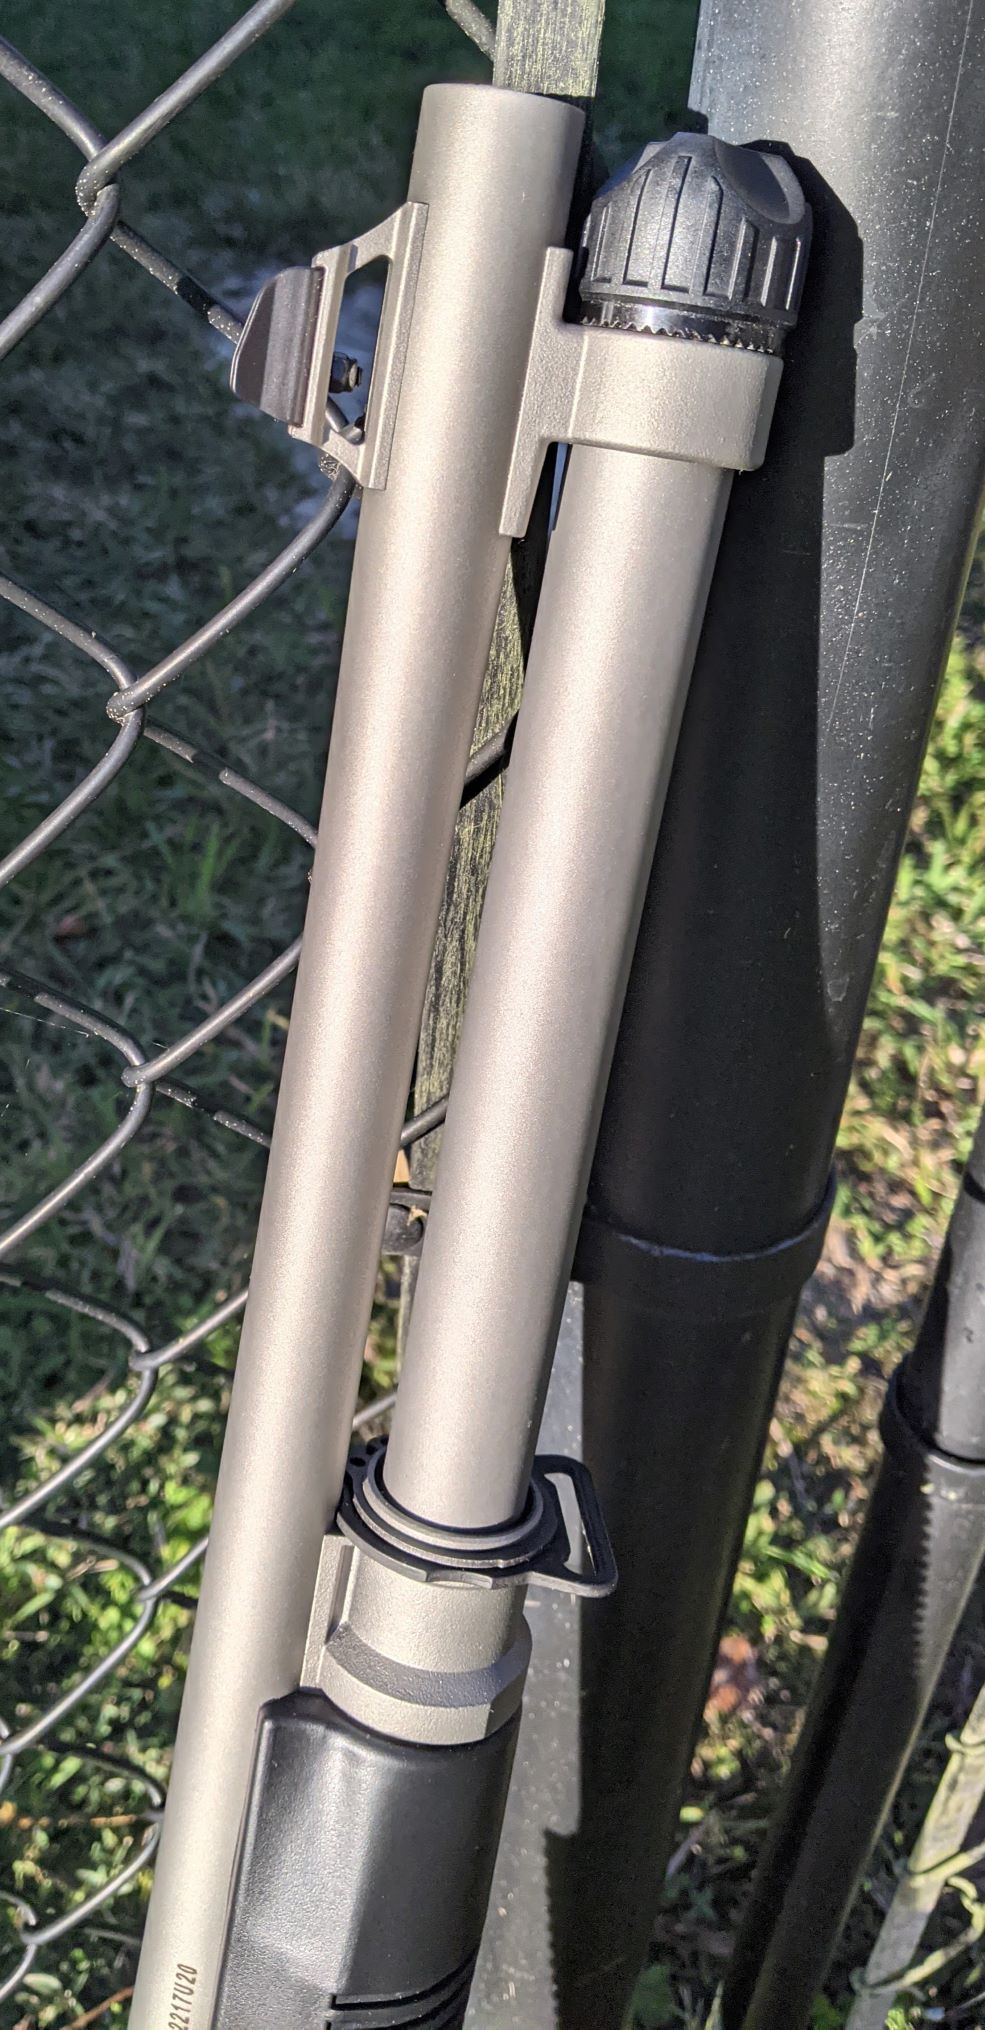
I have been lurking and learned a lot since purchasing my M4 a few months ago. Today I installed one of SOCOMguy’s (of this forum) 7 round mag tube today. When I first got a hold of him he had several black ready to roll out the door. I wanted to match my Titanium Cerakote, so he had a custom coating done and the color match is PERFECT. I just wanted to post a few pics so anyone looking at their options can see what it looks like installed. The install went smooth, thanks to being prepped with information found here. I also added the FFT forends and follower for 922R compliance. I think it took longer to get the FFT forends on than to change the magazine tube (about 20 min.). Then thanks to the instructions on FFT's site, I put the forward ends of the forends in first and installation then went smooth. I think they should put the install tip in the bag with the parts !


 1 point
 -
I'm going to take a minute to address what Shekkie said in his last paragraph and set a slightly different course: Shekkie said, "The biggest thing I’d stress is training. The best firearm/ammo does no good if you are fumbling and unsure of how the weapon functions. Getting to the point where everything is automatic is the goal." Break-in the gun with more powerful loads and break yourself in as well. I'd buy a box of dry fire Snap Caps to practice manual of arms. I purchased a box containing 9 rounds from "B's". One thing I don't like about them is they're about an 1/8" shorter than regular live rounds, but this doesn't pose a significant problem. Nine is a good quantity because you can have 1 chambered and 7 in the tube and another ready for a tactical reload. While boring, I'd read the manual thoroughly to learn the mechanics of the gun. If you can get a copy of the USMC M4 Operator's Manual, do it. OPERATOR'S MANUAL FOR THE SHOTGUN, COMBAT 12 GAUGE, SEMI-AUTOMATIC M1014 (1005-01-472-3147). Things you'll learn: a) You just can't rack a round from the mag tube unless you depress the shell release lever first to put a shell on the carrier. b) With a bolt locked back and empty chamber, you can insert a shell through the ejection port and momentarily press down on the round then remove your fingers. The bolt will run the shell home as soon as you release the pressure without snapping your fingers and you don't need to use the bolt release button. c) How to unload the gun without repeated racking and cycling each round through the chamber then ejecting. You can't just do that like Chuck Connors (The Rifleman) did to unload the gun, you have to hit the shell release lever every time before racking (see a) above). d) How to Ghost Load a round on the shell carrier. e) How to change-out a chambered round for a better option, e.g. changing out buckshot for a slug. f) And a whole lot more. I'd also look at some 3-Gun videos on Youtube to checkout their reload techniques. They rarely (if ever) use M4s, but some techniques translate well. I've been around guns for most of my life and thought I knew a thing or two about a thing or two, but you need to understand your Benelli M4 manual or arms. I learned the hard way after fumbling and bumbling. Of note: This forum is awesome for sharing lots of great info for maximizing the utility of the M4, but techniques for manual of arms is somewhat lacking. Maybe most members think that we all know our shit when it comes to running and gunning but I am witness to the fact that this is not always true! Best of luck. Sorry so long!1 point
-
What I did: I bought a practice spring. Can’t remember where, or brand but it was cheap (like 18 bux?) and supposed to be for m4. Point here is, you can try and measure the spring left from the tube after the cuts... but that may not be accurate either sometimes. it’s like meat on the smoker, everyone says 6 hours... you do it 6 hours and you have jerky. what I would suggest is you cut it a few coils (like 3) at a time, and put back together and test. You will get the idea of how many coils at a time after the first couple. Takes longer, but it worked. Practice spring actually is now full time spring, and has worked great for about 600 rounds. Then slugs got to over a dollar. just an alternative.1 point
-
Thanks for the reply StrangerDanger! I know you're highly regarded here.1 point
-
Sling and light. A long gun sucks if you can’t sling it when you need your hands to do other tasks. Having to keep both hands on along gun without a sling is very limiting. I like the BlueForceGear padded two point sling. Sewn in QD sockets are nice. IWC makes a socket for the collapsible stock. Noveske makes one for the fixed oem stocks. I’d look at Modlite offerings for a light. The PLHv2 is very good for the shotgun. Put it on an IWC mount. I’d stick with the oem hand guards or get the FFT reproduction ones if you’re chasing 922 parts. Have them stippled by Tango Industries. Install either the Carriercomp titanium magazine tube or the Briley carbon fiber one. Briley will be the lighter of the two. Oem steel: 10.5 ounces Carriercomp titanium: 5.5 ounces Briley carbon fiber/stainless steel: 3.4 ounces Install a Limbsaver buttpad on the stock. There are various options depending on what stock you settle on. Replace the trigger frame with an A&S Engineering one. Have Briley install their trigger kit or install a FFT kit yourself. Add a FFT enhanced shell elevator. Replace the safety with a Dave’s Metal Works one. Add a GG&G oversized bolt release. Look at the new TTI stainless bolt handle. Consider deleting the iron sights to declutter your optics sight picture and to cut about 4-5 ounces of weight. From there, the only way up involved NP3 plating and loading port modifications.1 point
-
I would suggest getting a shorter fixed stock (Mesa Tactical) rather than the adjustable. The 7 round tube is a must and you may want to add an extension (+2 or +3). Before getting into other mods, we would need to know: What are you going to use the gun for? (Home protection, 3-gun competition, or just a Tacti-cool plinker)1 point
-
A tip for cleaning the pistons. Soak them in Motorcraft carburetor cleaner. The liquid, not the spray. The carbon is dissolved in a few hours, wipes clean with a paper towel.1 point
-
I got my call from Marcy at Carrier Comp. my 7 round tube should be to me shortly. great write up.1 point
-
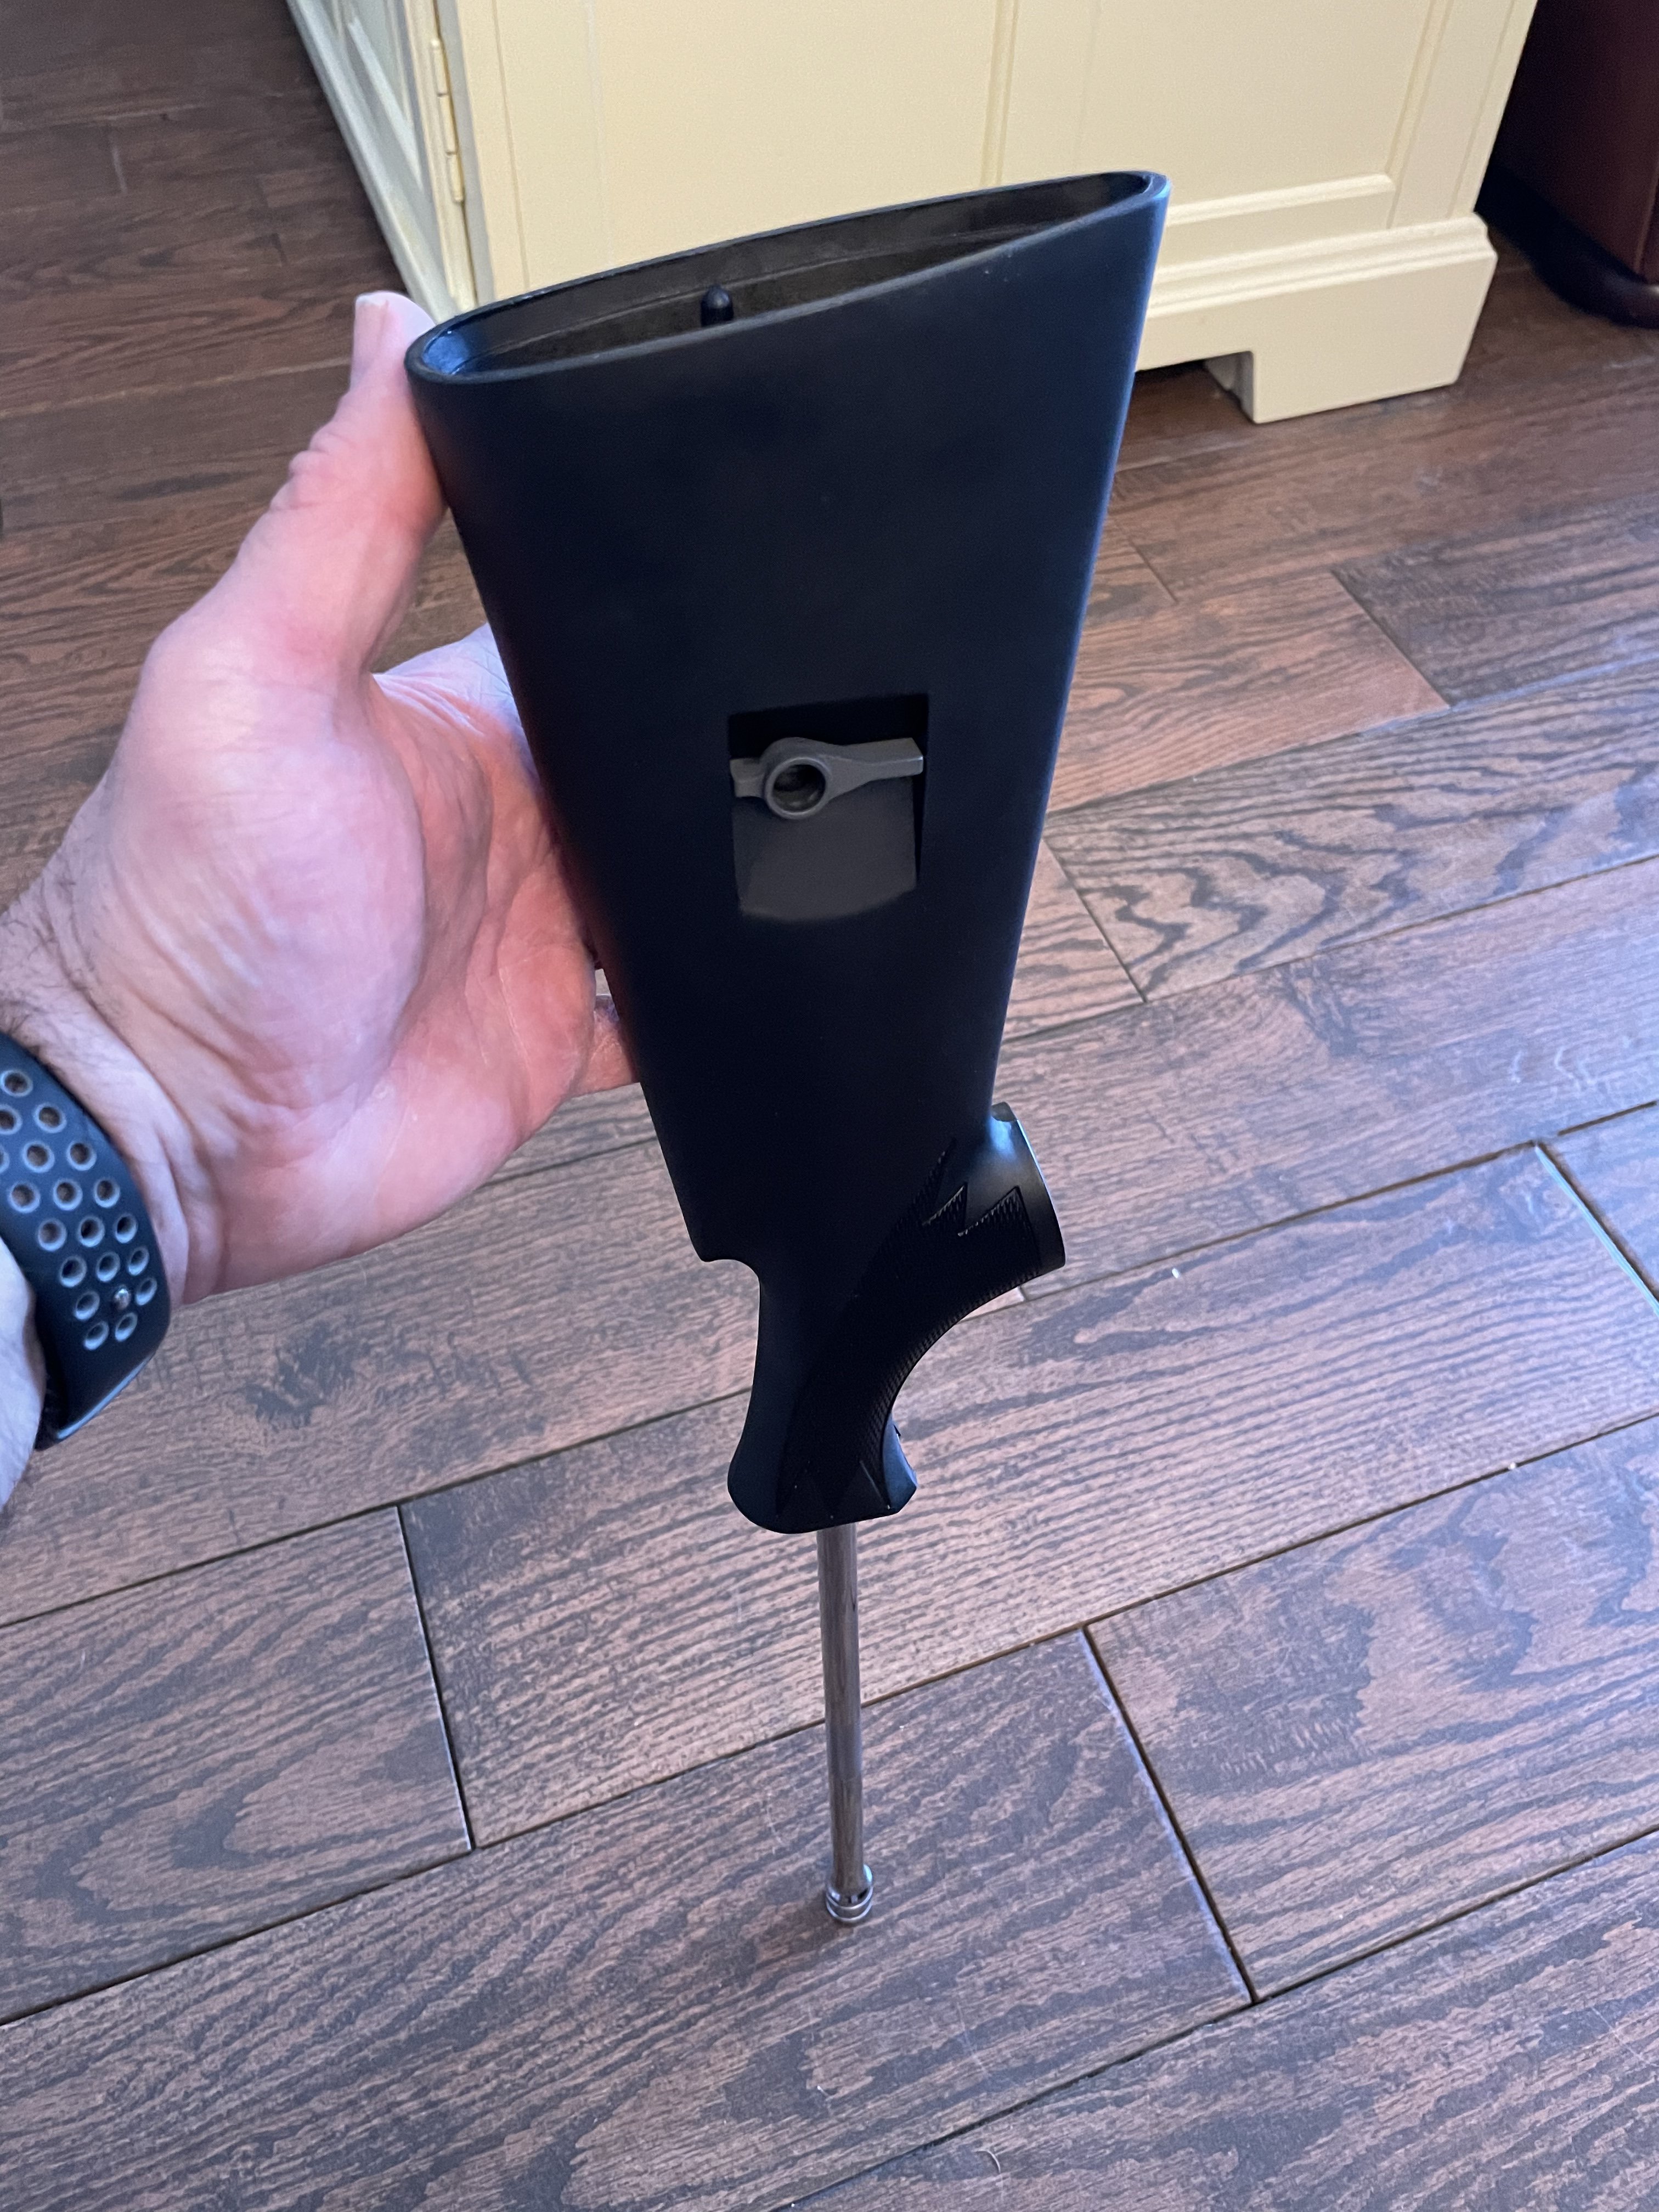
It took me less than 1/2 hour. Easy, IMO, with the Stranger Danger instructions. Just my humble additions....... My concern was using the heatgun “inside” of the plastic stock. No issues but I only used the gun for about 20 seconds each time and checked to make sure the plastic wasn’t softening. Probably worried about nothing. My vice is holding another project right now so I gave it a shot just holding the stock between my knees and had no issues. Vice grips worked fine for holding the stud to loosen the slave nut. No marring to the stud. I used an 18” extension on the 13mm socket. That gave me kind of an extra hand during reassembly. I used it to hold the stud/slave nut while I installed the springs and retainer. The retainer is threaded so the long extension made it easy to turn the threaded stud into the retainer with the assistance of the floor and gravity holding it all together.
 1 point
 -
So i took my side by side to the club and shot a round of skeet,hit a few but missed alot. I had a bit of information overload which added to the nervousness but i expected that as this was my first trip to a club. What i did do was to look up Buds Gun Store that i have seen discussed and to my surprise it is a hour and half drive to get there. Had to go see of course. I spoke to Jack and warned him i was comming. What a gun store. Jack took extra time with me in the shotgun room to explain fitting a gun and went over alot of other helpful tips, he is a pro shooter. It is like stepping into a toronado when looking at these fine guns. I know most use the over and unders but for some reason i am leaning towards a automatic. I have owned a 870 and a 1100 and liked them.1 point


This leaderboard is set to New York/GMT-04:00